
We've done all we can. It's time to confront the final dungeon at last.
 Ambient Sound - Wind
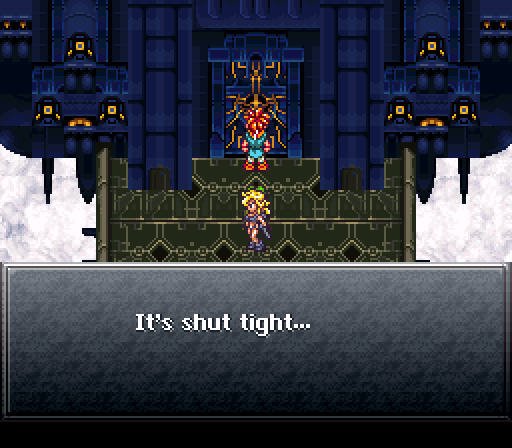
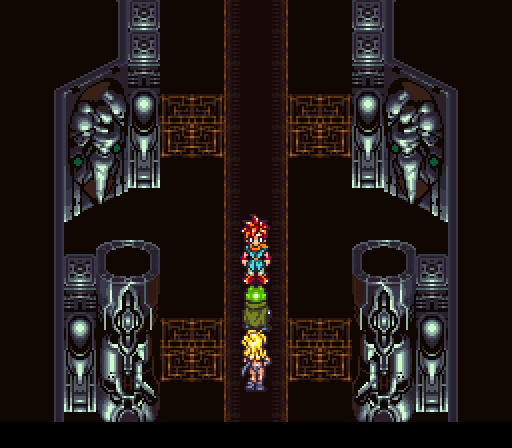
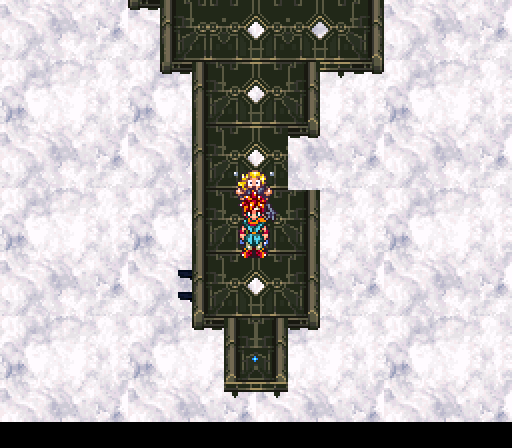
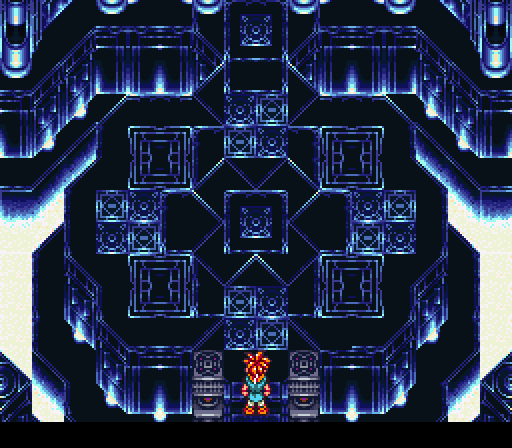
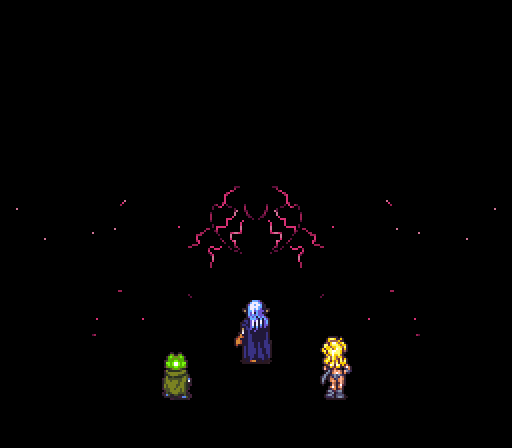
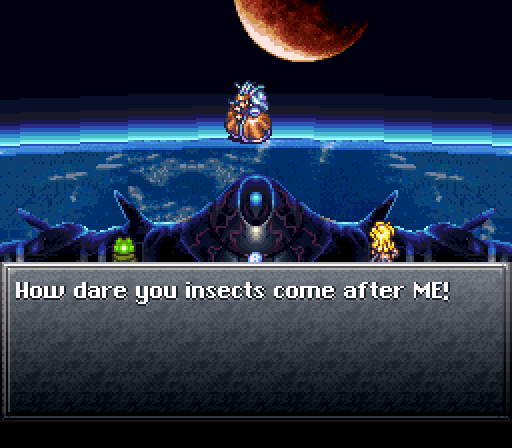
We leap off from the Epoch to the landing area...
...where Queen Zeal herself awaits us.
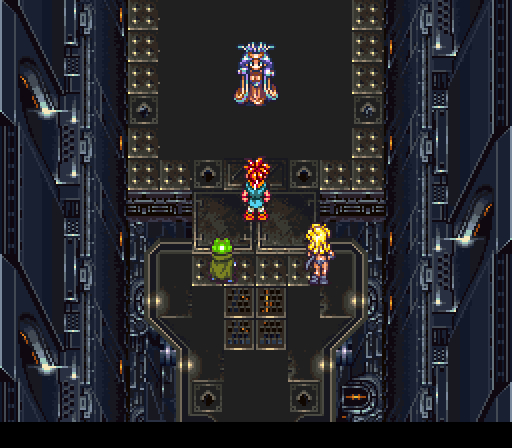
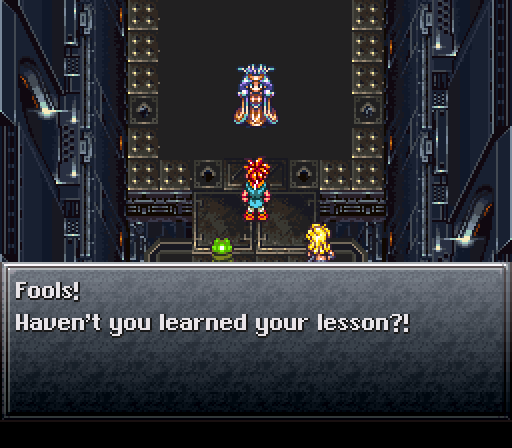
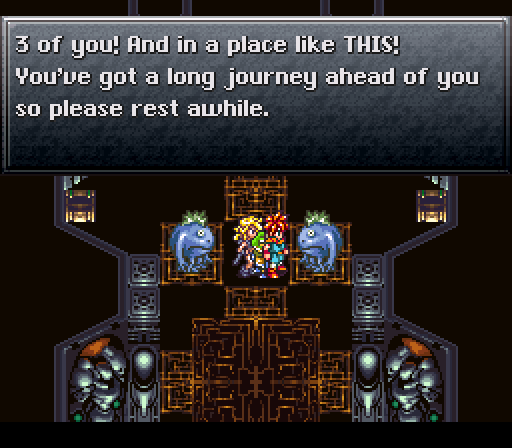
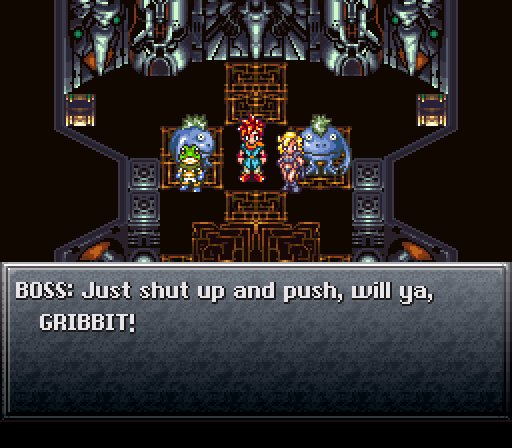
 Relax, poor creatures... The Mighty Lavos has already consumed this world's life energy!
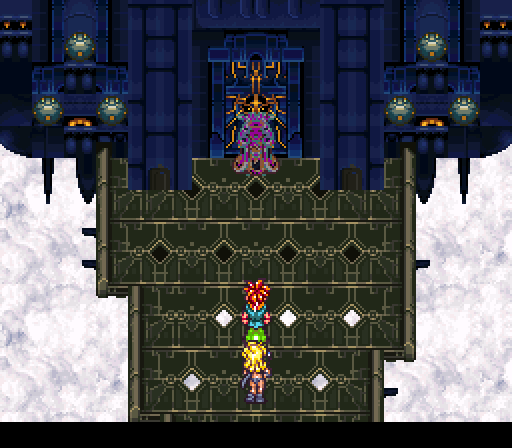
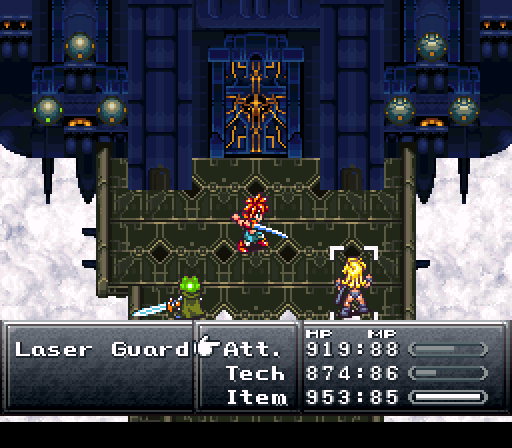
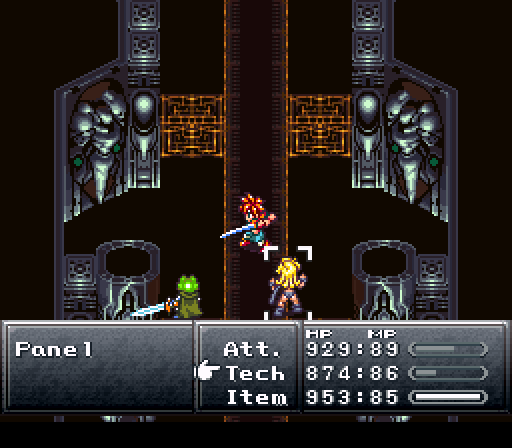
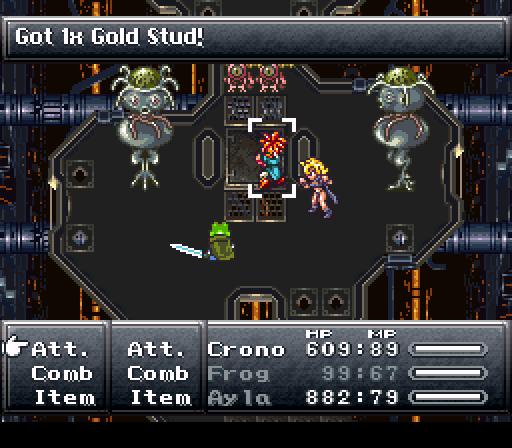
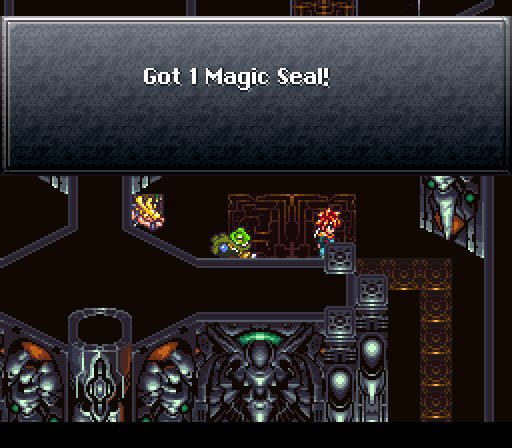
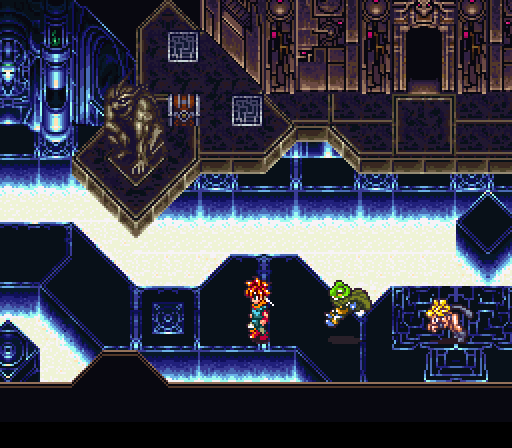
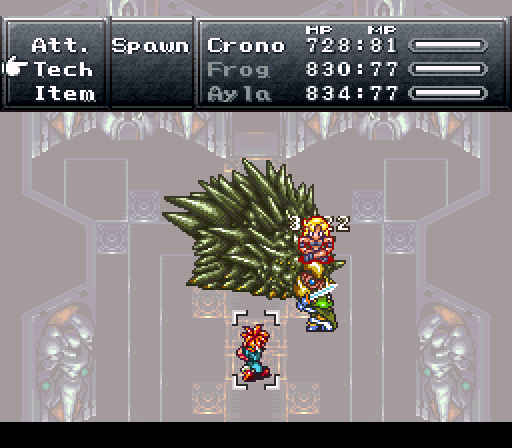
Then we get into a fight with six Laser Guards, which have the same "attack each other and explode upon a non-lethal hit" as the ones in the Geno Dome.
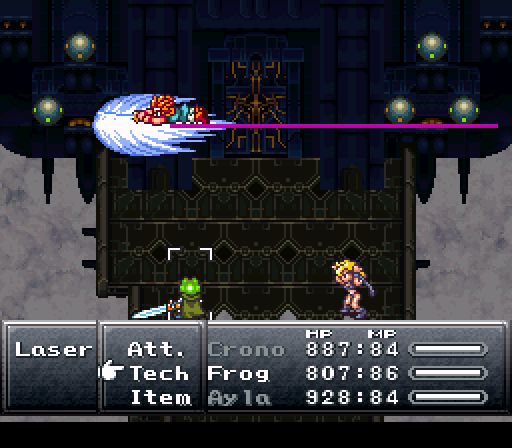
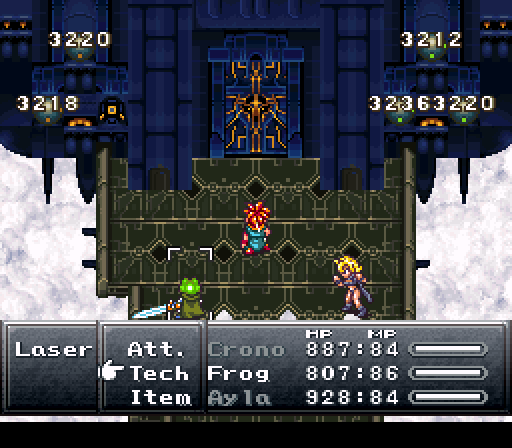
They're nothing to us.
It's pointless to actually come here in this era, though. Lavos has already won.
So back we go!
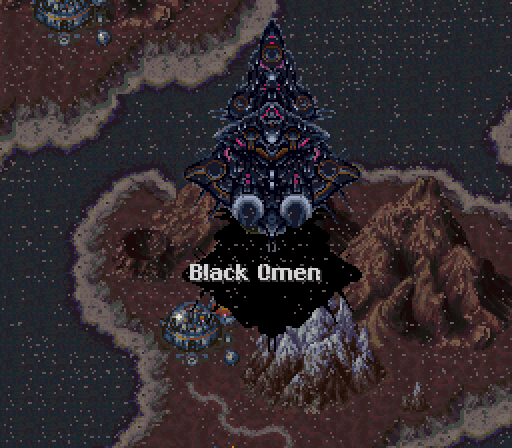
You can tackle the Black Omen in either 12000BC, 600AD, or 1000AD. If you clear it in a later time period, it does not remove it from earlier time periods, but it does from later. So beating it in 600AD means it won't show up in 1000AD, but still will in 12000BC. This can actually be a good thing considering how many nice items you can charm, particularly from the last boss of this area.
But I don't need all that, so I'm just doing it the one time, so might as well do it as early as possible!
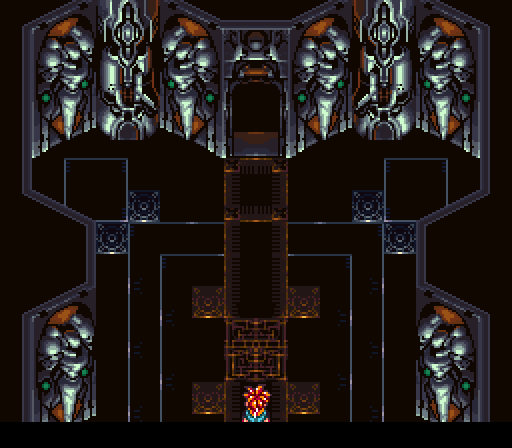
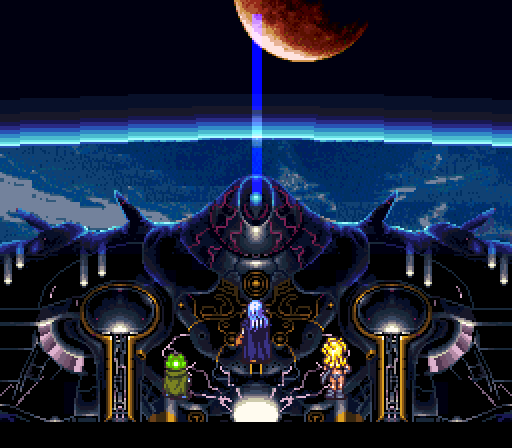
This time, the door is open, waiting for us...
Black Dream 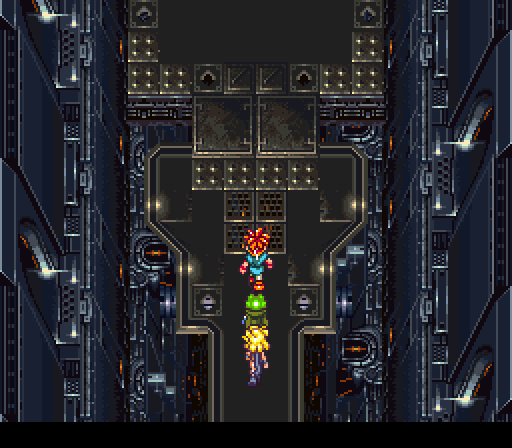
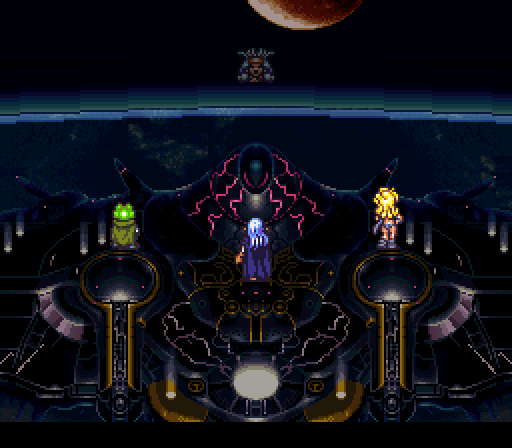
This hi-tech battle ship is a more modern-looking iteration of the Ocean Palace. It looks like, well, a freaking space ship.
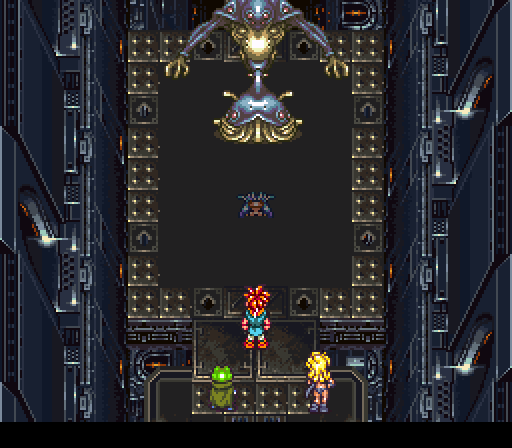
And here's the welcoming committee.
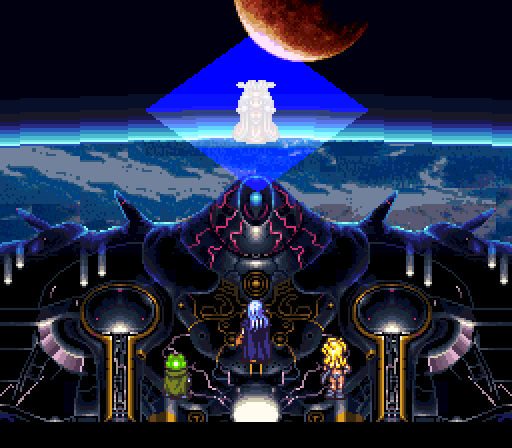
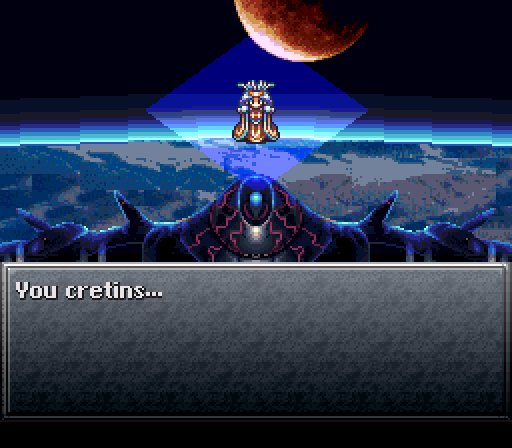
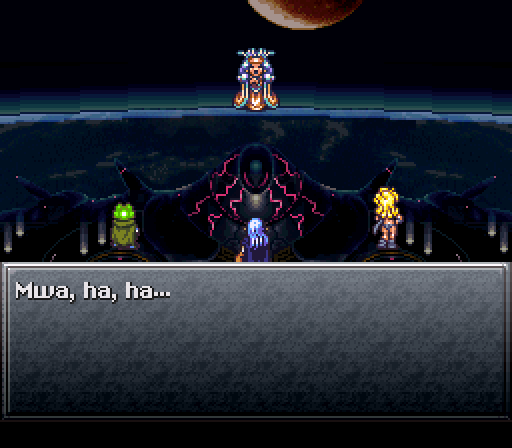
 We are immortal! We shall live forever with Lavos, who devours this planet even as he sleeps.
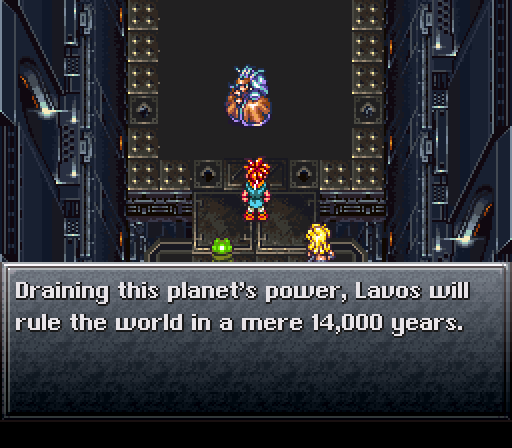 The Black Omen is a path which leads to Lavos. It is a shrine which provides us with limitless power. As long as the mighty one reigns, your dreams are hopeless!
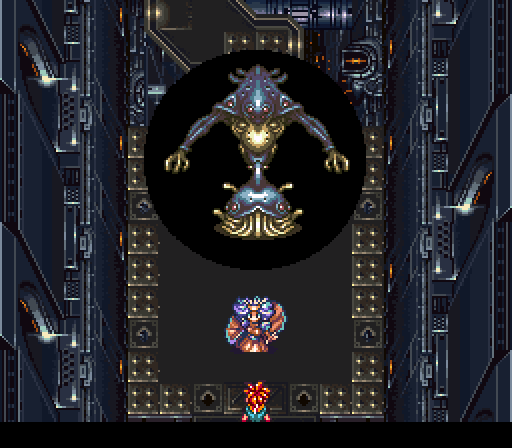 Boss Battle 1
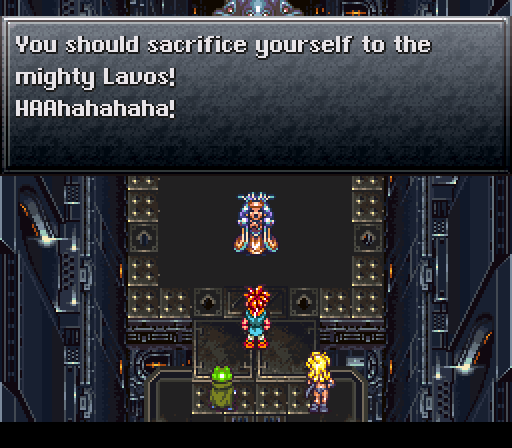
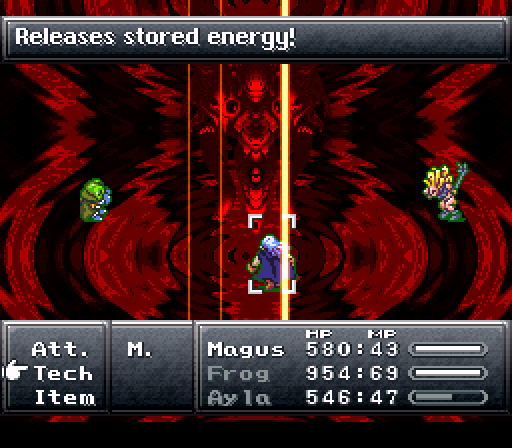
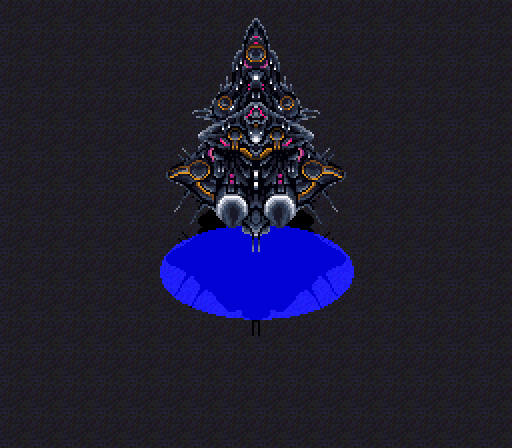
No wasting time here, we're starting with the first of numerous boss battles in this place.

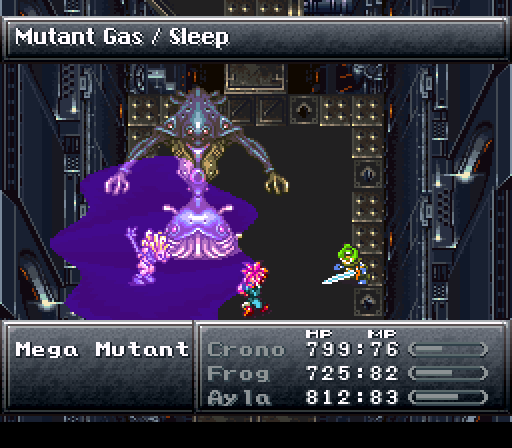
This guy's gimmick is status effects. If we didn't have Prism Helms to block them, we'd be wearing Vigil Hats to block them, or Nova Armor to block them.
Otherwise, this guy has standard defenses and both parts have low HP. Not really a challenge, but more of a teaser for things to come.
Black Dream 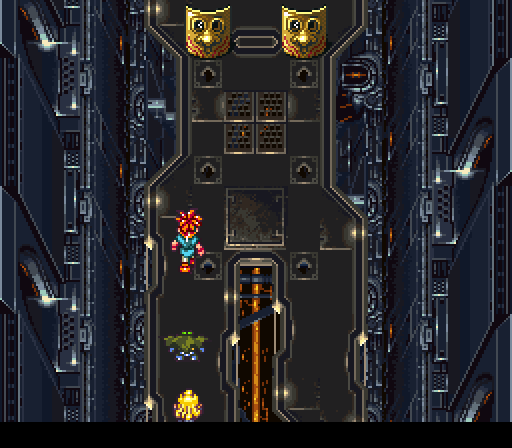
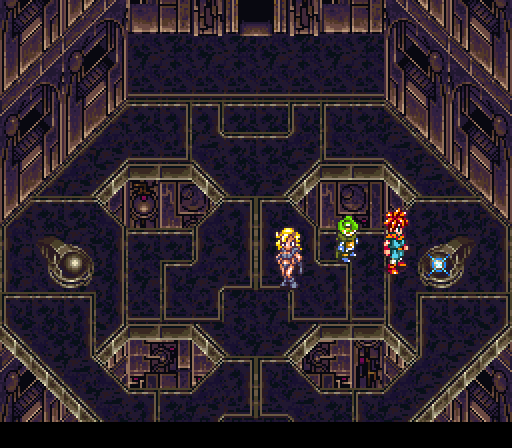
This being the final (final (final)) dungeon, there are a variety of enemies here.
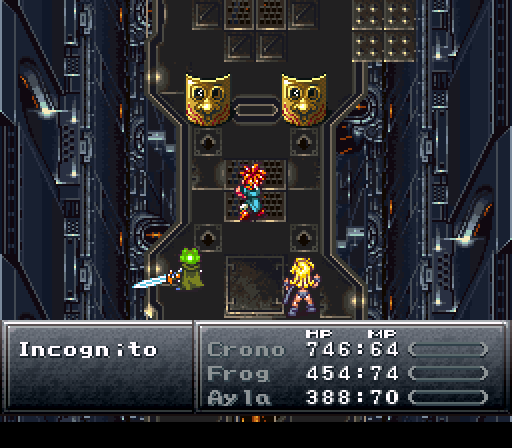
Incognito is pretty much the same gimmick as the one from the 1000AD prison. Max defenses when the shield is up, vulnerable when it isn't.
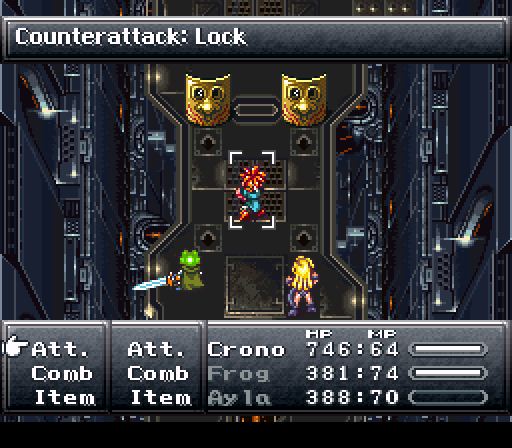
It will counter attacks with Lock, so again, status blocking comes in useful here (and really for this entire dungeon, as this is when status effects finally get a lot of use from enemies).
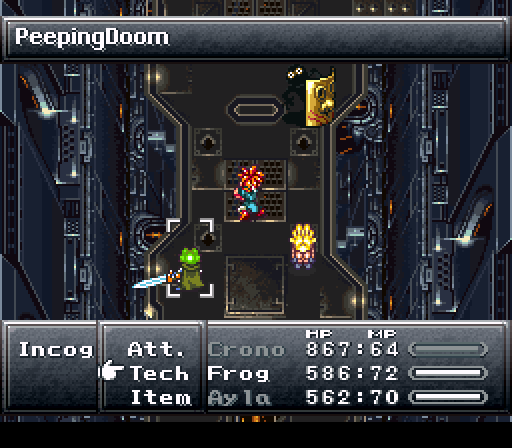
The name for the vulnerable form is pretty good, too.
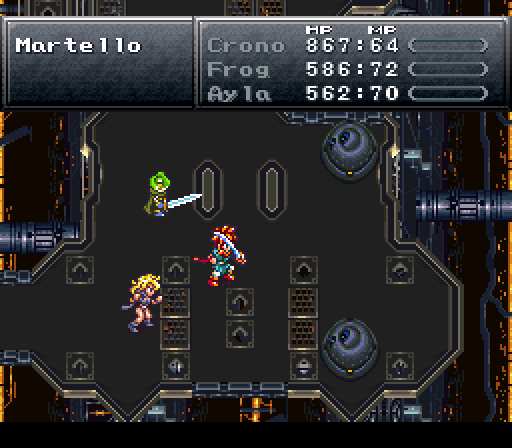
Martello has some laser attacks, but otherwise is nothing special. Its 1200ish HP is on the low end as far as enemies here go, though.
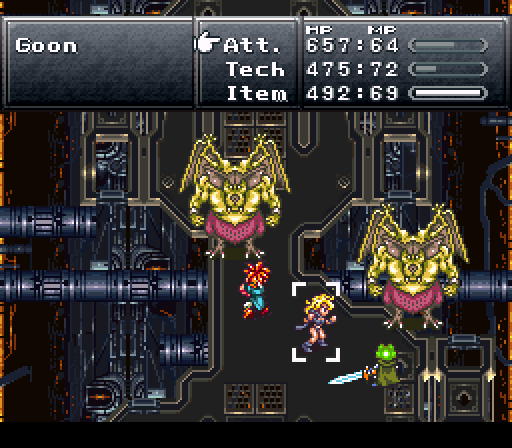
Ah, Goons. I'll avoid the obvious jokes here.
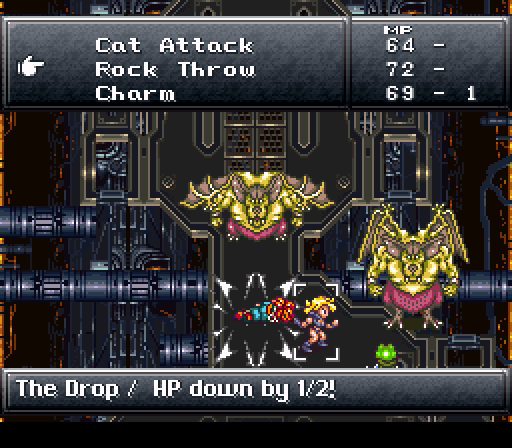
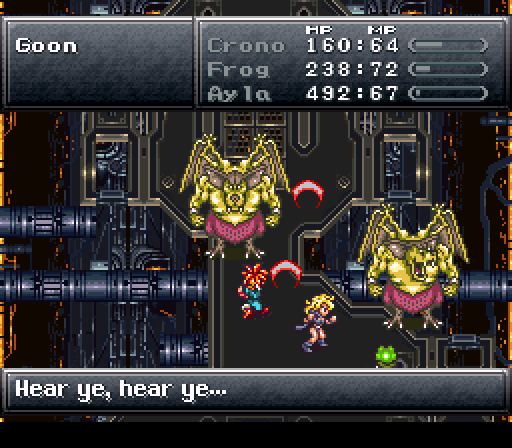
They absorb Lightning and Shadow attacks and have close to 3000HP. They've got some strong attacks too, including an HP-halver and a tornado attack, plus "Hear ye, hear ye..." which has to be one of my favorite attack names ever.
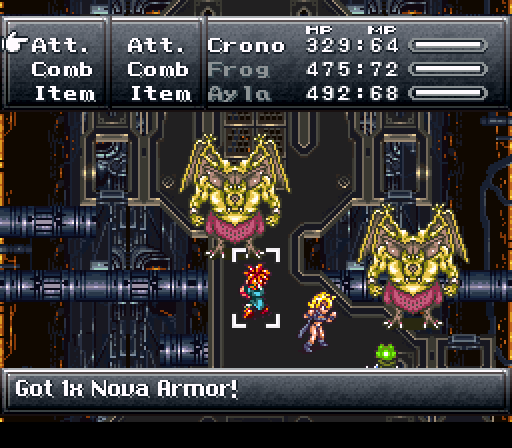
Ayla is fantastic to have for this dungeon, as there are a lot of good things to be Charmed here. Nova Armor's pretty nice to have more of, and that's just on the bottom end of the good loot here!
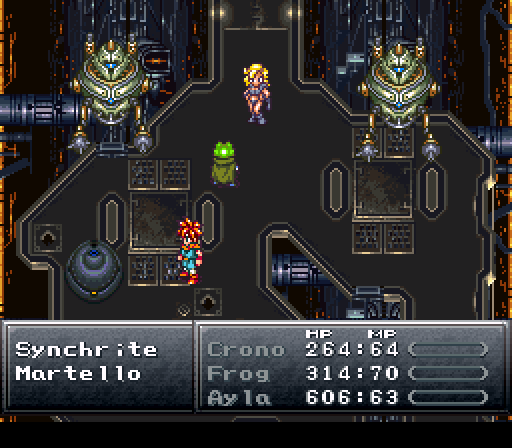
Synchrite isn't anything special, good HP but mediocre otherwise. You can steal Gold Earrings from them, but considering your characters will be close to max HP at this point anyway, and all the other better accessories you have access to...meh.
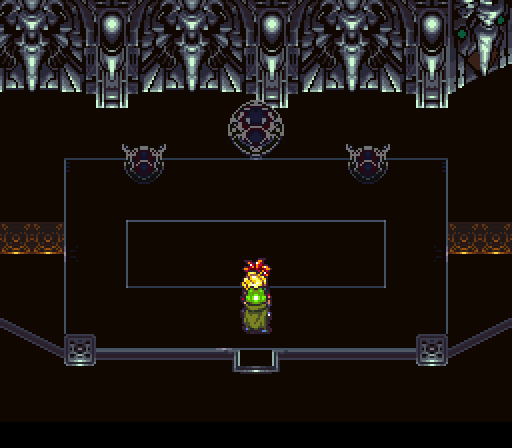
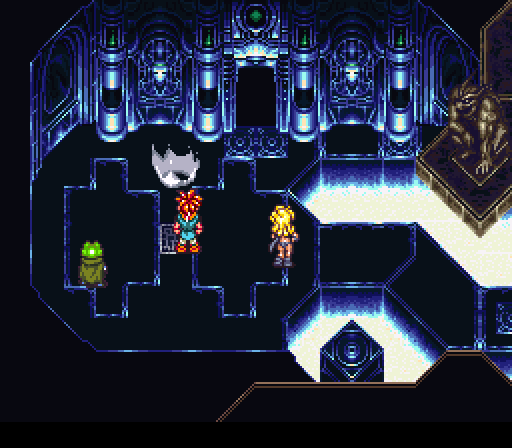
Further on are these weird statues.
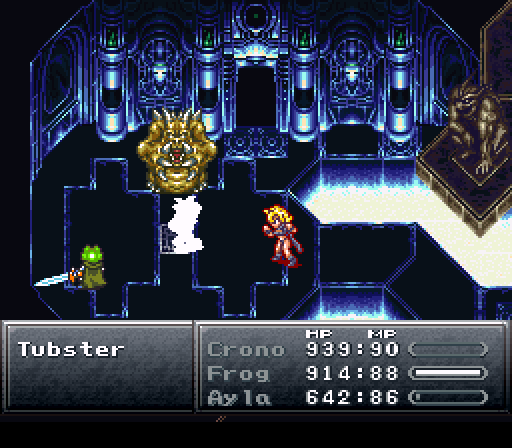
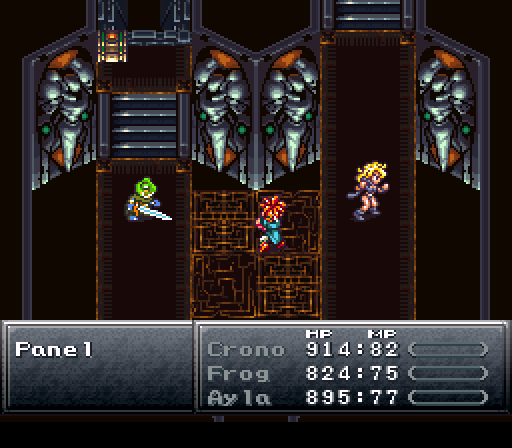
Panels have weak attacks and below 2000HP. They'd be of little note except for one very important thing:
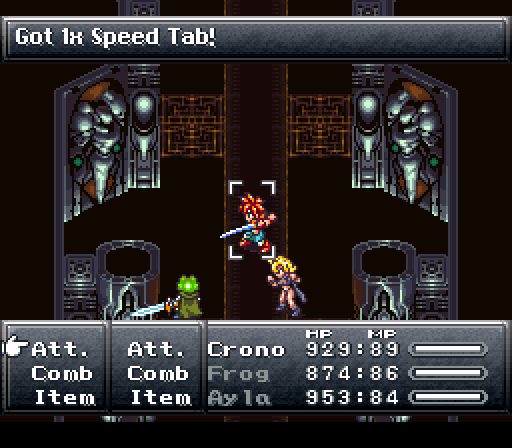
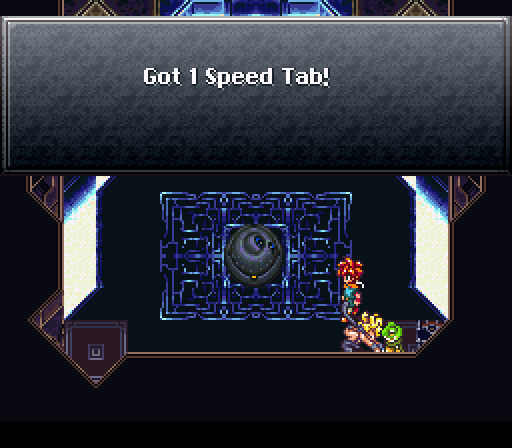
You can charm Speed Tabs from them. Sadly they don't respawn, including if you go to the Omen in an earlier time, but you fight enough of them that you'll have no problem getting everyone to a minimum of 12 Speed, enough to get the maximum benefit from Haste.
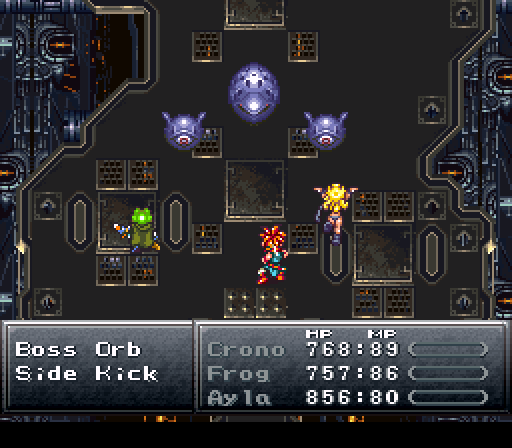
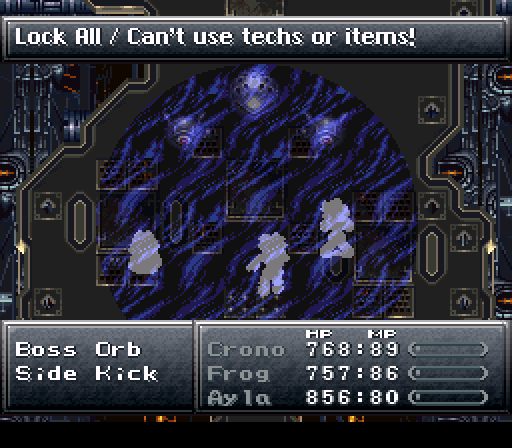
Boss Orb/Side Kick is the final iteration of those "You can only attack but get 100TP if you kill them" enemies. Though since we've already maxed all techs it doesn't really matter as much.
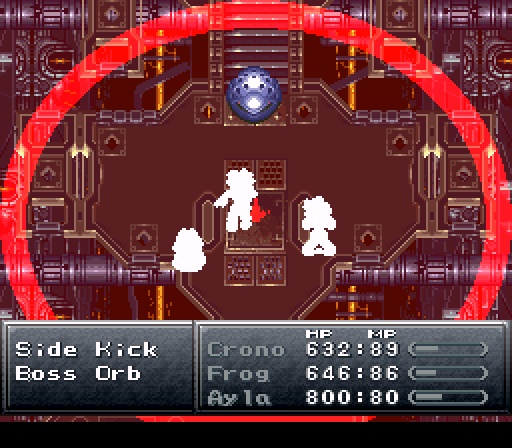
The only thing is if the Boss Orb stays alive, it'll spam a weakish attack that deals ~100 damage to everyone, though keep in mind you can't heal while fighting them, so make sure to take out the Boss Orb first before defeating the useless Side Kicks.
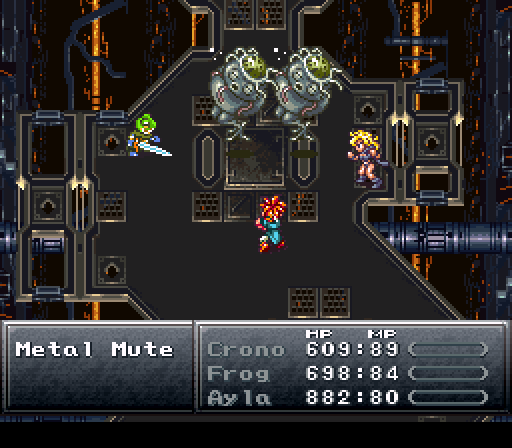
These guys are barely worth talking about. Standard HP for this area, standard defenses, can drain, mehhhhhh.
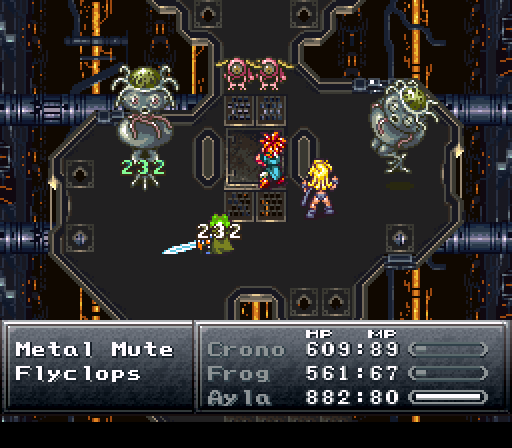
Flyclops have low HP, and while they have standard defenses they take quarter-damage from elemental attacks.
Their Charm item is really nice, though. Giving everyone 75% MP reduction makes life significantly easier for randoms.
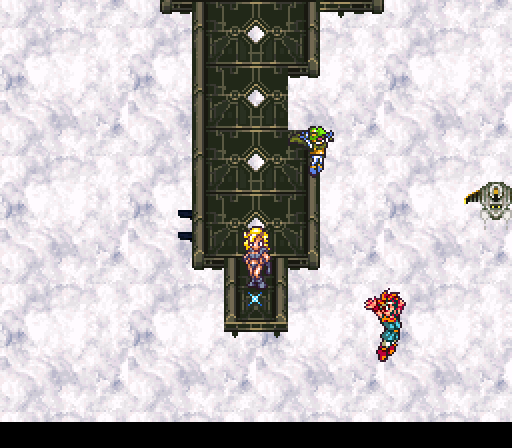
There's a teleporter to an elevator. Why can't the teleporter just teleport you to where the elevator ends up taking you? I'm questioning the design of this place.
You can avoid encounters if you take it easy and walk, not run.
Money's still relevant, apparently.
These guys can be utterly nasty. They're incredibly resistant (though oddly not immune) to Lightning and Shadow attacks. They have a mere 1500HP, but...
...it doesn't matter since they'll kill you in one hit and drain all that HP.
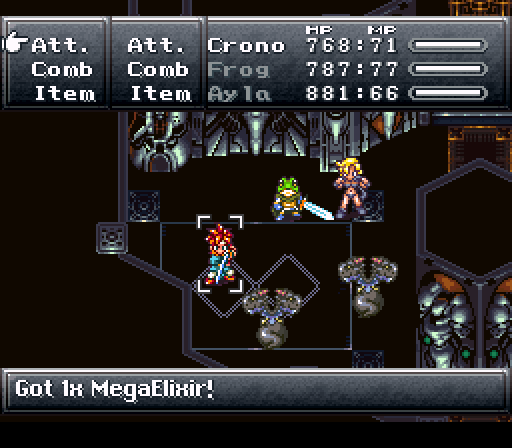
However, they're also fantastic to fight because you can Charm MegaElixirs from them. Not a bad trade-off!
There are also some great items that aren't simply stolen from enemies! Well, this one's a bit underwhelming, only boosting Magic and Magic Defense by five each. Most of your characters should be near max Magic Defense by now, especially if you opted for Prism Helms, so it ends up a bit weaker than the +6 Magic Ring.
This next room's a bit of a breather. This dungeon is loooooong.
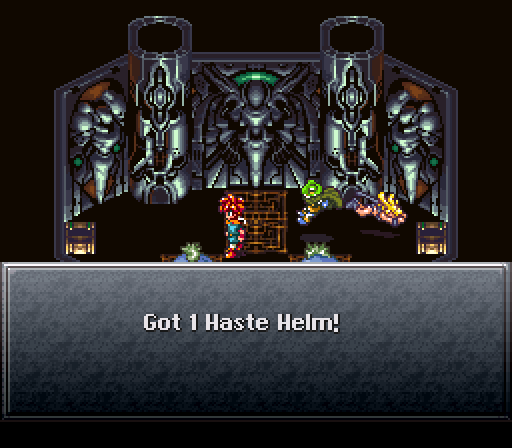
The defense is decent, but of course the big get here is permanent Haste, which alone makes it one of the best helmets in the game.

Chat:
 These just don't sell too well, ho, ho!!
I wonder why.
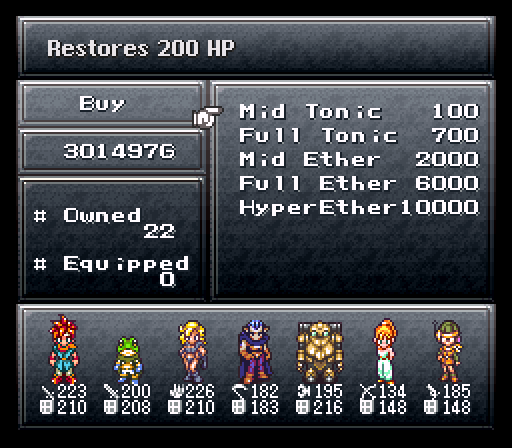
Anyway, this Nu just sells consumables, though HyperEthers restore full MP, so they're kinda nice. You know, if you couldn't already trivially steal a bunch of MegaElixirs.
 And if you wish to awaken from this dream, there probably is a way...
"Wake up" will teleport us out of the dungeon. I'll do it just to show it off.
Hey, it's our old friends from the 2300AD sewers...who've never actually met us. I'm glad they got a promotion to Black Omen Uber Drivers.
A neat effect, but I'm not interested in backing out now. After resetting...
We're starting to get more into the Ocean Palace architecture, though it's still a weird mish-mash between that and whatever the hell the Black Omen is.

Tubsters have decent HP, a slight Fire weakness, and Shadow absorption. Their big thing is stealable Power Tabs, and they'll respawn if you leave and return from the bottom room.
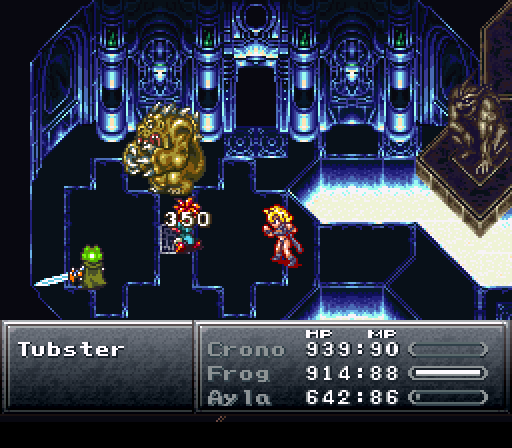
They do counter every attack with a nasty physical, though, so be prepared for that.
Next is...Blue Gato...?
Standard numbers as usual, but these guys are more annoying than threatening. If you lack any status resistances whatsoever, two of these guys can end up stalling your party for a long time. They also have an HP-halving move.
Boosts Power and Stamina by +10, which is a really nice boost. Makes me wonder why the Magic Seal doesn't give +10 Magic.
As if the Panels don't give us enough Speed Tabs!
Not that I'm complaining, of course.
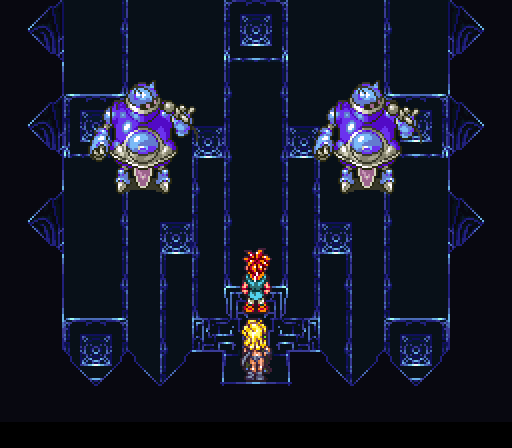
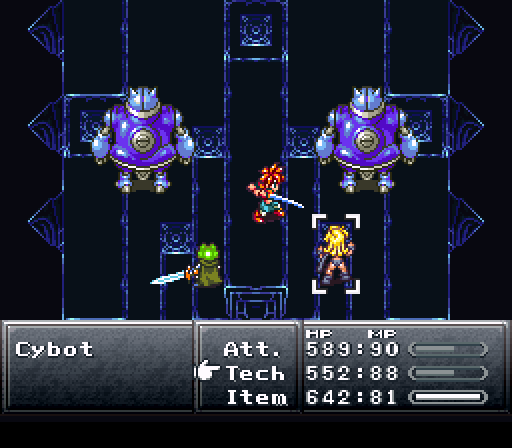
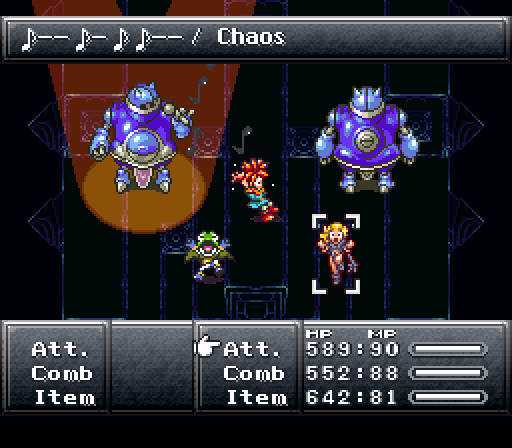
After we loop around, we get to a rather large floor with some unique-looking enemies.
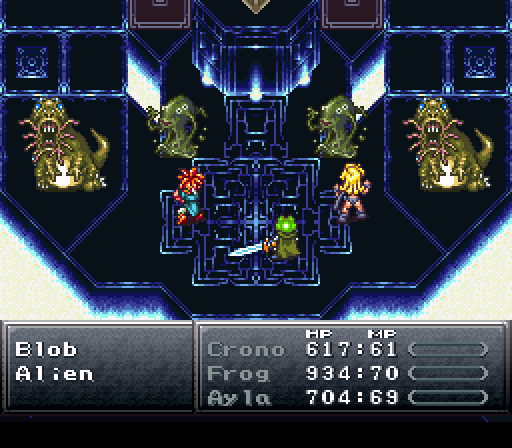
Blobs nullify Shadow, are weak to Water, and have low HP. I'm also pretty sure this is the only fight in the game you see them. They'll counter magic with MP Buster apparently, but they're so fragile I didn't get to see it.
Aliens have standard defenses and low HP, but...
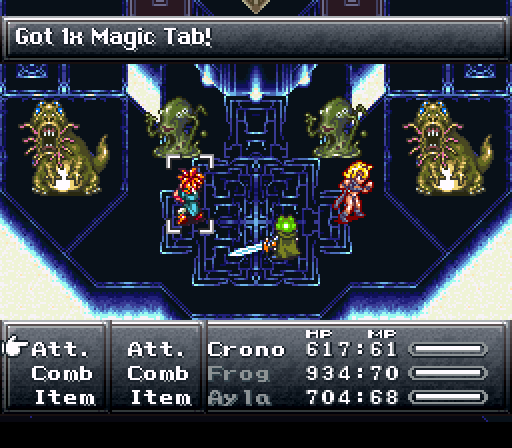
...you can steal Magic Tabs from them.
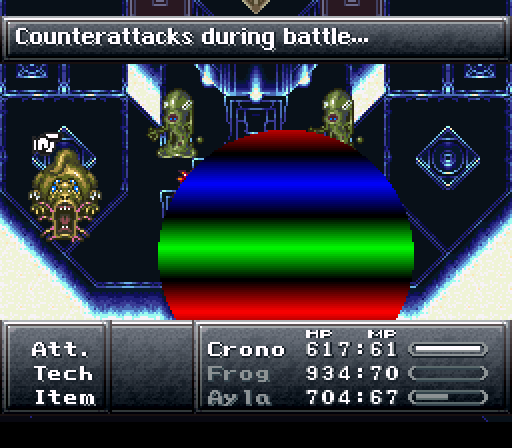
Be careful, though, as they'll counter attacks with a Black Hole knock-off that can instantly kill a character.
There's definitely something off about this place, though. The incredibly advanced architecture, the mix of robots and alien forms with advanced enemy designs... Just what the hell is going on here?
Eventually, we make it all the way to an important-looking room, which means...
 Boss Battle 1
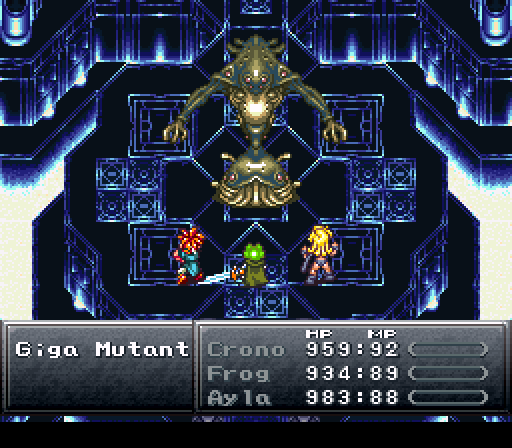

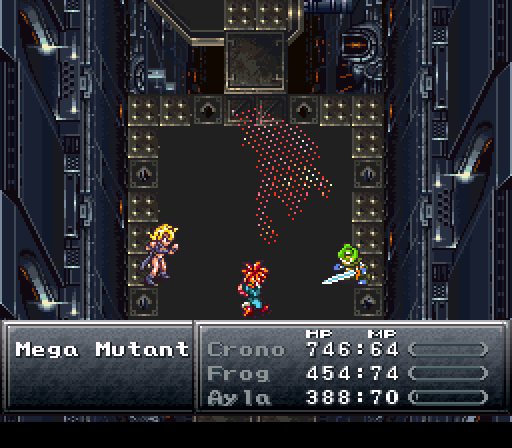
It's time for another boss battle, and this one's a decent step up. The HP for both parts have been bosted a bit, but more importantly they have max physical defenses and boosted magic defense. So physical attacks are out, making you stuck with magic attacks.
And of course it'll drain your MP to make things more complicated. This is the last dungeon, the game's not messing around anymore.
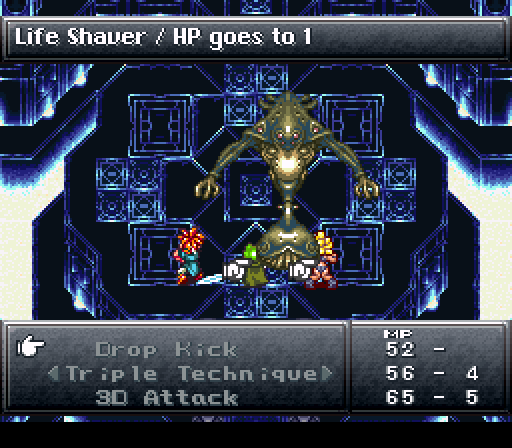
It has some other attacks, such as the "Reduce to 1HP" Life Shaver attack.


Even Robo and Ayla have magic attacks on tap though, so though it may be a struggle, it shouldn't be too difficult.
Black Dream 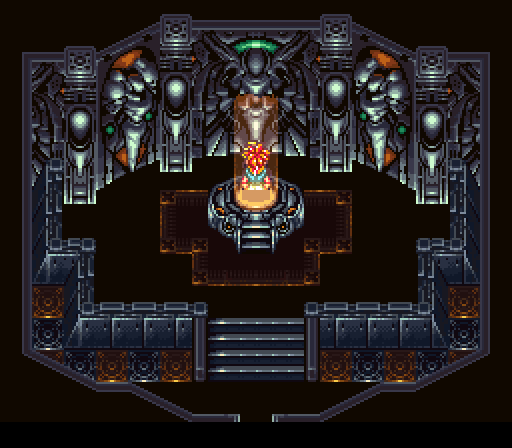
Another elevator? Why not just teleport me to the end of this place?
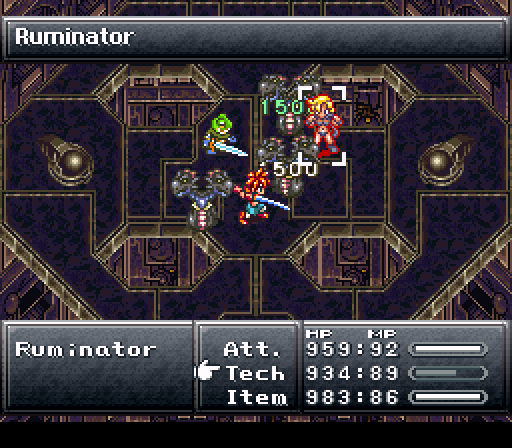
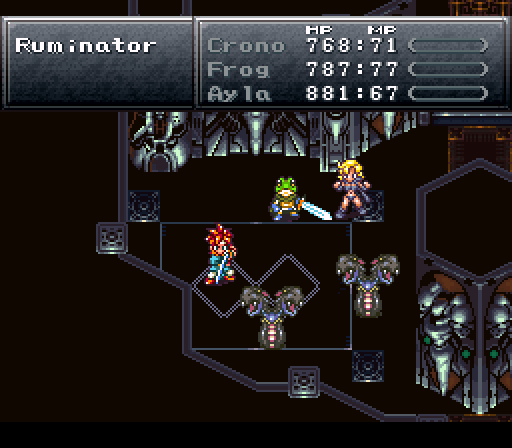
It does let me show another Ruminator quirk, though, which is that if one is damaged, it'll willingly kill another to restore itself. These things are vicious.
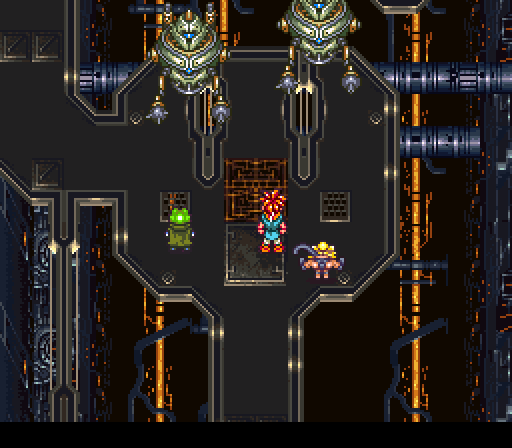
After that, more Black Omen machinery. Not much new here.
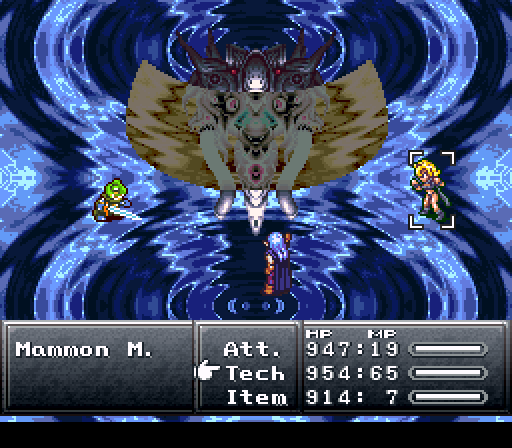
Eventually, we get to this room, where we meet our next boss...
 Boss Battle 1
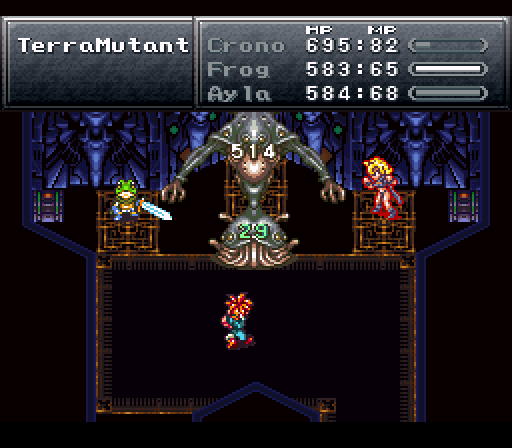
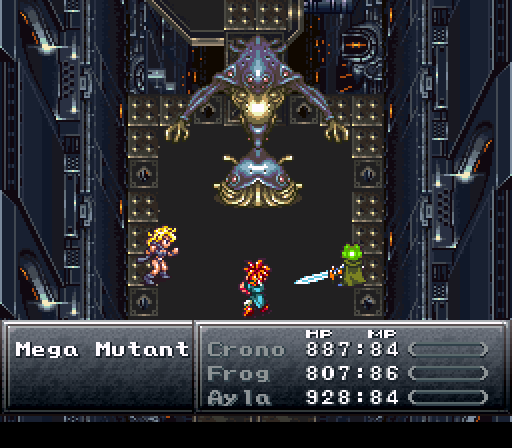
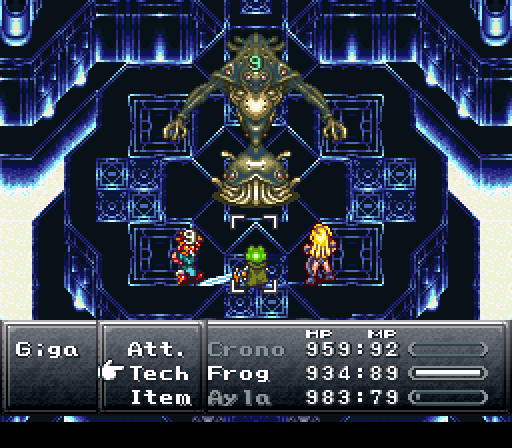
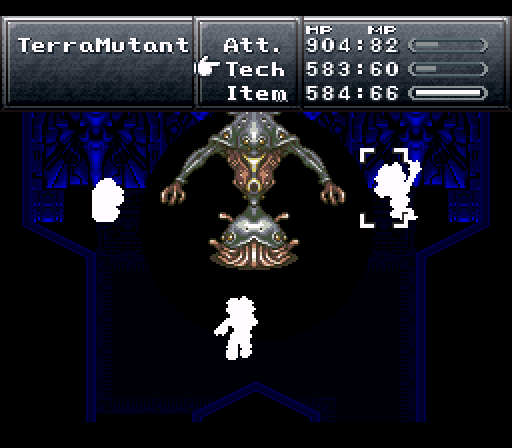
TerraMutant is the toughest iteration yet. The top part has even higher HP and max physical defense, while the bottom part has a whopping 20,000HP, maximum defenses for both magic and physical attacks, and absorbs all elements! So the only part we can realistically hit is the top part.
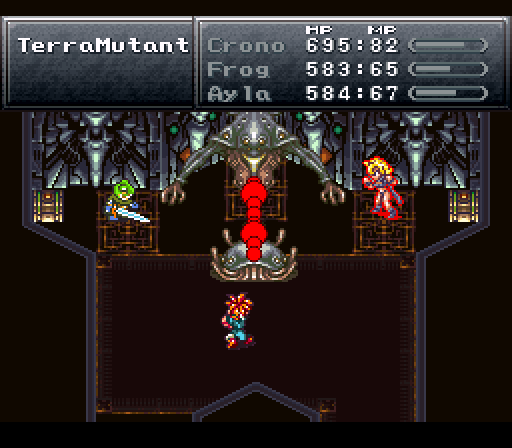
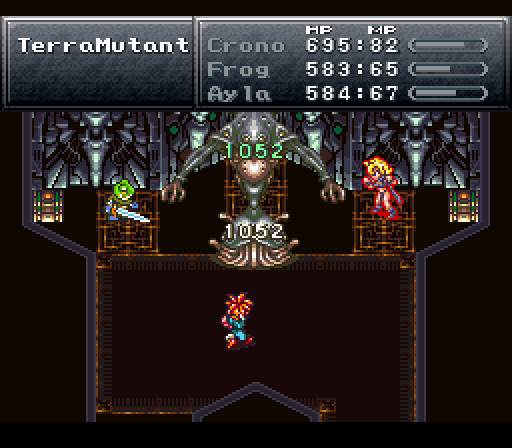
Except that top part will suck a good chunk of HP from the bottom part.
Luckily, only one needs to die for the other part to follow, so the strategy here is either to quickly take out the top part with powerful single-target magic attacks or play a stalling game and wait for the top part to deplete the bottom part.
And of course it has other attacks like Chaos Zone to make things trickier.
It takes awhile, but eventually the fiend falls.
Black Dream 
One of our rewards is the final rock. This lets us use the final Triple Tech in the game, Poyozo Dance.
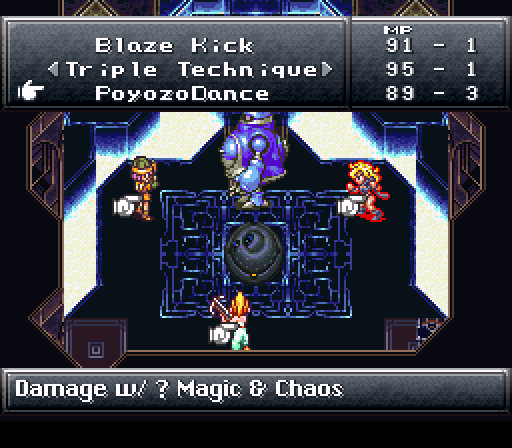
This one requires the women.

Tail Twister + Provoke + Hypnowave. It basically extends Tail Twister to the entire enemy field rather than an area around Ayla, and throws in a Chaos debuff on top of that.
And with that, I've now shown every tech in the game in GIF format!

Anyway, there really isn't much after Terra Mutant. Just a long walkway until...
 Boss Battle 1
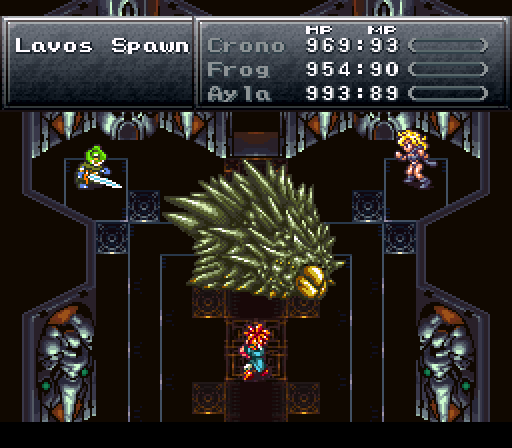
This is a souped-up version of the ones on Death Peak.

It's got a few elemental attacks to hit us with.
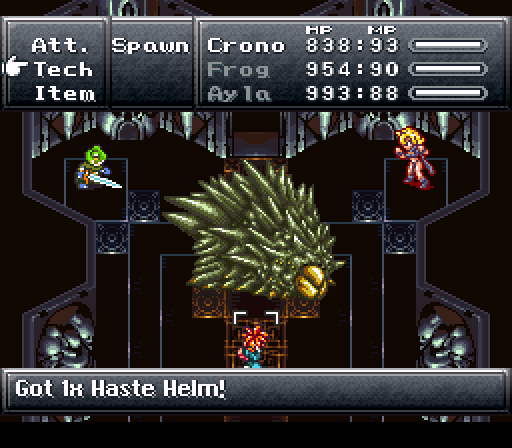
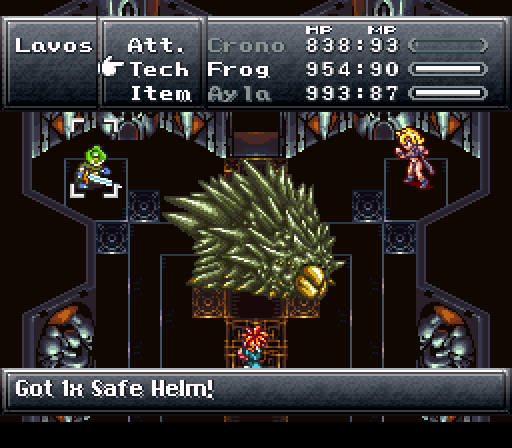
And some good steals! The Haste and Safe Helms are huge gets in particular.
Though, once again, make sure you don't attack the shell.
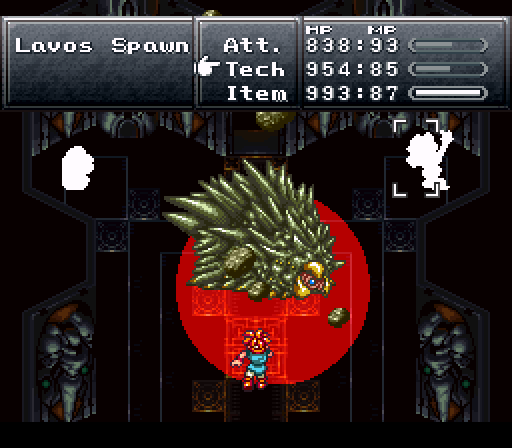
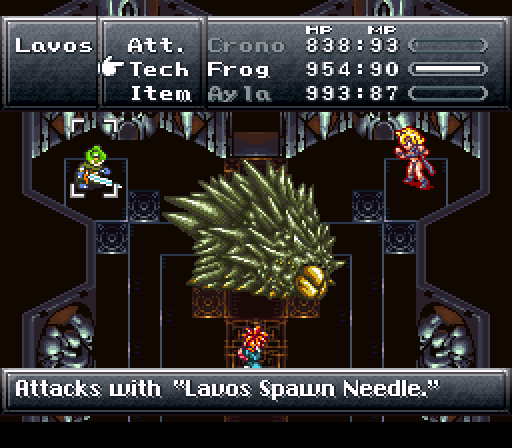
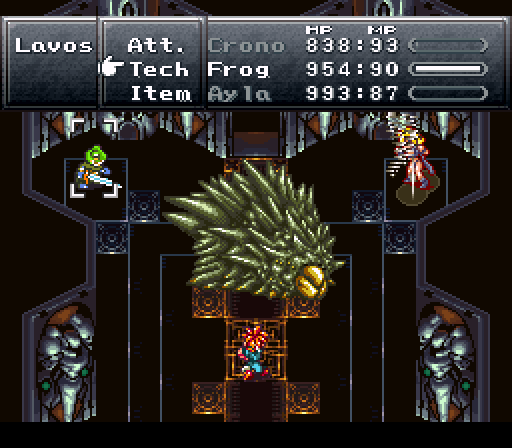
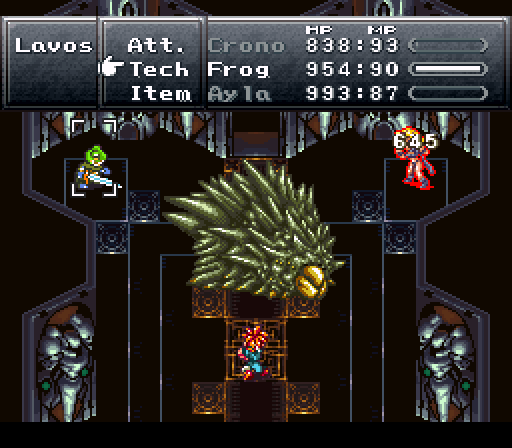
DESTRUCTION ZONE
Otherwise, this guy doesn't resist physical attacks as well as the mutants do, so my physical-oriented techs make short work of the guy.
Black Dream 
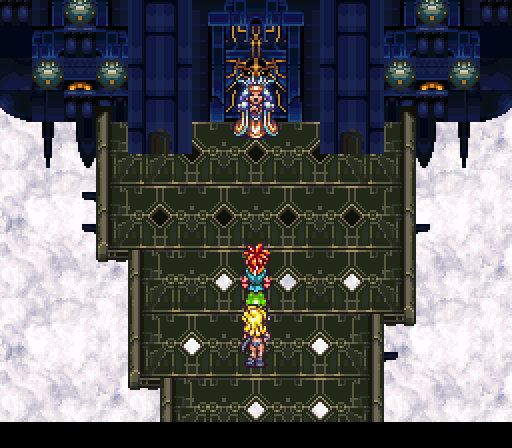
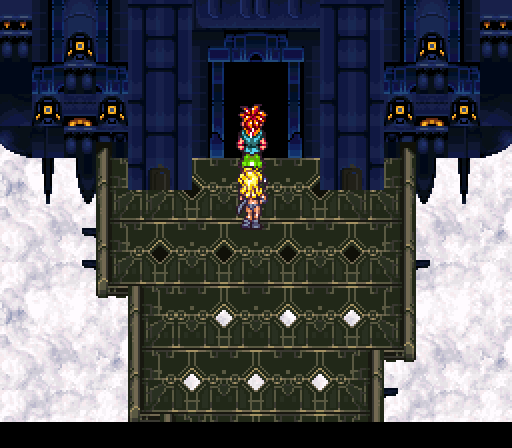
We're finally near the end of Black Omen!
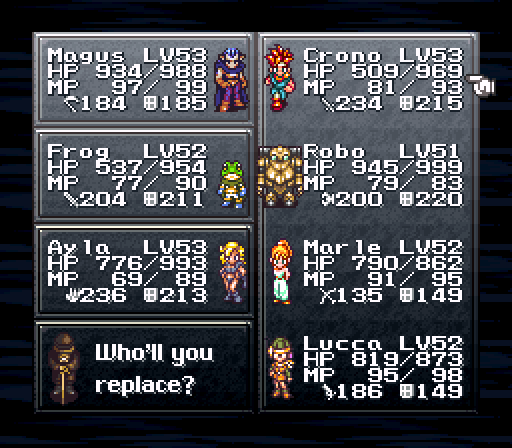
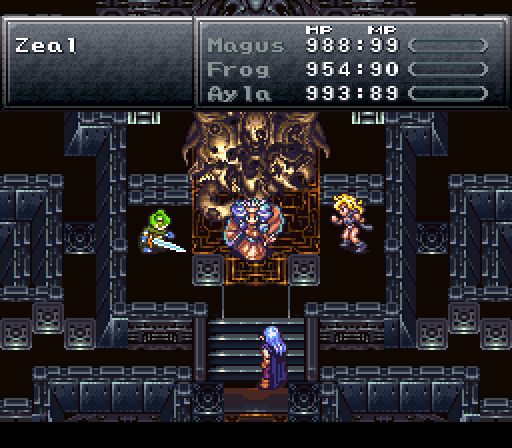
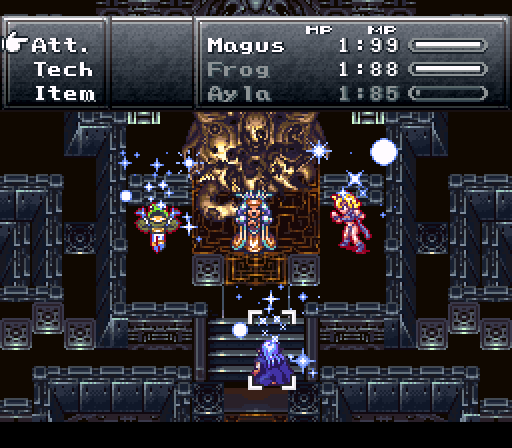
For this last part, I'm replacing Crono with Magus because it just makes sense. Frog for healing and a weird gimmick with a boss, Ayla because Charm is even more awesome for this next part.
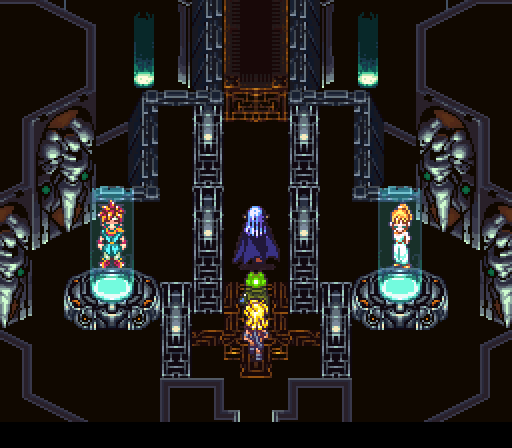
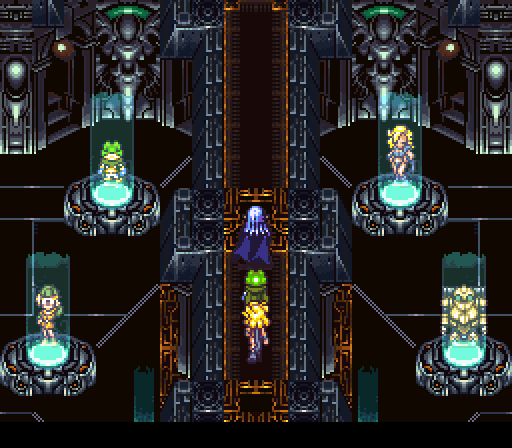
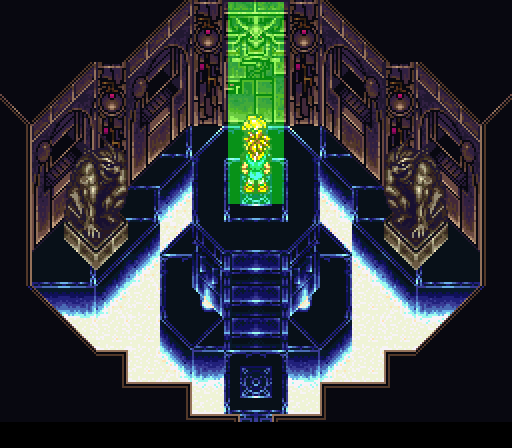
The final room has the six main characters floating in pillars for...reasons. I think the in-lore reason for them is "It looks cool."
Magus is a dweeb so he doesn't get one.
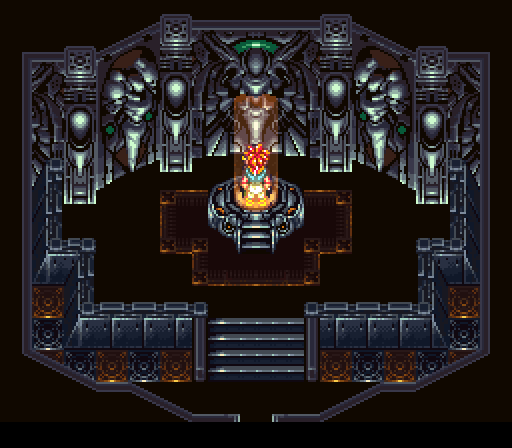
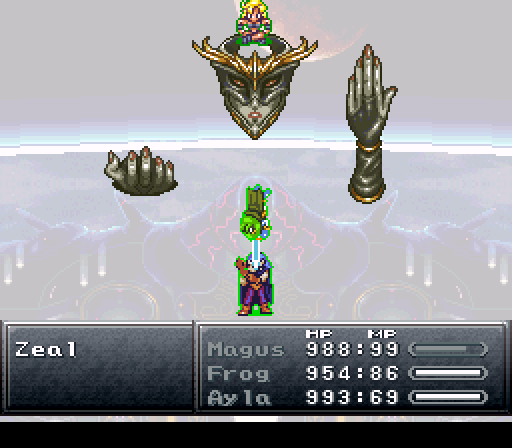
Zeal Palace 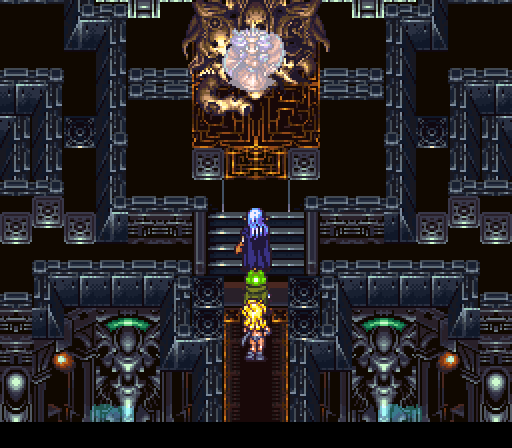
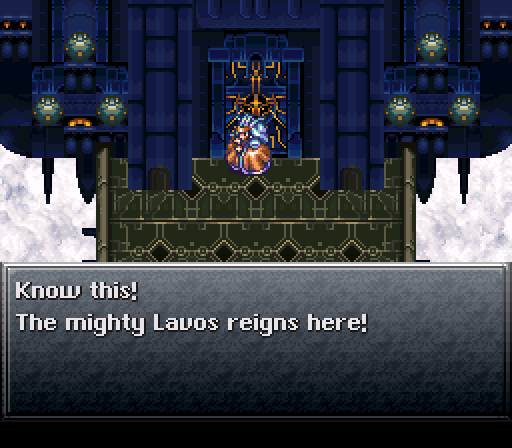
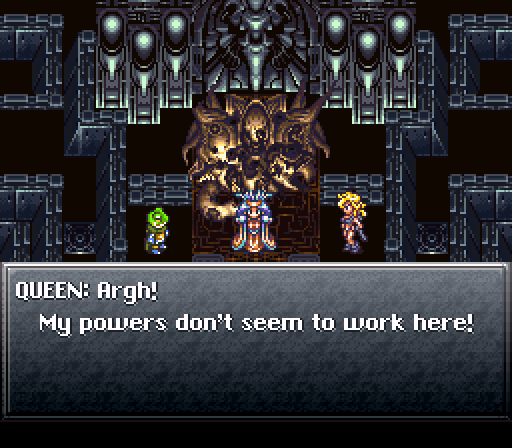
Finally, we reach Queen Zeal and what appears to be the Mammon Machine.
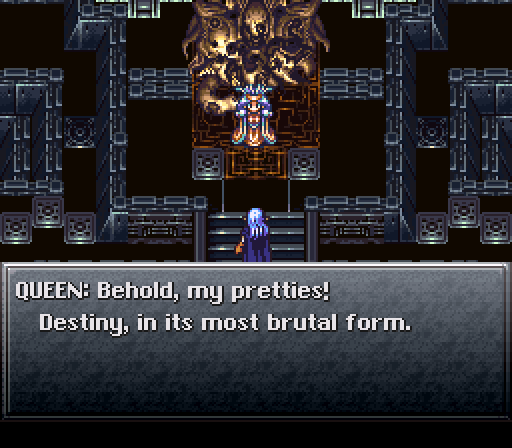 All the dreams that might have been. All the happiness, and sorrow, you might have experienced.
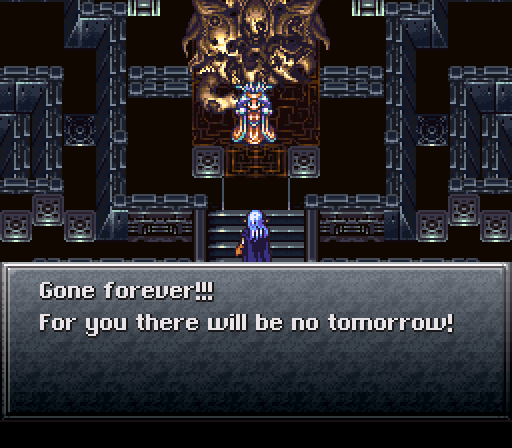 The Dark Omen transcends time and space, waiting for Lavos to awaken! Destiny has led you here. And here you shall rest forever, unless you can defeat me, and smash the Omen!
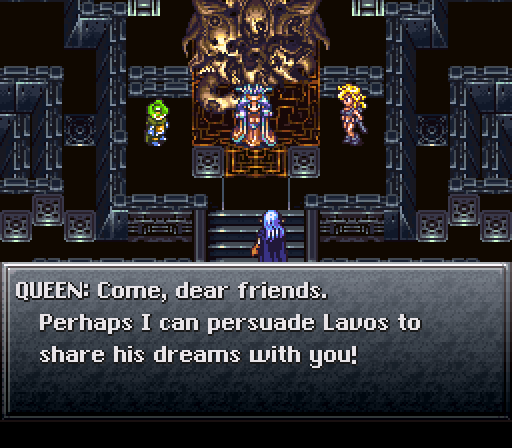
The Zeal Palace music continues during the first boss of this gauntlet.
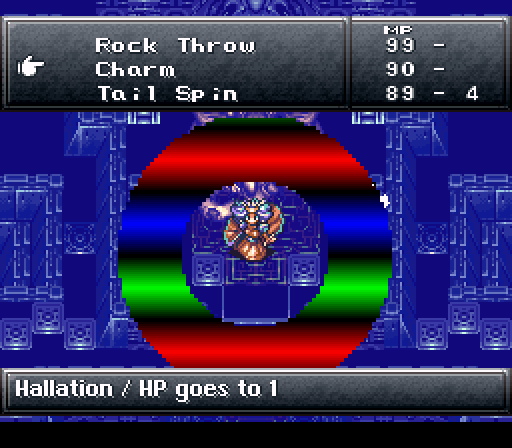
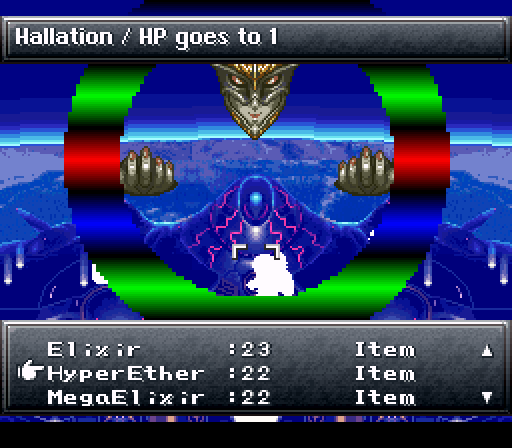
Zeal's big gimmick is using Hallation to reduce everyone to 1HP. Otherwise, her attacks aren't very threatening.
Heal-all techs are nice here, as are Lapises.
Alternatively, exploit the attack to maximize the damage from Frog Squash and Dino Tail and rip through her 12000HP.
 Wait! I'll simply toss you into the Mammon Machine!
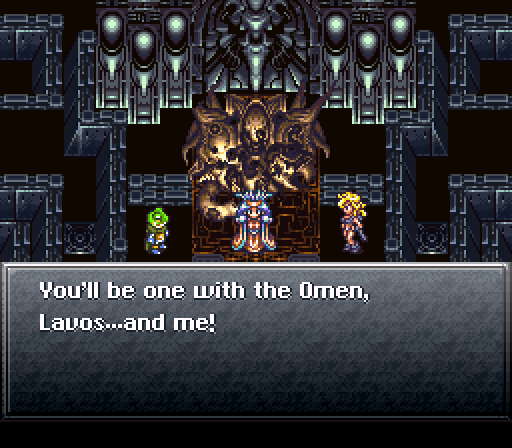
 Boss Battle 1
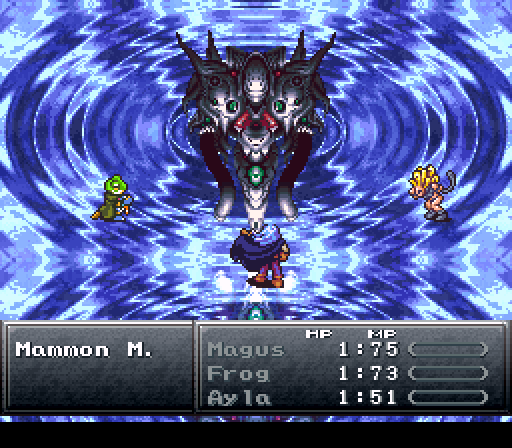
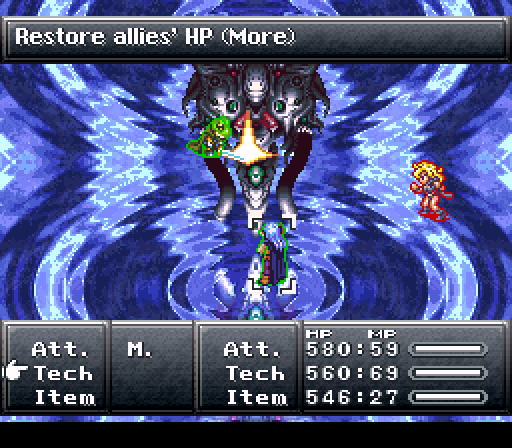
At which point, we're thrust into a battle with the Mammon Machine. It has 18000HP to burn through.
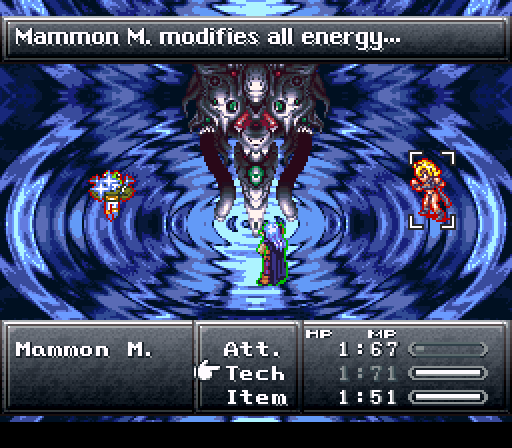
This thing has some weird gimmicks, though.
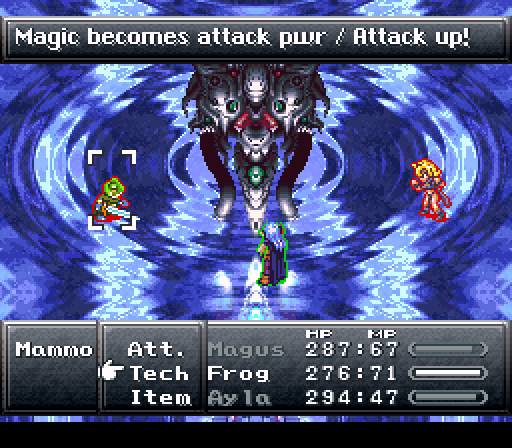
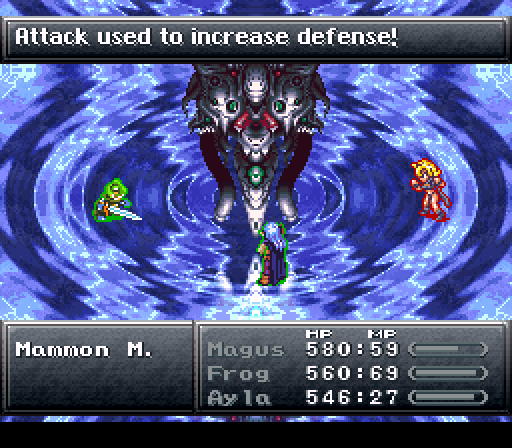
Physical attacks boost its defense, and magic attacks boost its attack.

The Mammon Machine also has a weird relationship with the Masamune, which makes sense since it was the machine's energy that transformed the Ruby Knife into it in the first place.

If you use a lot of magic, this can hurt.

But after this attack, it'll stop its gimmicks, giving a perfect opportunity to go all-out on it.
And go all-out I do.
We're still not done, though...
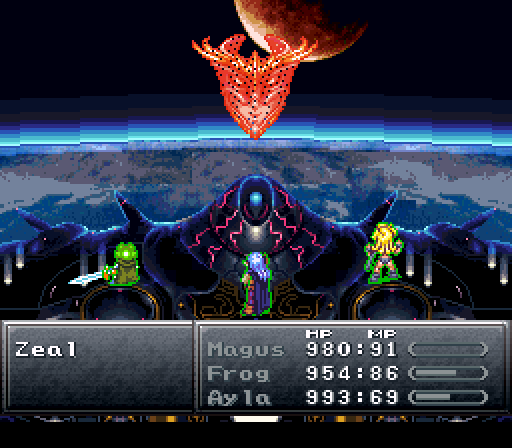
Eventually, we end up on the top of the Black Omen itself.
 I plan to live with Lavos, and control the universe forever. You will not get in my way!
Normally, she'll say one last generic line, and you'll bust out Boss Battle 2 for the final battle with Zeal.
But we brought Magus for a reason...
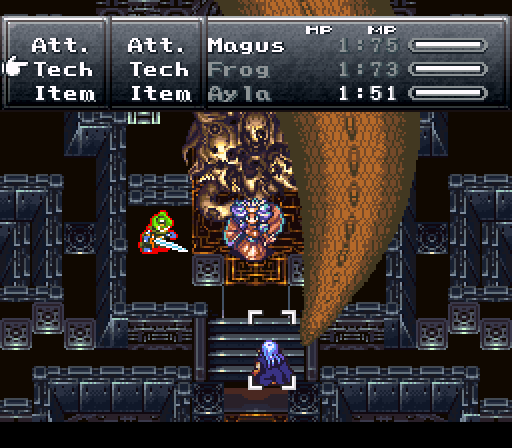
Battle with Magus 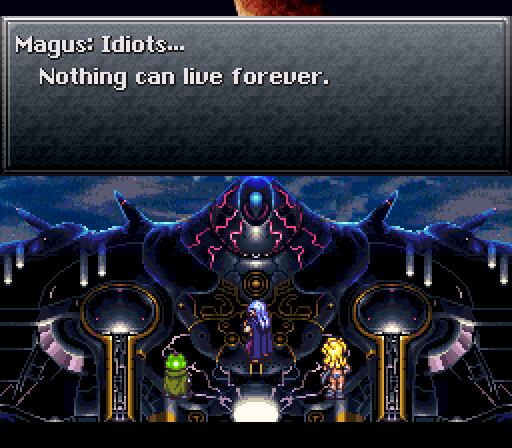
 Zeal... A pitiful woman, duped by Lavos!
 Prophet! You are doomed. I haven't forgotten what you did at the Ocean Palace.
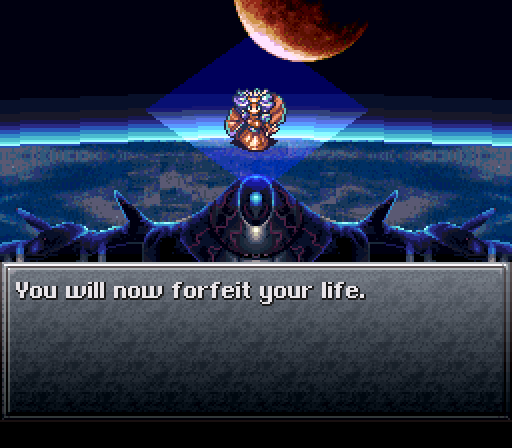

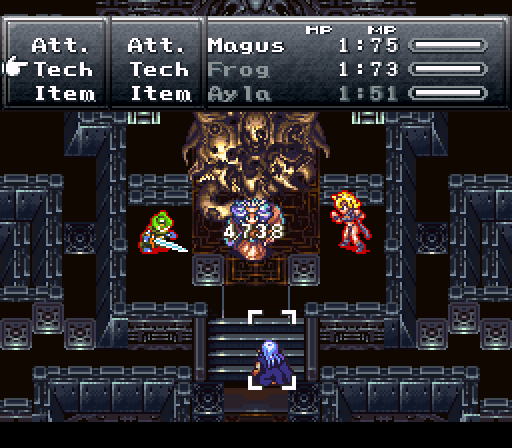
This is a weird one. Both hands have max defenses and an insane amount of HP, to the point where it's pointless to even try to fight them. They mainly exist so that you don't simply spam your most powerful attacks, due to their nasty counters.
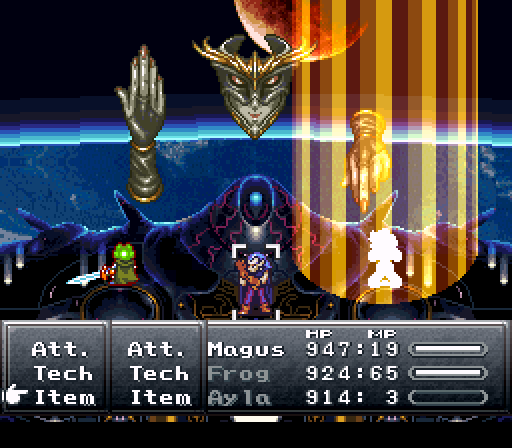
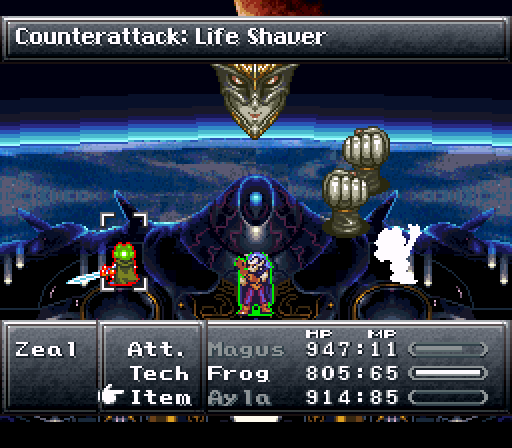
Namely, MP Buster and Life Shaver to reduce the attacker to a 1HP 0MP mess.
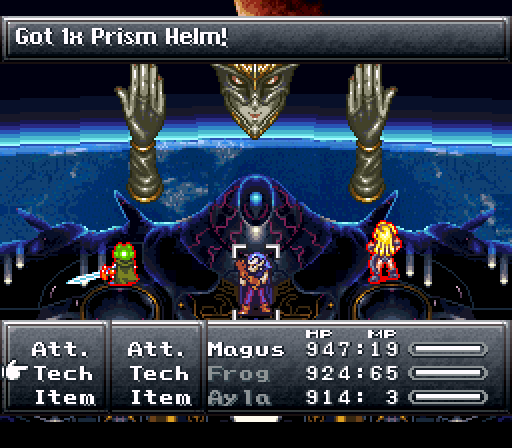
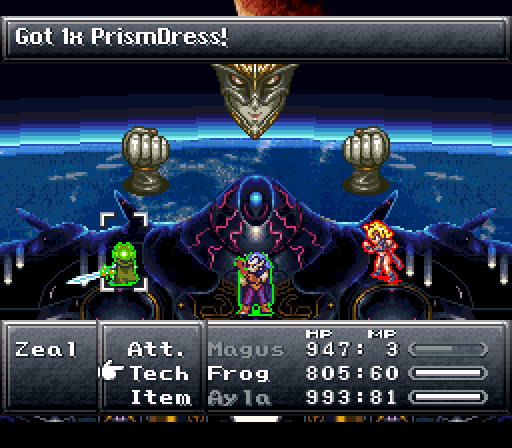
However! The hands have a Prism Helm and Dress for steals, so it's very much worth taking the counters to snag them!
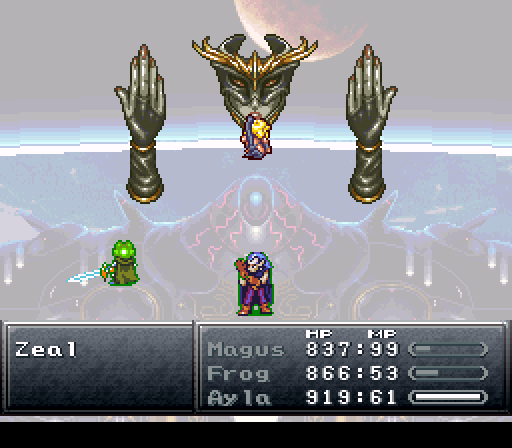
Otherwise, the head has 20,000HP and standard defenses, so focus your attacks on that.

The hands will still Life Shaver/MP Buster occasionally, and Zeal has other attacks, including Hallation from before.
But we've made it this far! Nothing can stop us now!
Zeal Palace 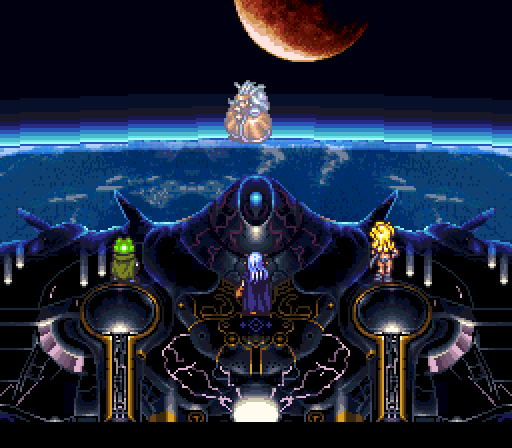
Zeal once again reverts to her old form.
 Oh almighty Lavos, lend me your power!
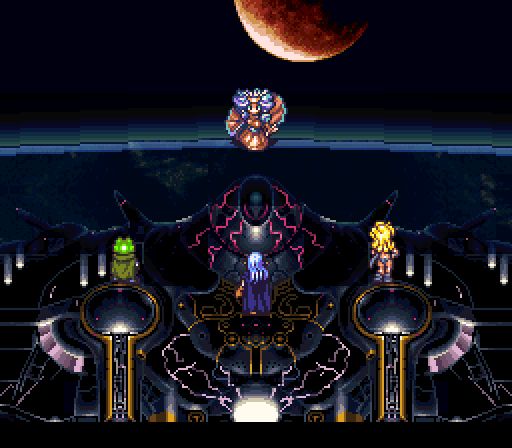
The Black Omen starts to awaken Lavos...
 At last, Lavos awakens!
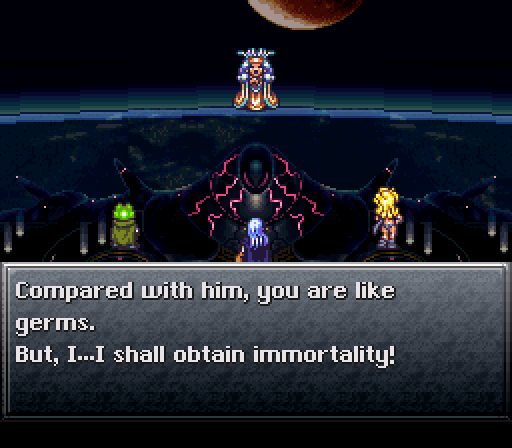
This is the last we'll see of Queen Zeal.
...But...
Lavos's Theme 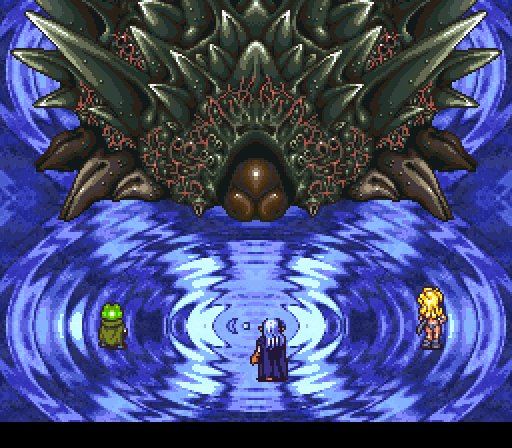
Lavos...
Next time, the final battle.