
 Music: My Quiet Forest Home
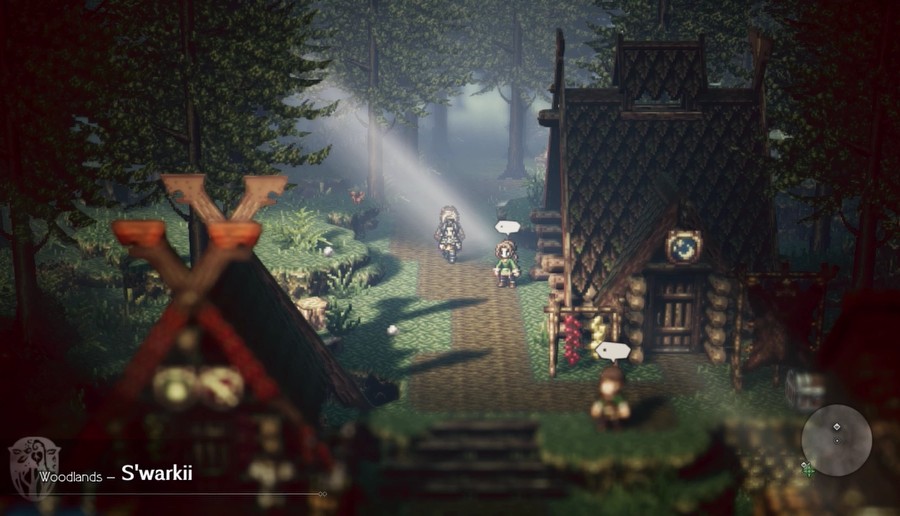
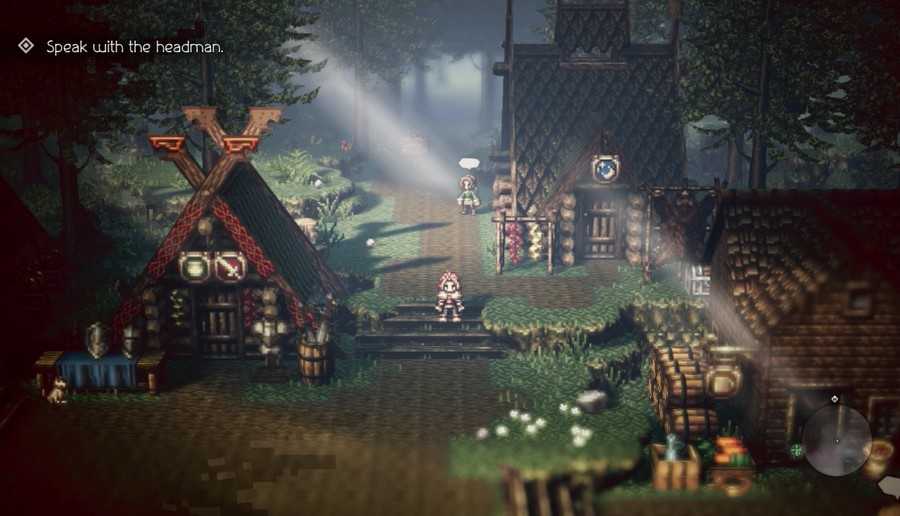
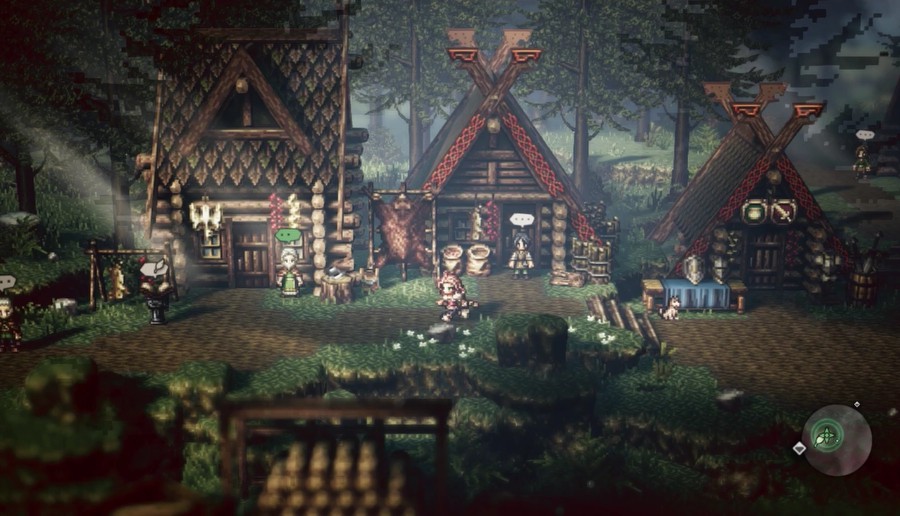
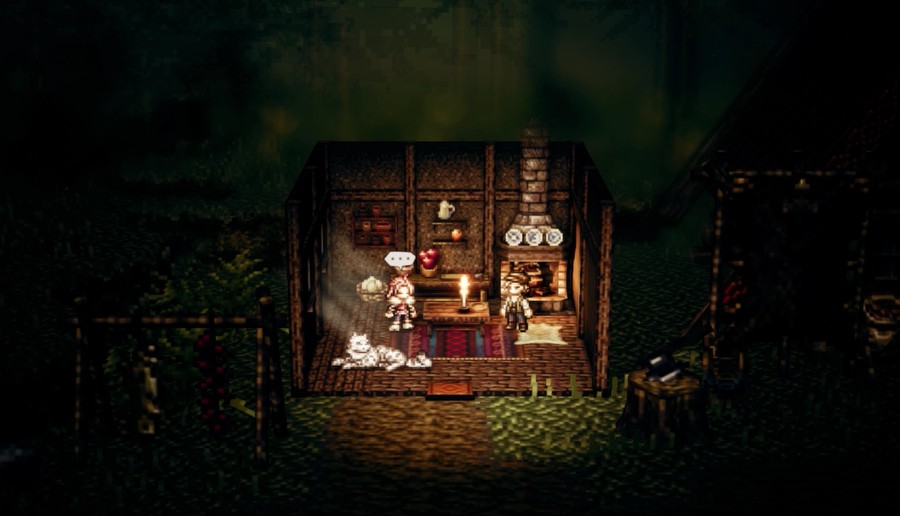
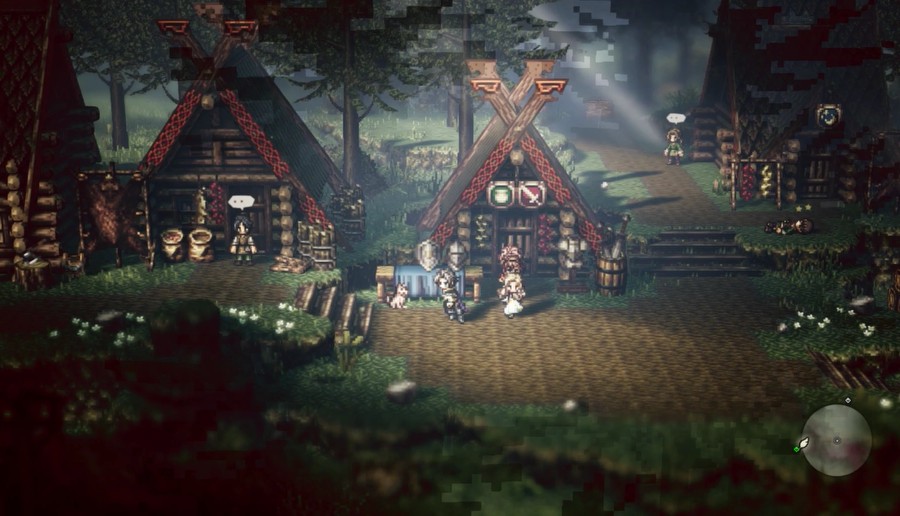
Welcome to S'warkii, a small hunting village within the Woodlands.
And here is our next companion, waiting for our help.
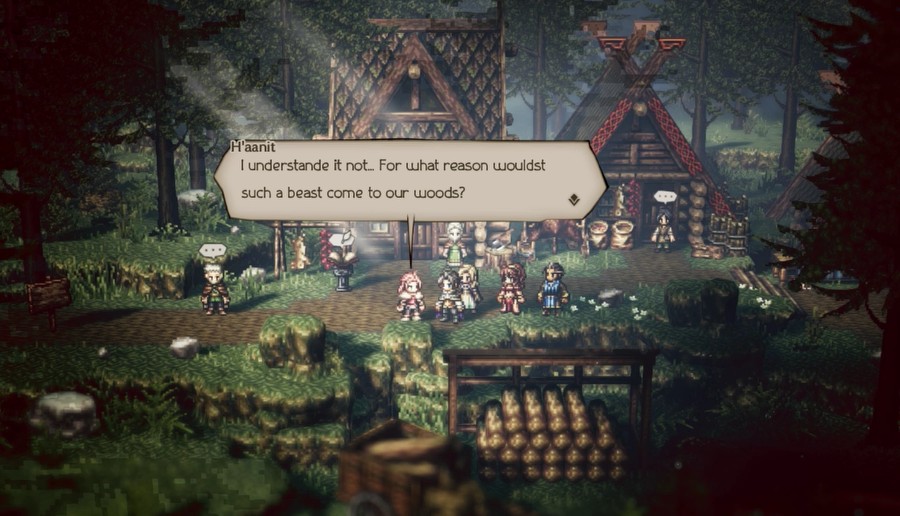
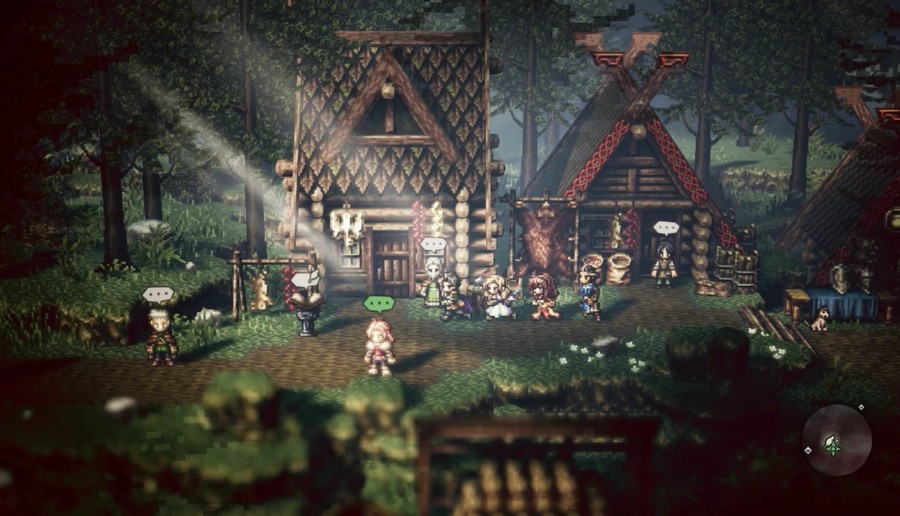
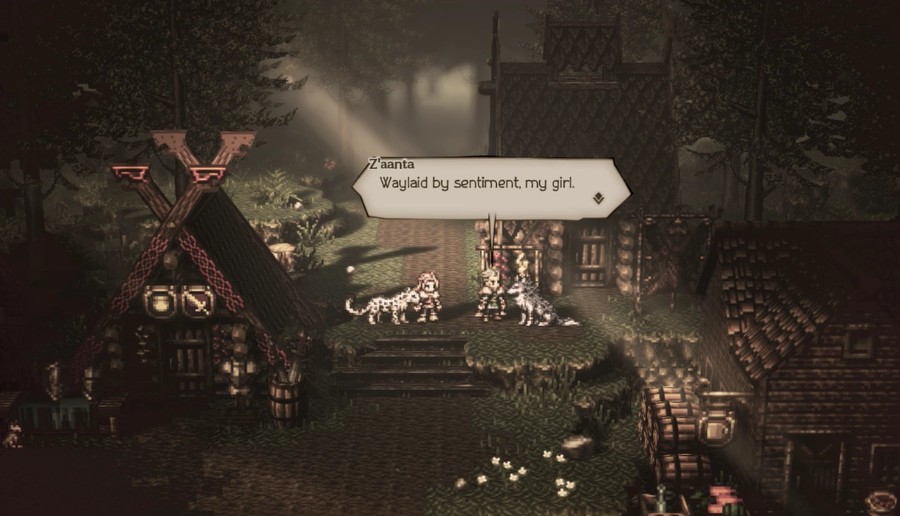
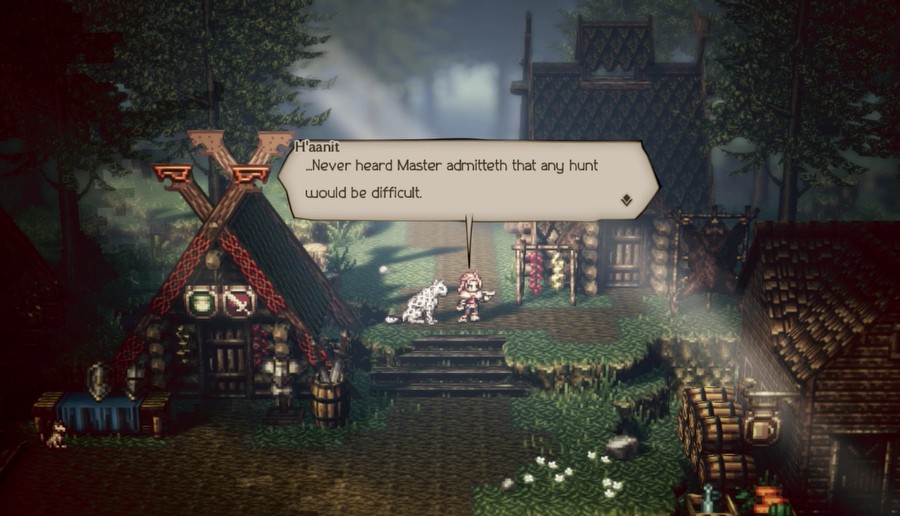
 Doth this herald some greater ill that comes our way?
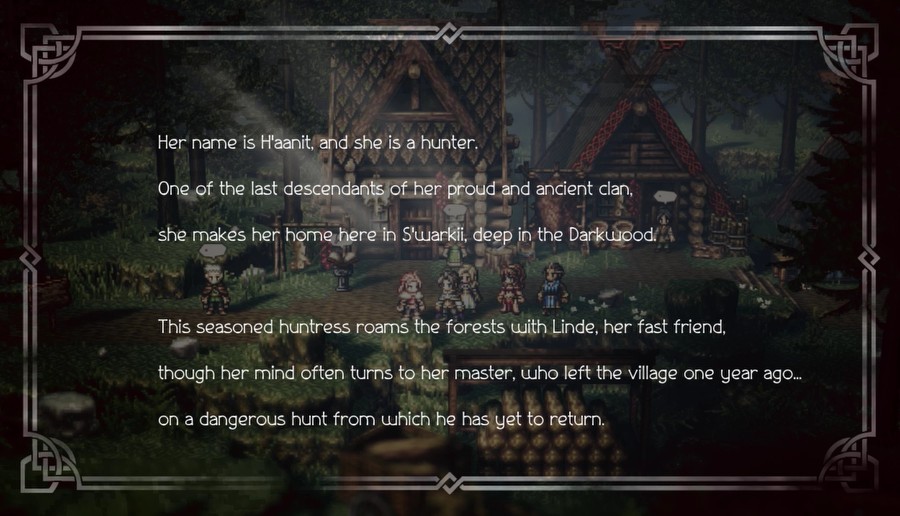
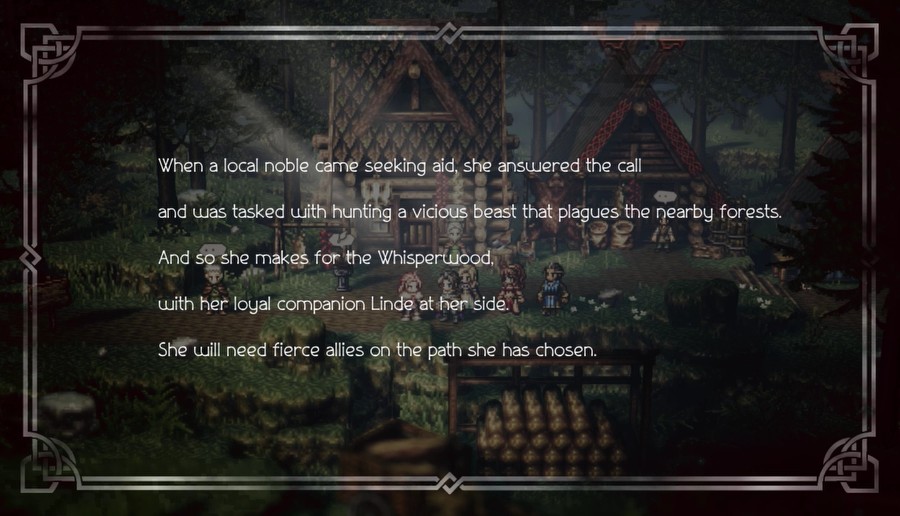
H'aanit probably has the most straightforward Chapter 1. She's tasked with hunting a beast, simple enough task.
Even though we got Primrose before Olberic, all those Challenges gave Olberic a slight edge, plus H'aanit is a similar offensive powerhouse, so I opt for her over Olberic.
 Video: Master and Apprentice Music: Enveloped in Kindness
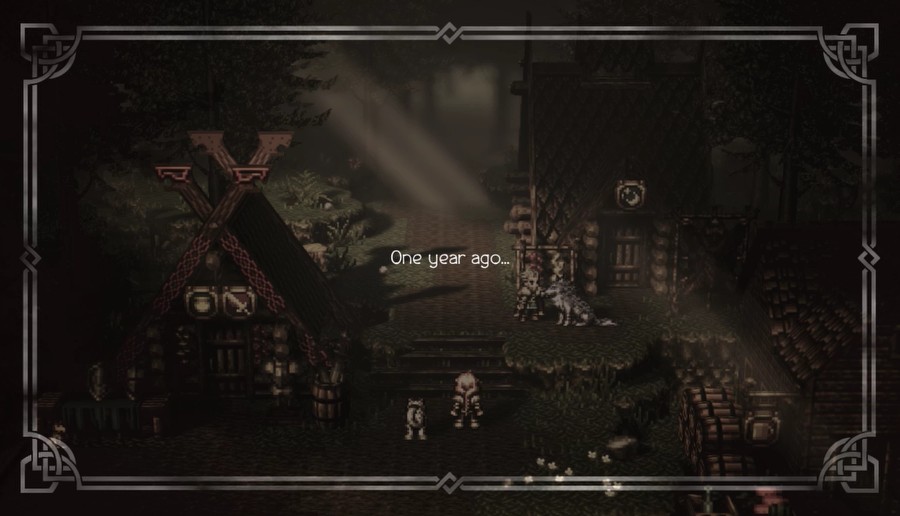
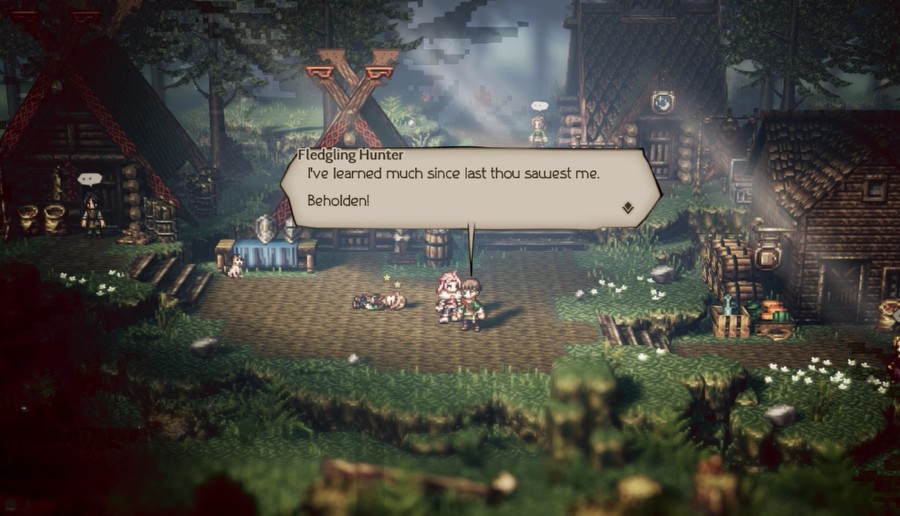
 It'd ill behooven me to leave without bidding my favorite prentice a fare-thee-well.
 Will thy journey be long, Master? Ah...a good question, that.
 ...I see.
 I'll doe the deed and be back before two moons have passed. ... Still no smile? What is it, my girl?
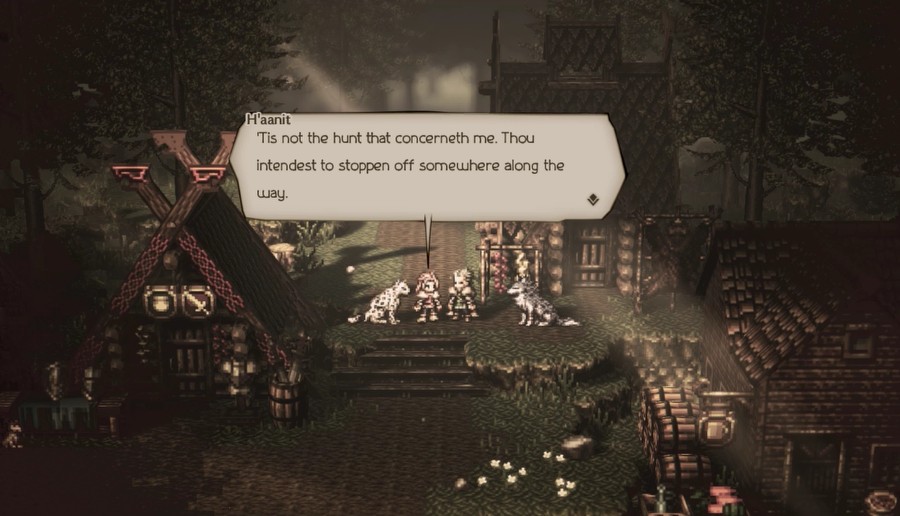

 ...Here and there, mayhap. Why dost thou ask? Thou forgetst or feignst ignorance, so I will reminde thee.
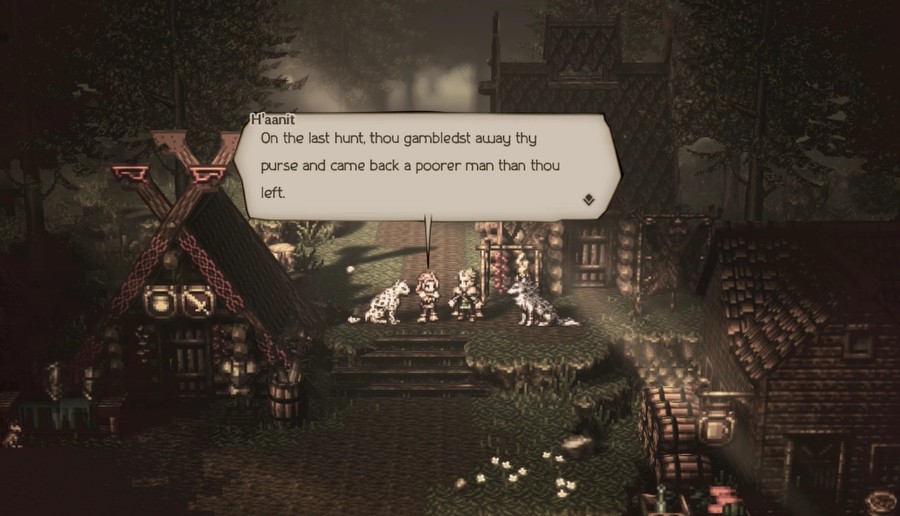
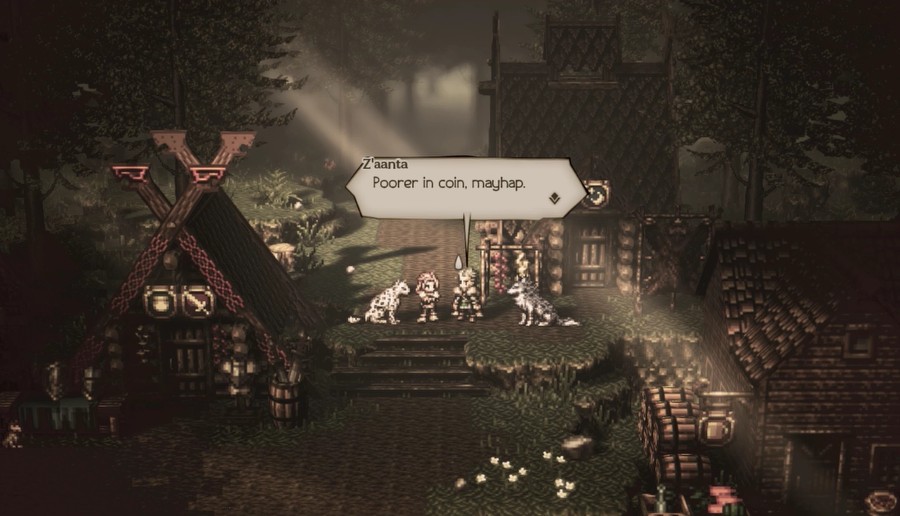 Yes, I did make a few wagers at the arena in Victors Hollow... And learned that while I have a keen eye for assessing the strength of beasts, I am quite at a loss with men. A valuable lesson that was cheaply bought! Not so cheap in the end. Eliza had to payen thy debts, and thou only finishedst paying her back this last moon.
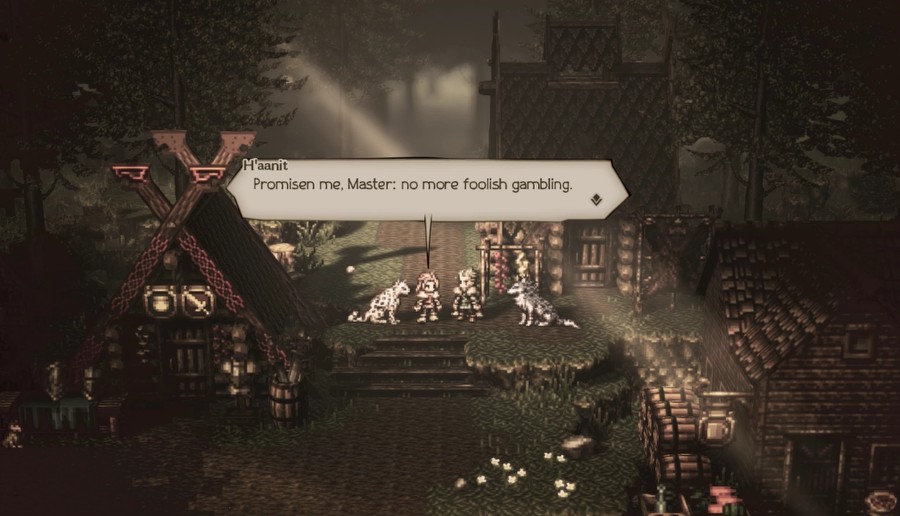
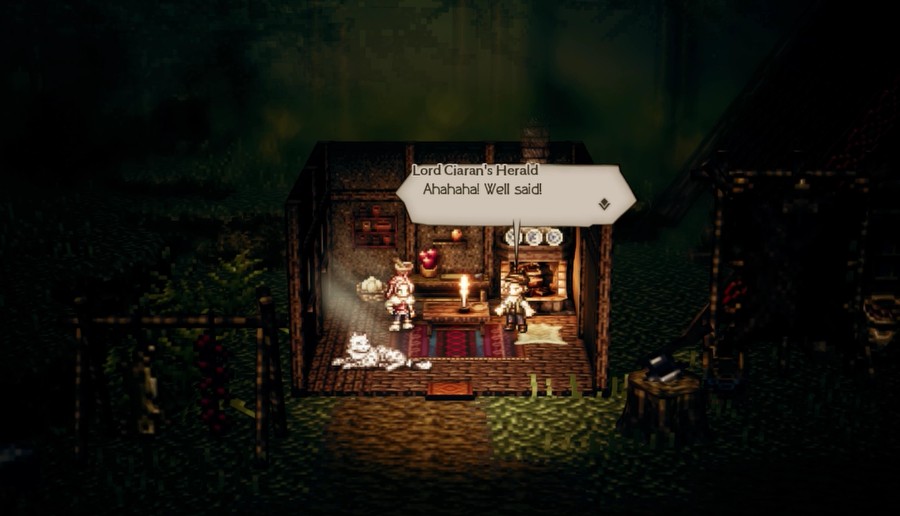
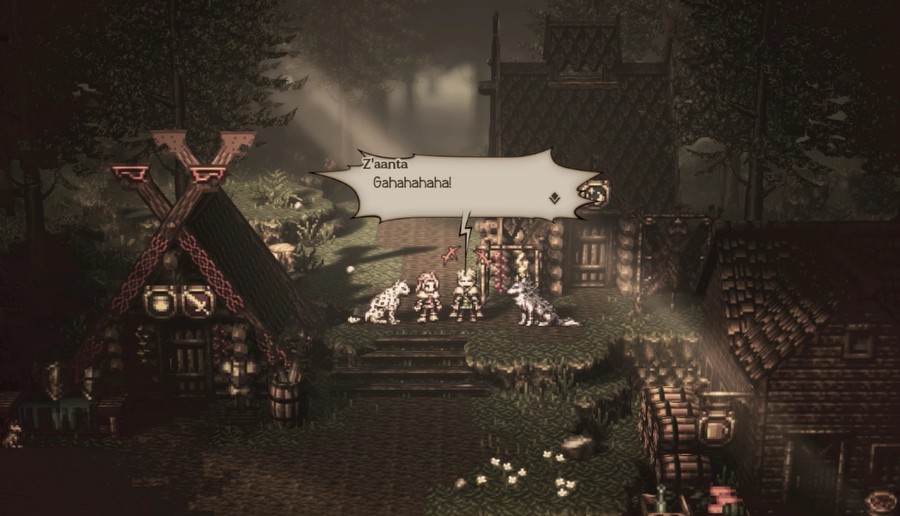 But what of the old hunter's saying? "If the first arrow faileth, nock a second and try again!"
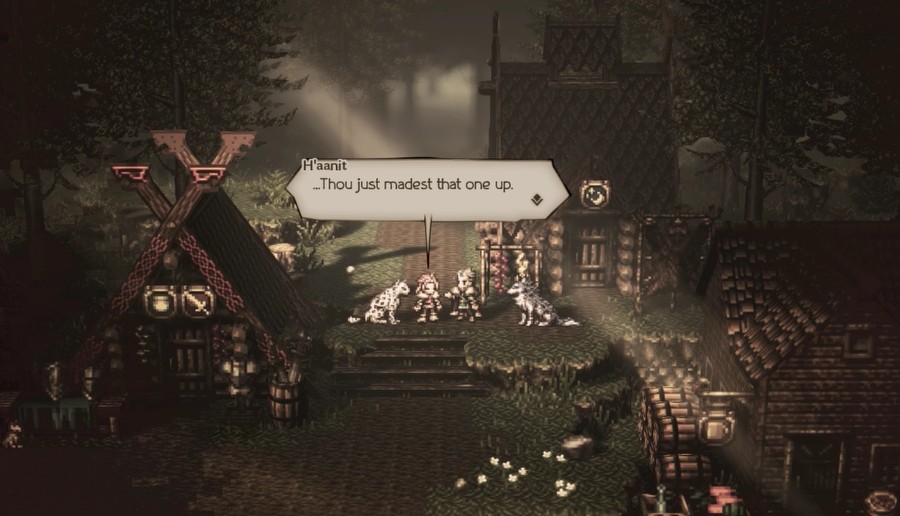 Comen now, girl! Thou'rt too young by half for such world-weary sighs. Must thou makest our parting so gloomy?
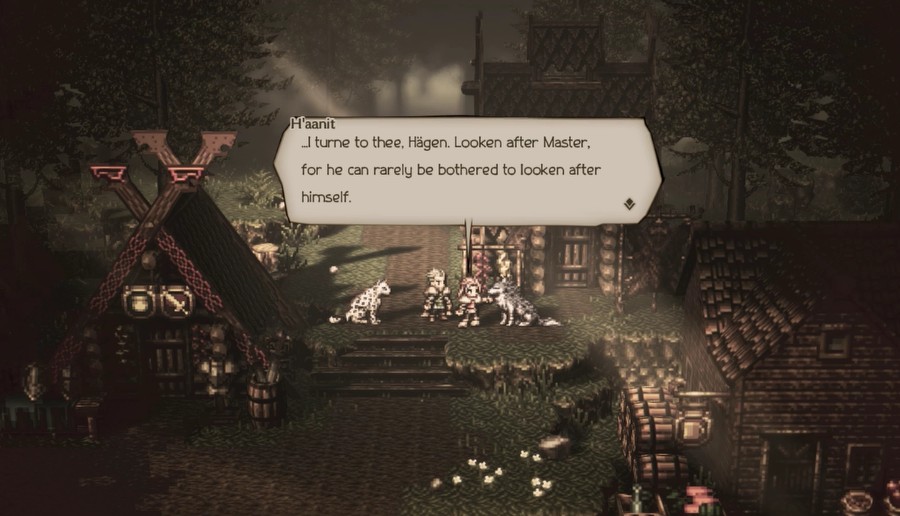
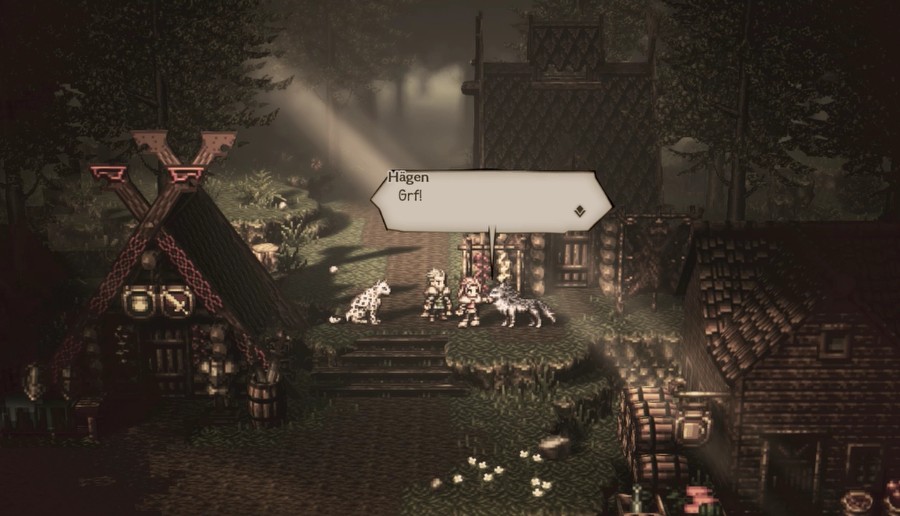 Even thou takest her side against me, old friend? He knoweth good sense when he heareth it.
 Rrr...
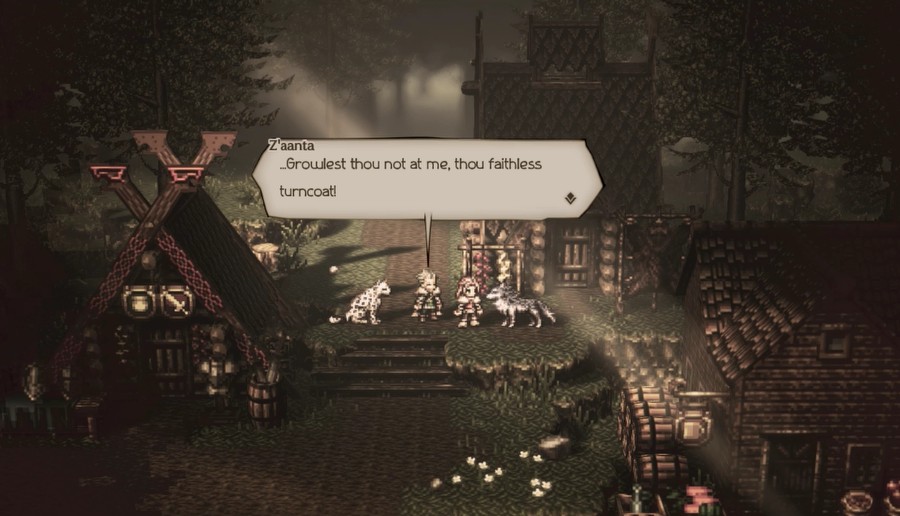
It's possible you may have noticed the dialects that H'aanit and Z'aanta speak in. It doesn't really bother me that much, and I feel it makes H'aanit battle quotes more badass, but I'm probably in the minority in that one. Here's a detailed write-up on it if you're that curious.
A lot of these early Chapters have to deal with character relationships (sisterhood for Ophilia/Lianna, rivalry and friendship with Olberic/Erhardt, and so on), but H'aanit's master/apprentice relationship with Z'aanta is probably the one that rings most consistently of any story. While she has a lot of misgivings about Z'aanta's other activities, she truly does respect him as a mentor and father figure. And as straight-faced as she often is, H'aanit actually does have a healthy sense of humor, it's just very dry and kinda covered up by her accent and her general awkwardness around people.
So while I do see the dislike for her, I still like her character and her story in genral.
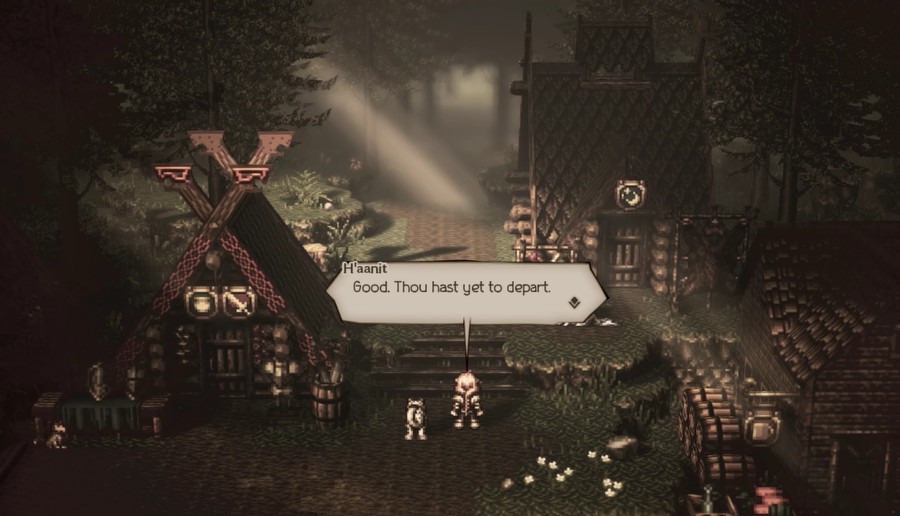
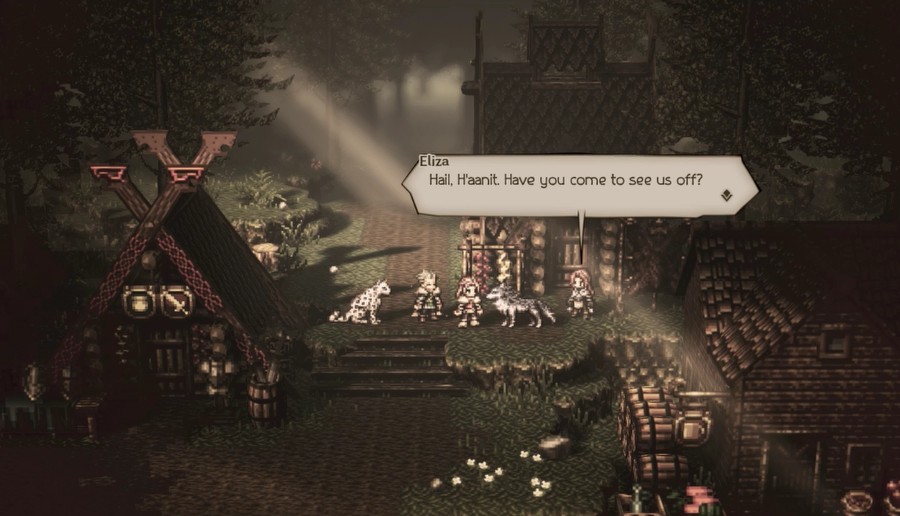 I have comen to warn Master about straying from the path.
 ...And I thank you for it. I do not have the leaves to pay another debt like that...
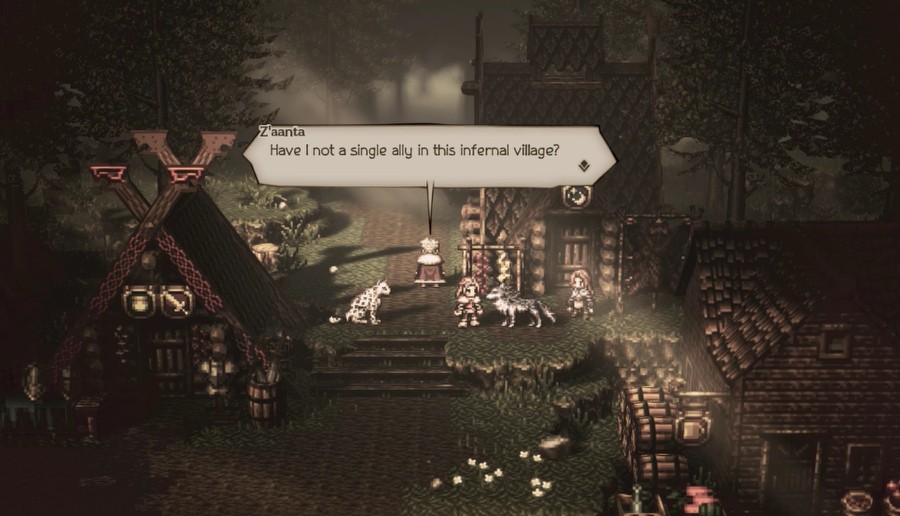 I am your friend, but I am also a Knight Ardante...and your client. You would do well not to forget this.

The text and actions here don't really portray it, but the voice acting shows they're joking around, in case it wasn't clear. They're all old friends, after all.
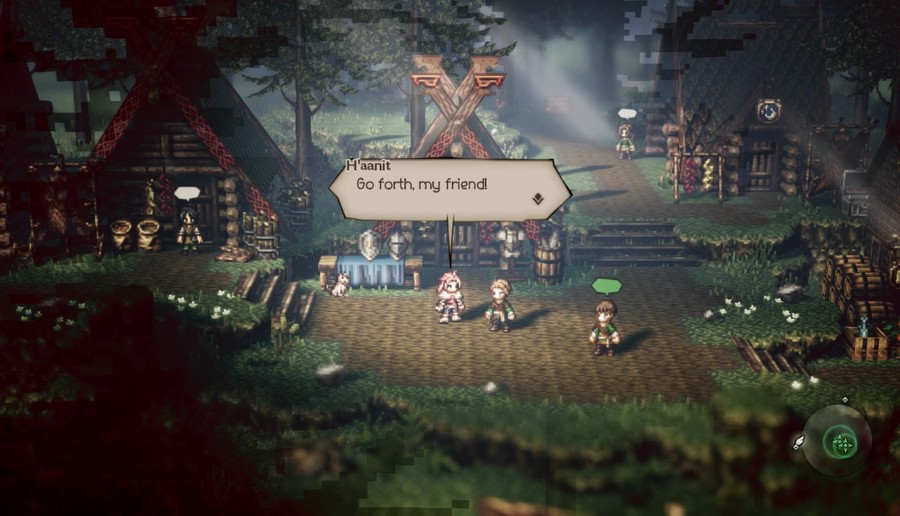
 Taken care, and may thine arrows strike true. I shall looke after the forest till the day of thy return.
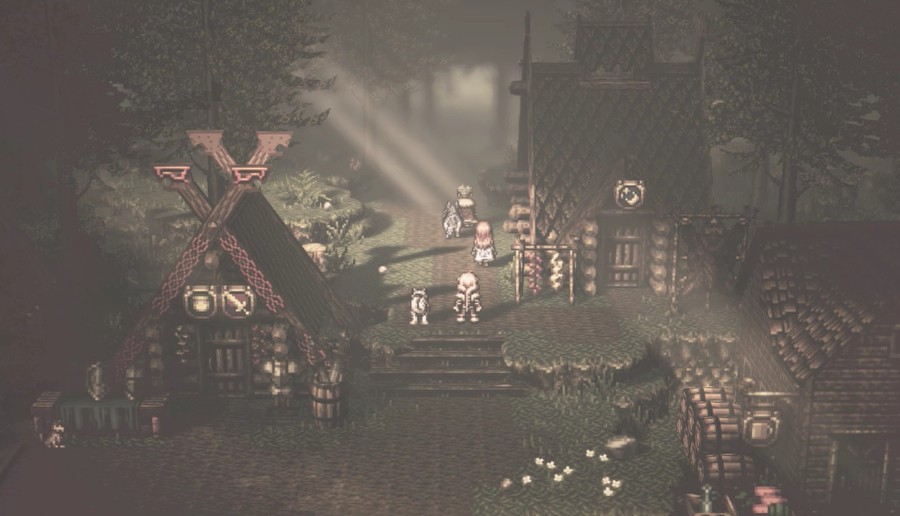 Music: My Quiet Forest Home
 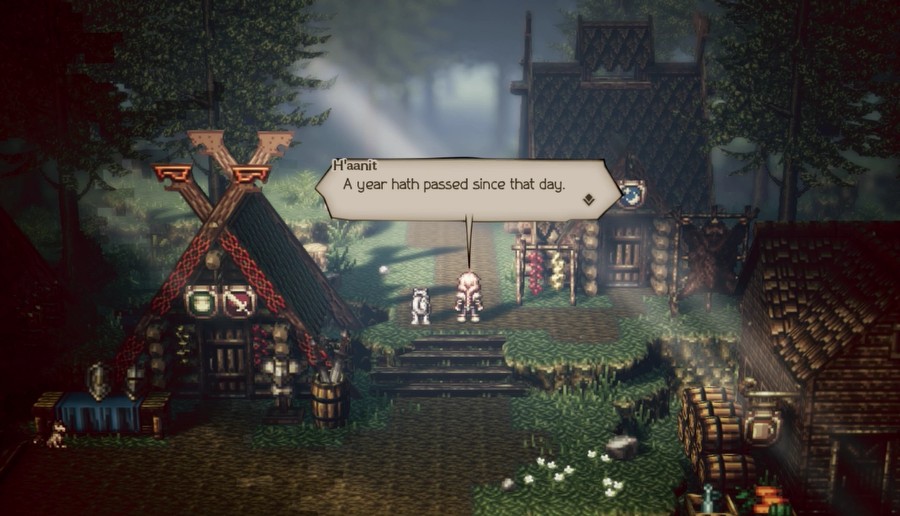 In all that time, Master could only be bothered to senden a single letter.
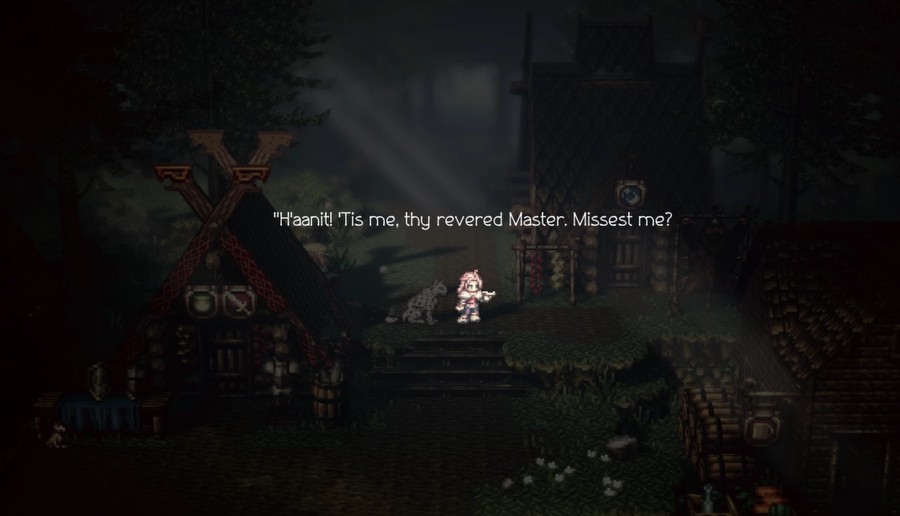 "I won't bore thee with any blather about the weather or the season. Who knoweth when this will even arrive, after all. For three months now, I have pursuede the trail of the beast soughten by the Knights Ardante."
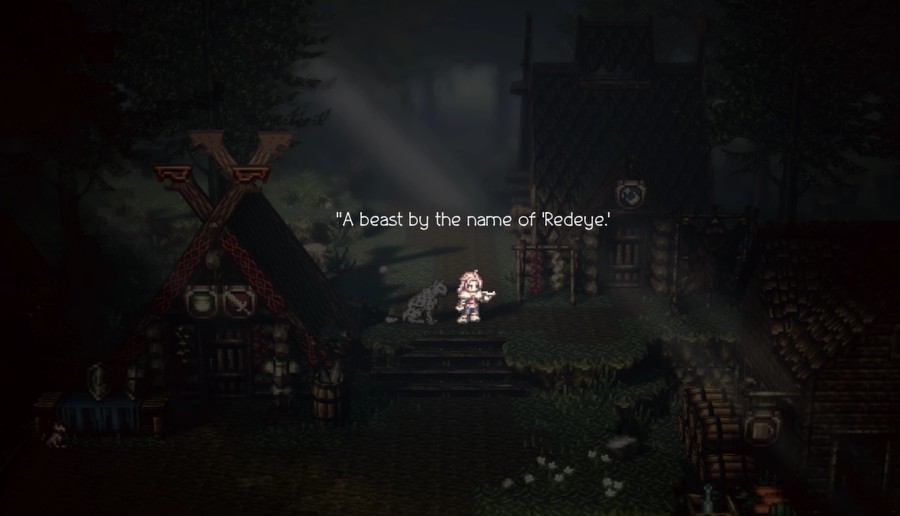 "That's their name for it, leastwise. As for its true name--if it even hath one--none can say. But on my father's bow, I sweare 'tis the most vexing quarry I've ever hadde the misfortune to hunten. It eludeth mine every trap, and--though thou may thinketh me mad for sayng this--I sweare it can even senseth every move I make."
 "Still, we appear to have annoyeden it sufficiently that it is moving on to new pastures. Judging from its behavior, I believe it meaneth to make for the lands around Stonegard. I will be frank with thee, my girl, for thou'st always been able to seen through my pretenses."
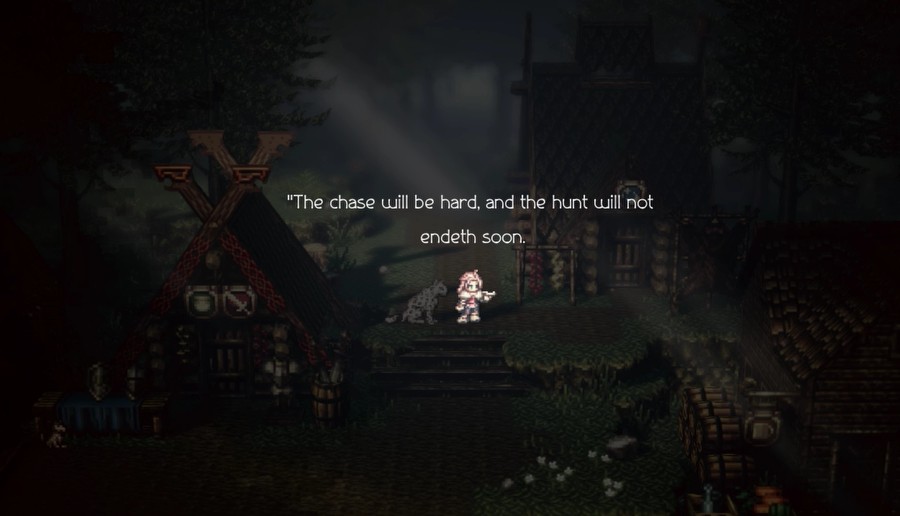 "But fear not, for endeth it shall. Hast thou ever knownst your master to failen in a hunt? And so I aske thee, my dear prentice. Praye look after the village until I returne."
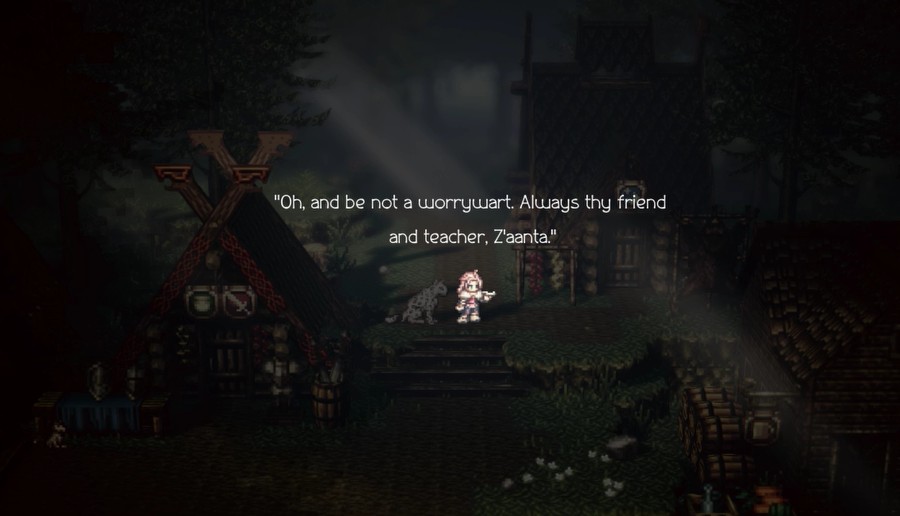
 Either this "Redeye" is truly the most formidable of beasts...
 (...But no. Master liketh to acten the fool, but when it cometh to hunting... If he saith he will catcheth his quarry, then catcheth it he will.)
 Yes, Linde. I knowe. Master entrusted the safety of the village to me. My duty now is to the villagers.
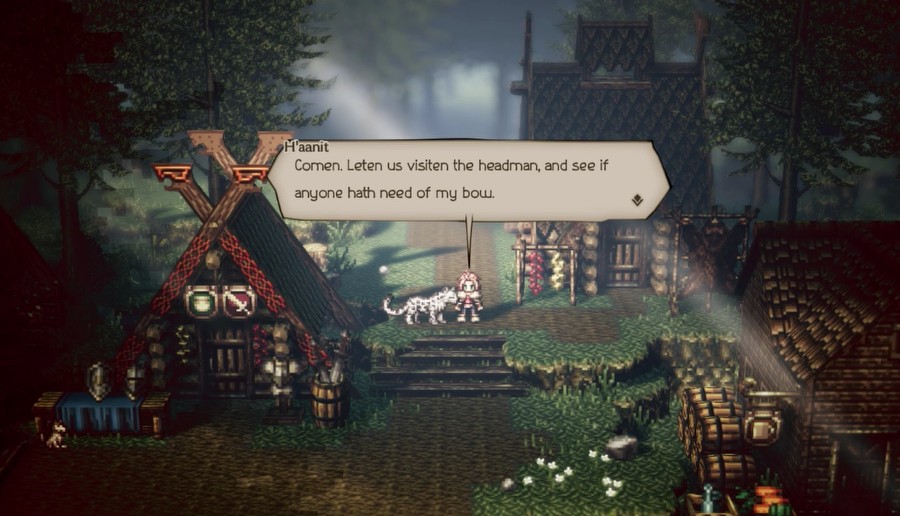
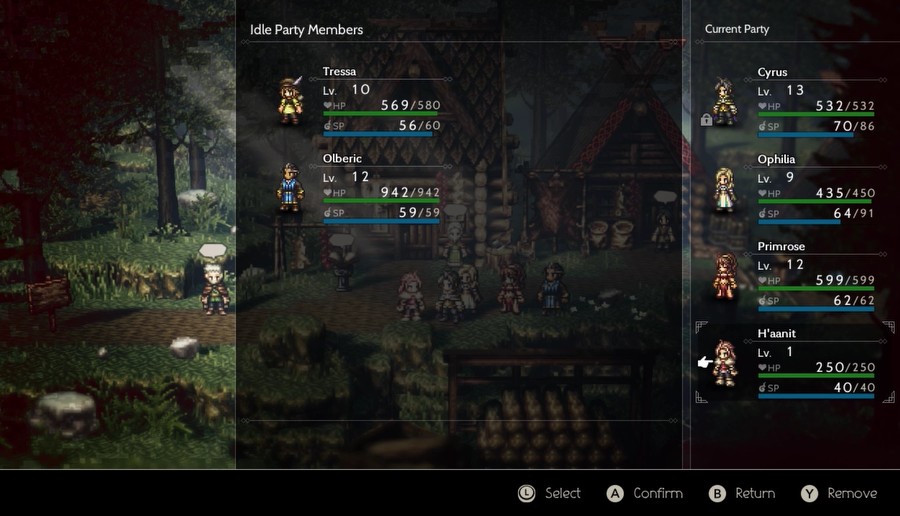
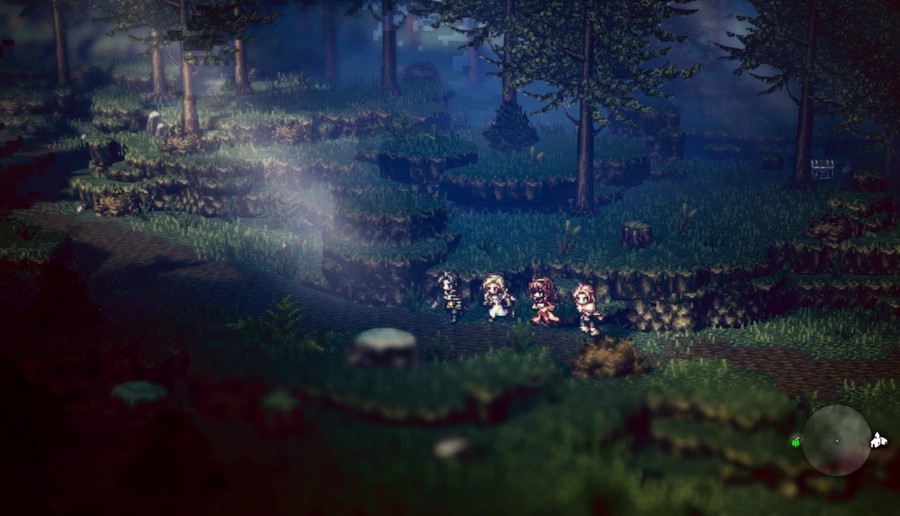
We now get control of H'aanit. As usual, I'm gonna beeline the story and save the village for a later update.
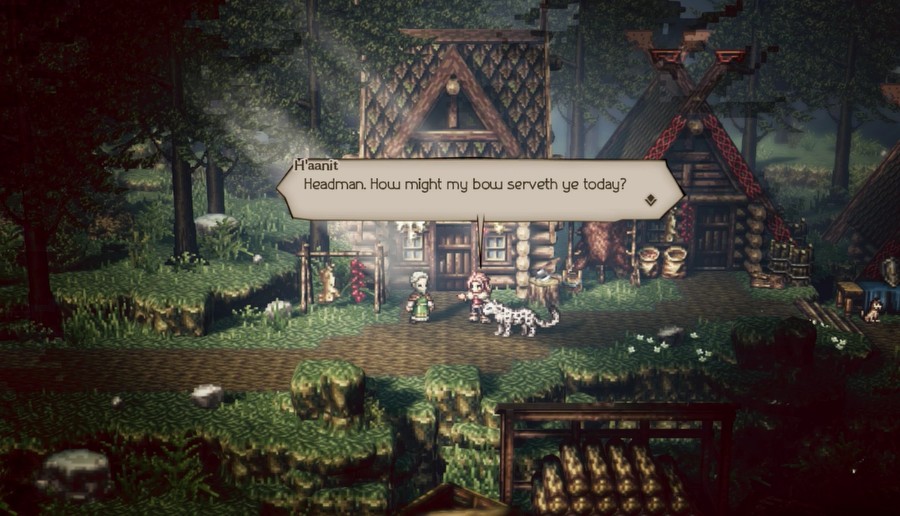
 Every day thou comst here seeking work. Sometimes I wondere if thou art truly thy master's prentice! But jesting aside, no, there is no hunt today. Is there aught else I might doe?
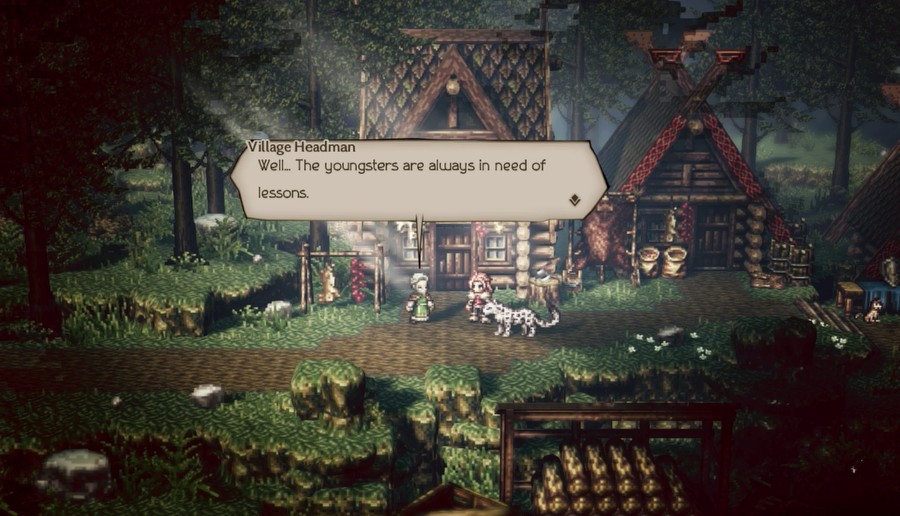 Thou couldst given them a lesson or two in bowmanship.
 Yet today, only thou and Z'aanta can truly useth that lore. Why, when I was a mere stripling...
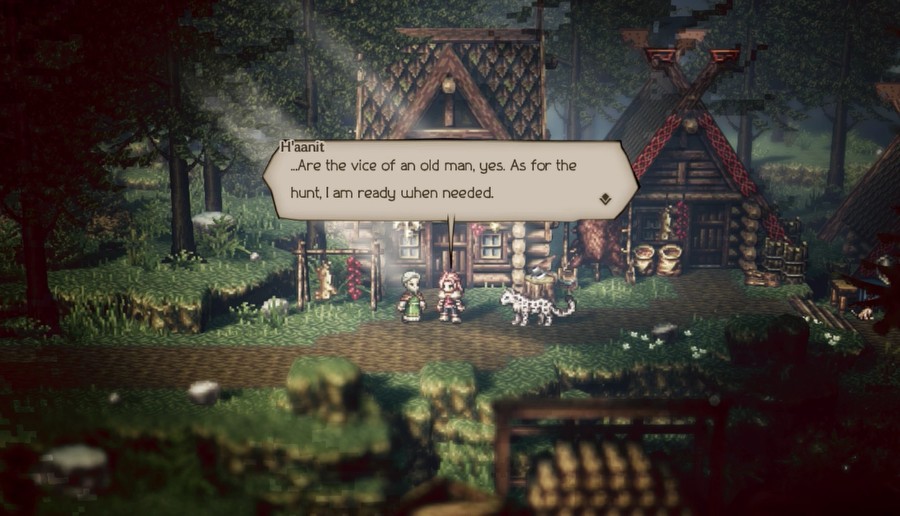
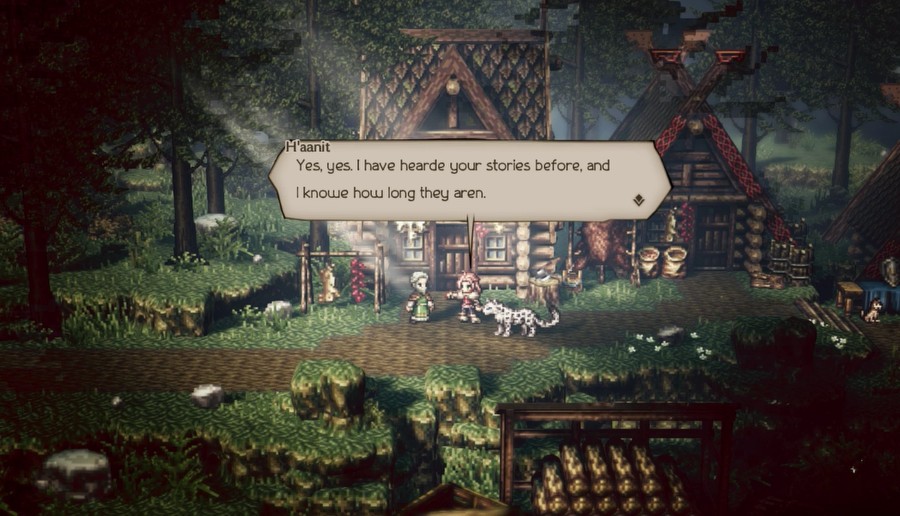 Hoho...long-winded tales are the vice of many an old man. My apologies, child. ...But if thou couldst showen the youngsters the way of the hunt, I would be grateful.
 It will be done.
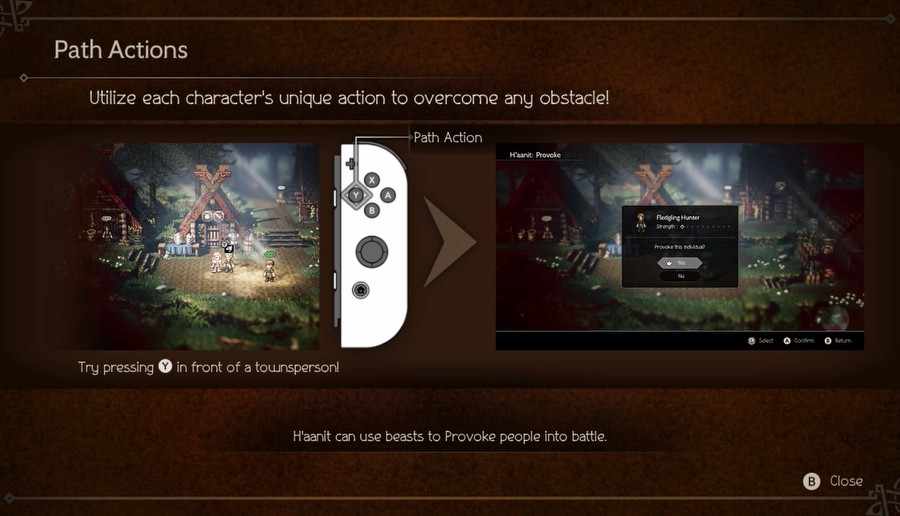
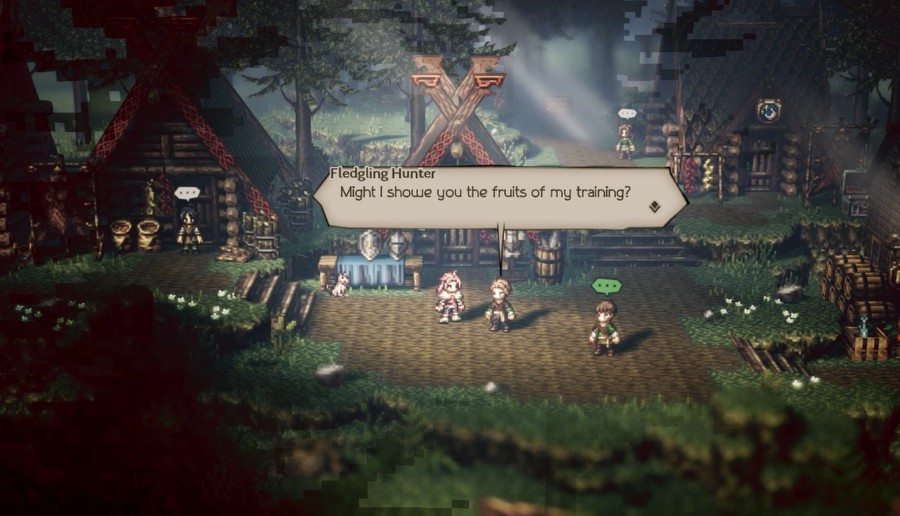
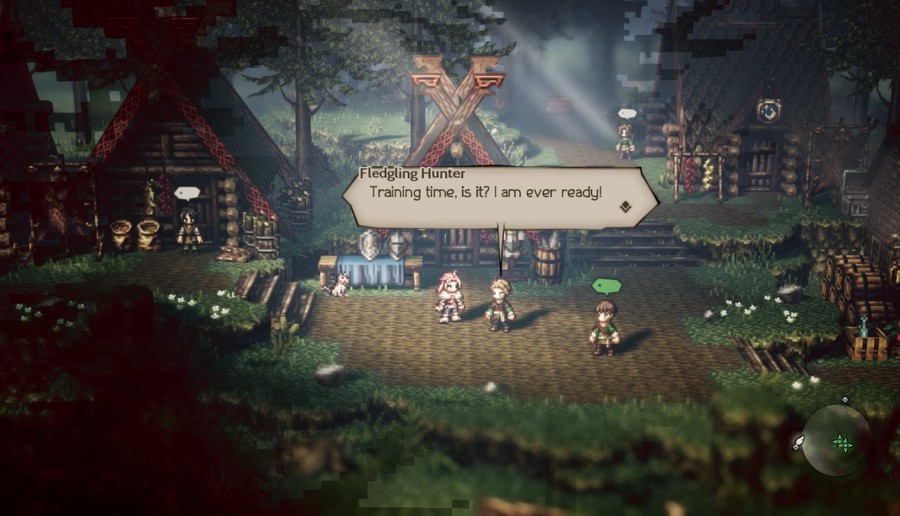
It's time to do H'aanit's Path Action, Provoke.

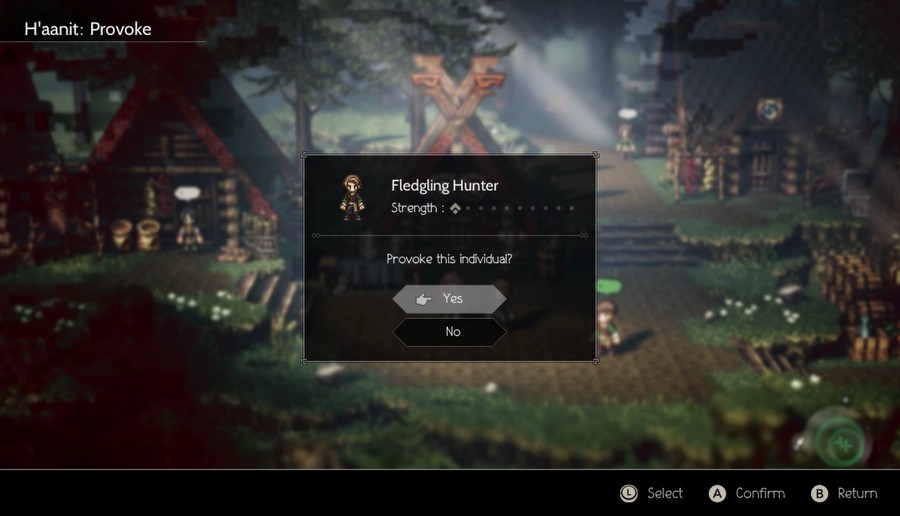
Provoke is Challenge with a few changes. The first one is that, similar to other Rogue abilities, H'aanit doesn't have to worry about level caps. However, if she loses a Provoke duel, you take a reputation hit.
 Music: Battle I
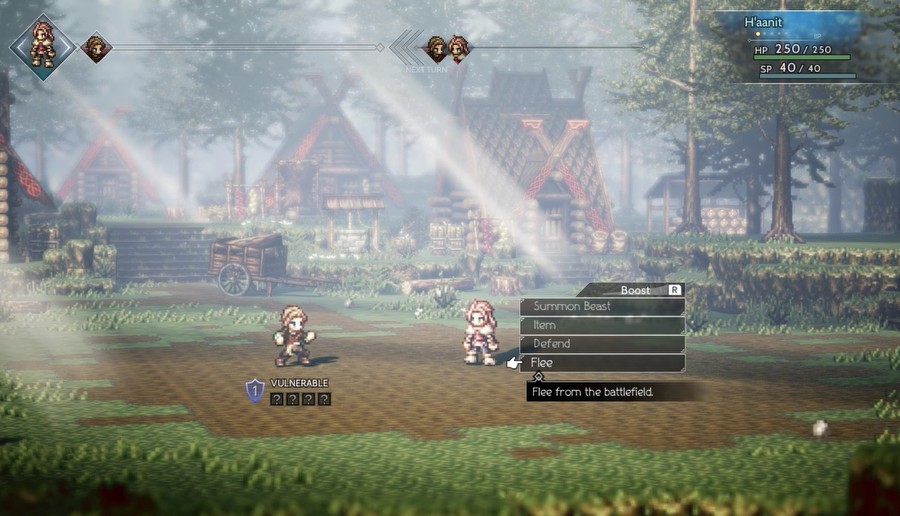
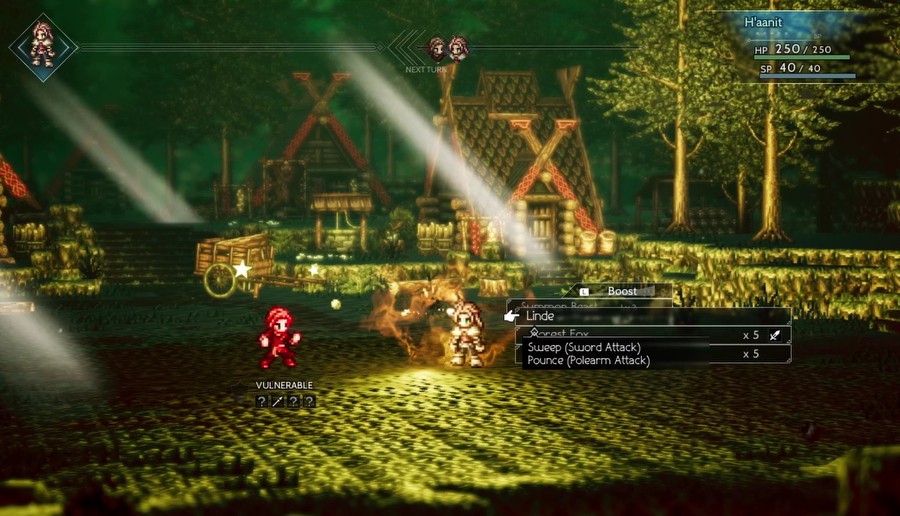
The biggest difference, however, is that H'aanit does not have access to her attacks or Hunter skills in Provoke battles. She can use items, Defend, and make use of her Talent, Summon Beast.
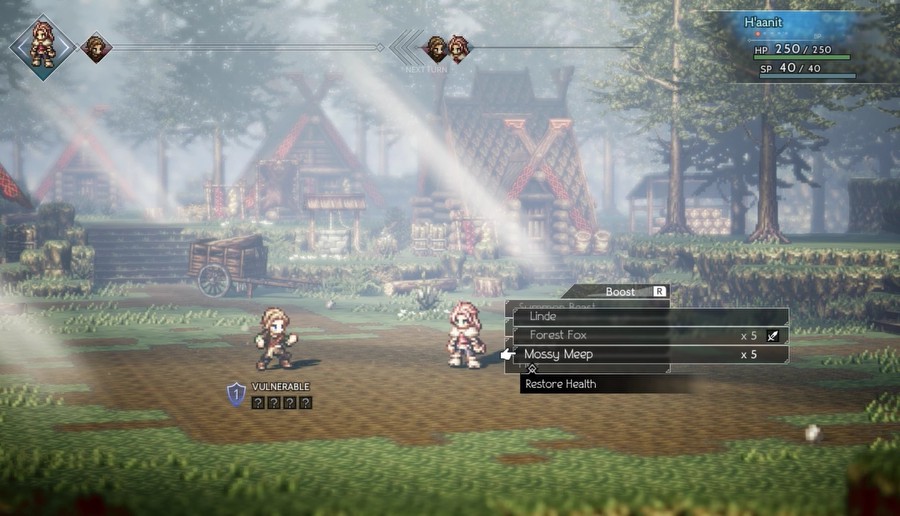
H'aanit is similar to other monster trainer types in other games. Her snow leopard companion, Linde, is always available, and beyond that she can have up to six other monsters in reserve. She already starts with a Forest Fox with a basic Binding Claw, and a Mossy Meep that can heal. You can also use a monster several times before it's released for good, and you can capture multiples if you desire. Of course, some enemies cannot be caught, usually story bosses or humans.
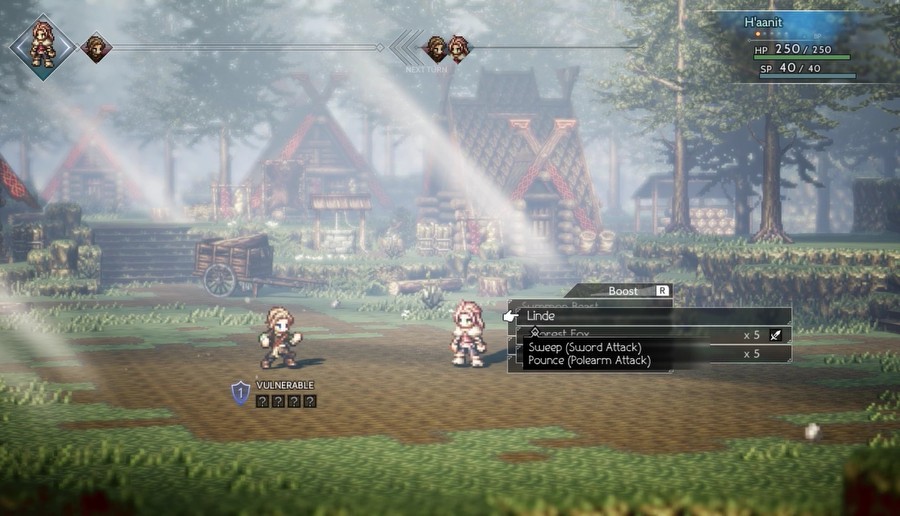
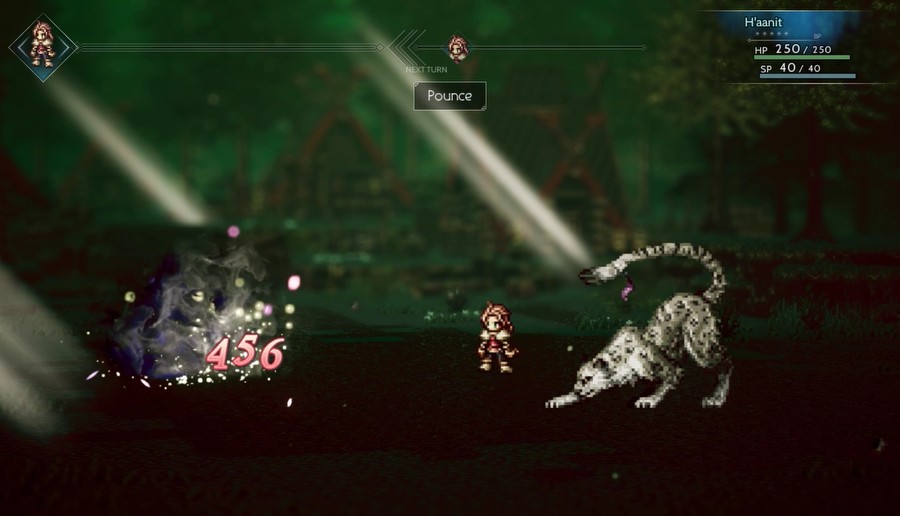
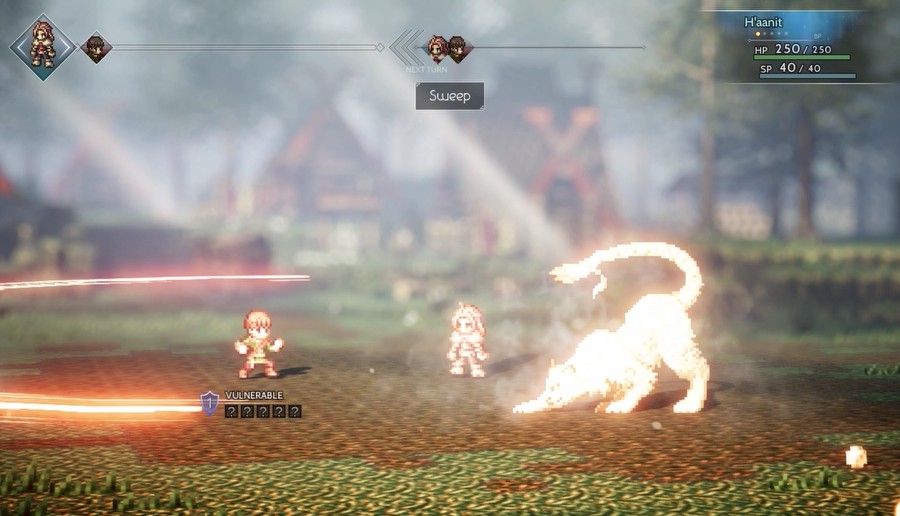
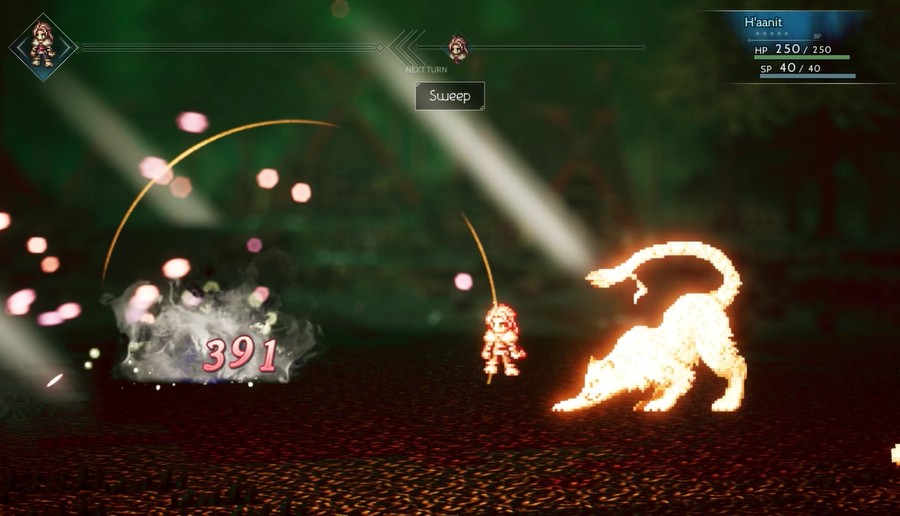
Linde can use two moves. Either a target-all Sweep attack that hits as a sword, or a single-target Pounce that hits like a polearm (I've been calling them spears but the game prefers polearms so I guess I'll start calling them that). It seems to be random, but if there's a weakness exposed, Linde always prefers the attack that hits a weakness.

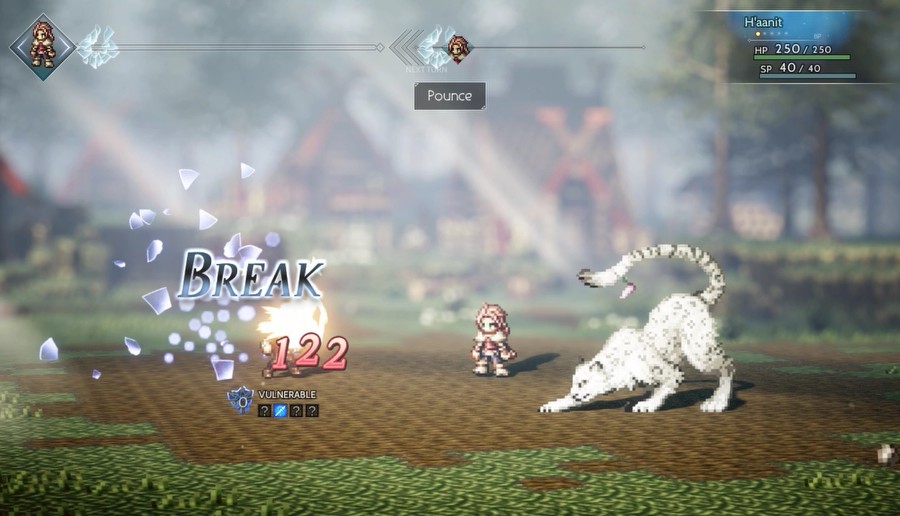
Unfortunately, Linde does not scale in levels, so eventually she becomes useless beyond hitting Sword/Polearm weaknesses. Fortunately, it's still early game so she's pretty great right now.
And of course you can boost the attacks of your monsters.
Music: My Quiet Forest Home 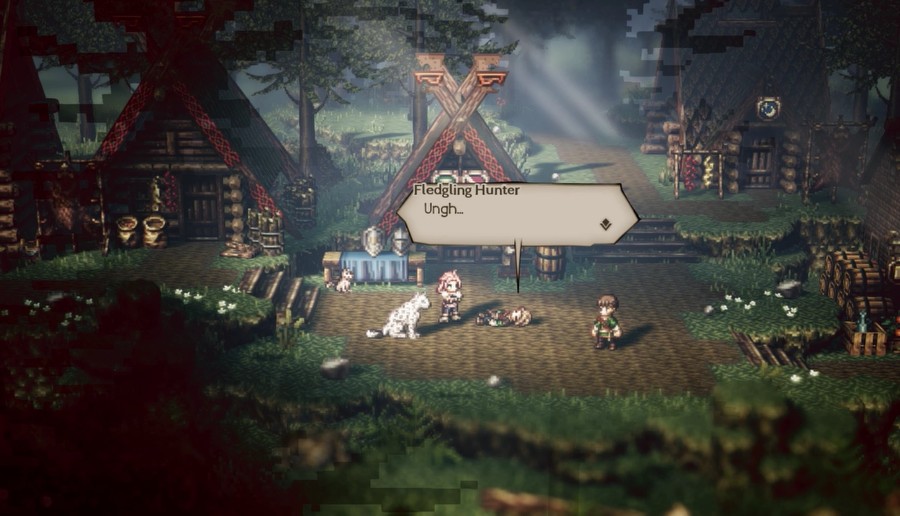 Thou growest adpet at fighting. But thou must be more cautious than ever, for thou now knowest just enough to getten thyself into trouble.
That's one down...
...and one to go.

Here's Sweep.
And here's the finishing blow.
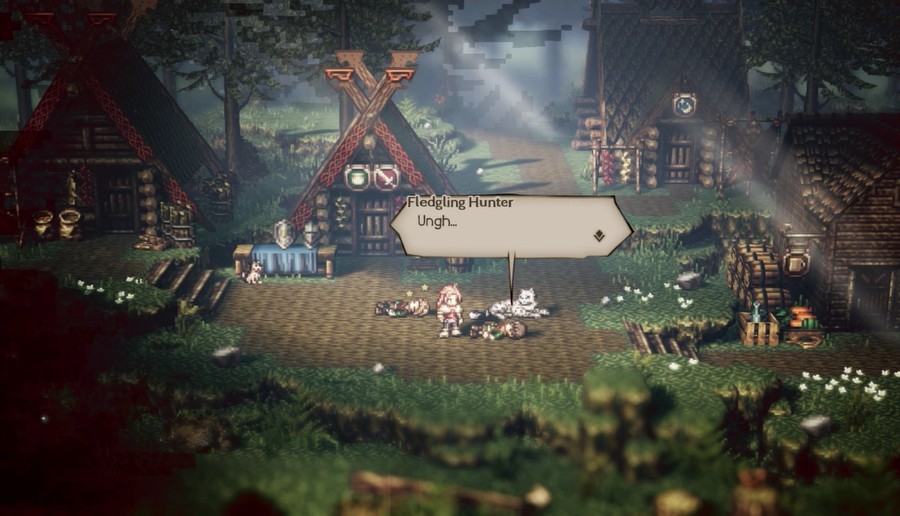 Well? Dost thou feelst more attuned to thy surroundings?
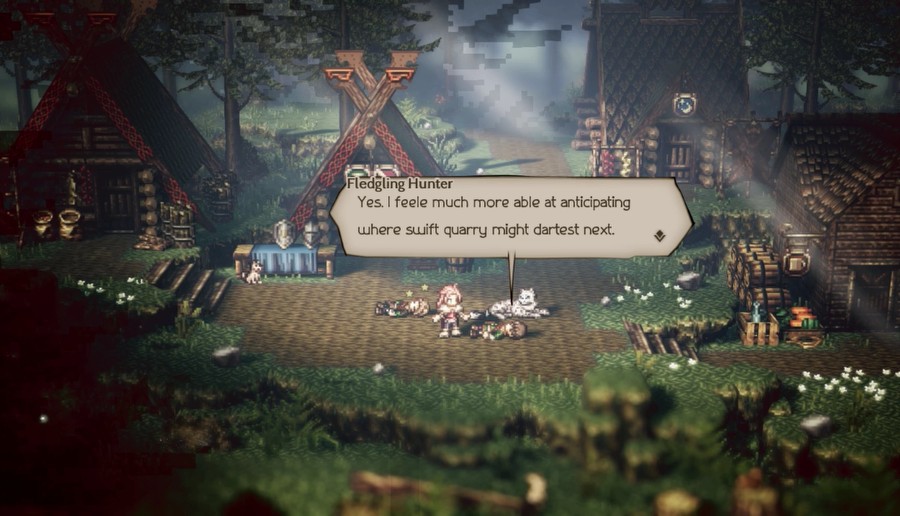 Very good. An important lesson, that.
I wish I could become more attuned with nature by being attacked by large cats.
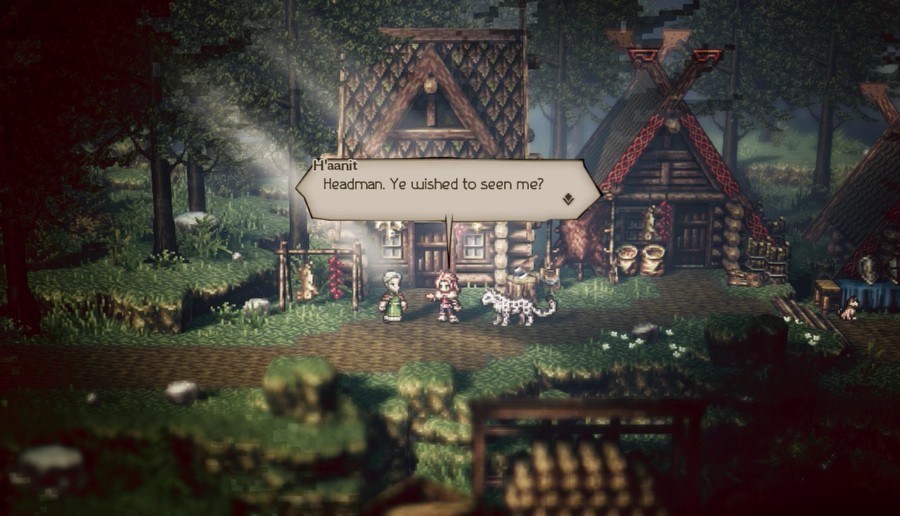
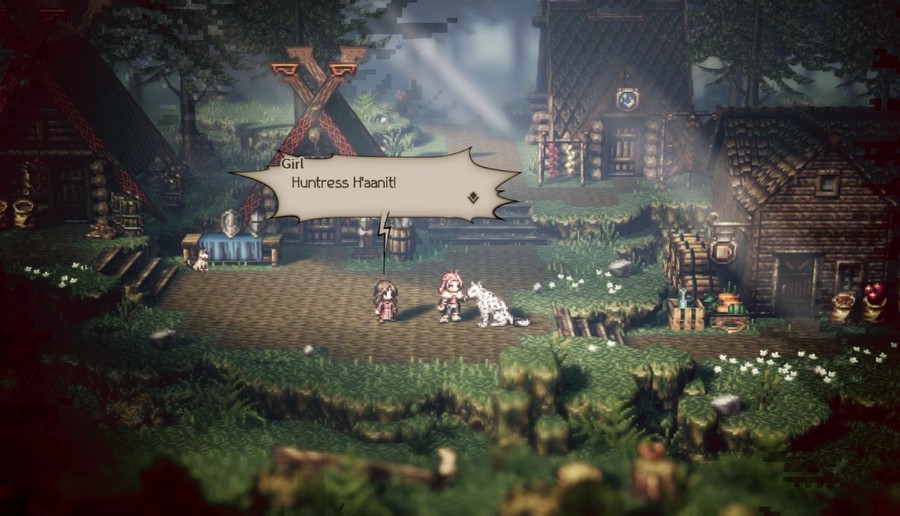 What is it?
 The headman sent me to find thee. He said he must speaketh with thee right away! Then I will make haste. He is at home, I take it? Yes! Follow me!
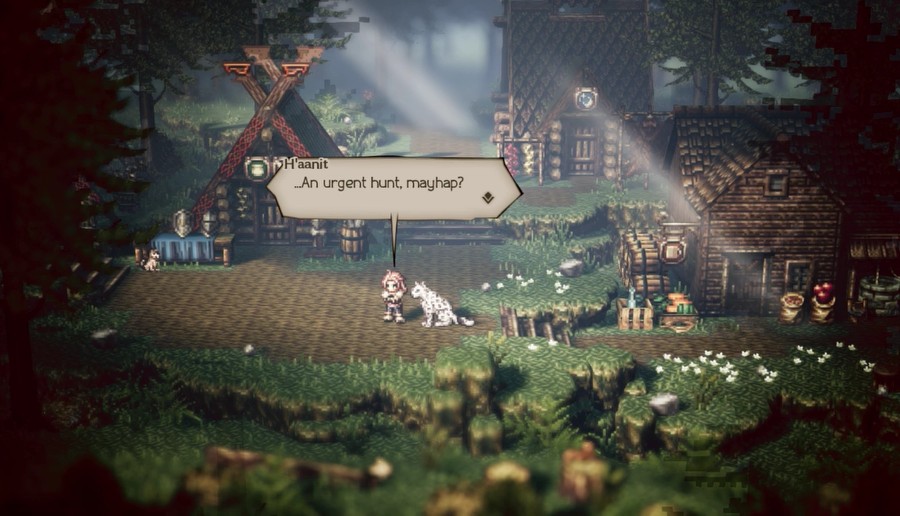
And so we followeth.
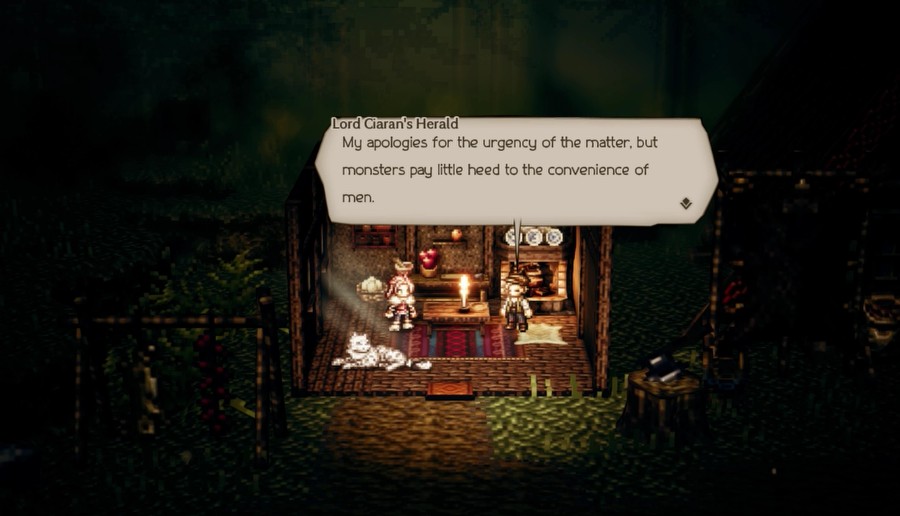
 Yes. A request hath comen in from the demesne of Lord Ciaran. It would seem a beast hath strayed into his provincial forest.
 Just so. He asketh for our best hunter. And while Master Z'aanta is off on the hunt, that meaneth thee. Understood. Always remember, H'aanit. Since time immemorial, ours has been a village of great hunters and huntresses.
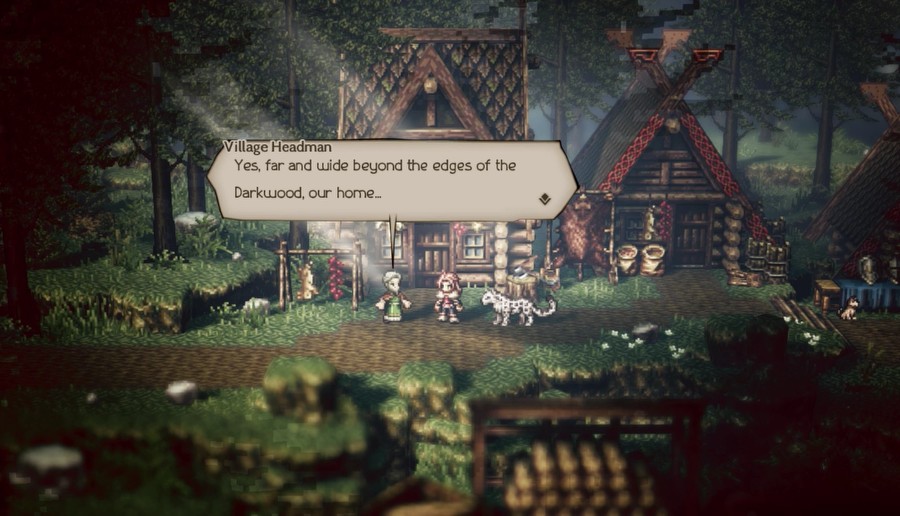
 Is that not how it went?
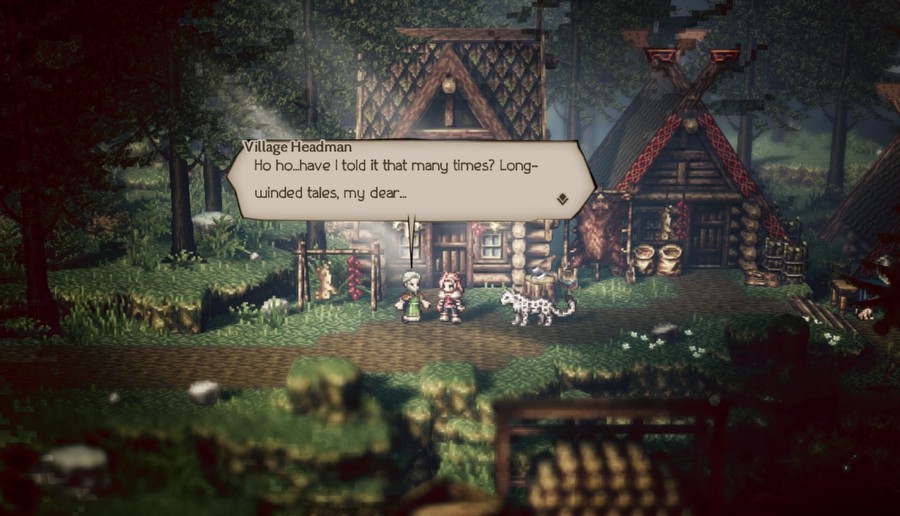
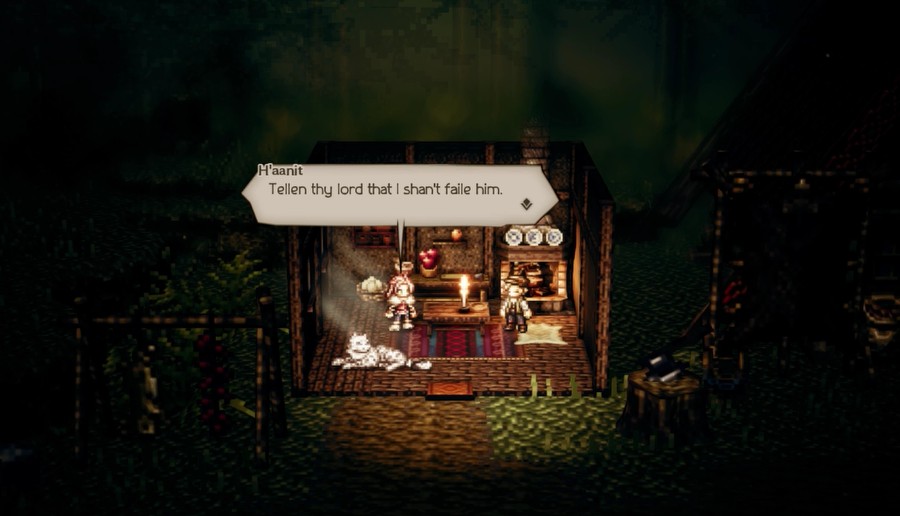
 Excellent. Lord Ciaran's messenger awaiteth inside. He will telleth thee all thou needst to know. I will speake to him at once.
 I am here to serve. Tellen me more about this beast. Music: An Ill Omen
  A monster that hath strayed from its home...
 Aye. Just this morning, a merchant and an injured companion fetched up at our manor in frightful shape. As one man told it--the other was in no condition to speak--their caravan had been waylaid by the beast, and they were the only survivors. ...How dost thou knowen this creature was responsible? Lord Ciaran's scholars were called upon to investigate the matter.
 I have hearde of this creature. Its baleful roar would make it an unlikely fit for the tranquil Whisperwood. His lordship is most anxious to protect his subjects, needless to say. He seeks the help of the most capable hunter in this village. And so, in Master Z'aanta's absence, we turn to you.
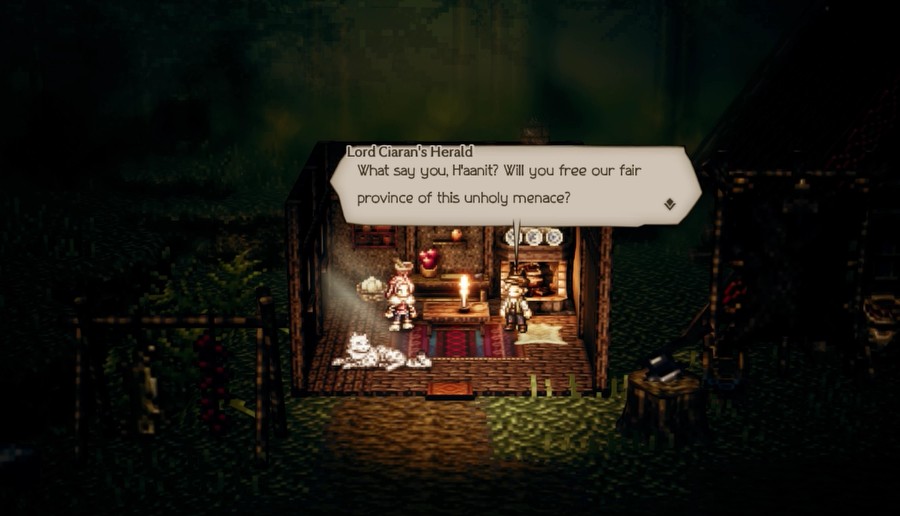
 ...Indeed.
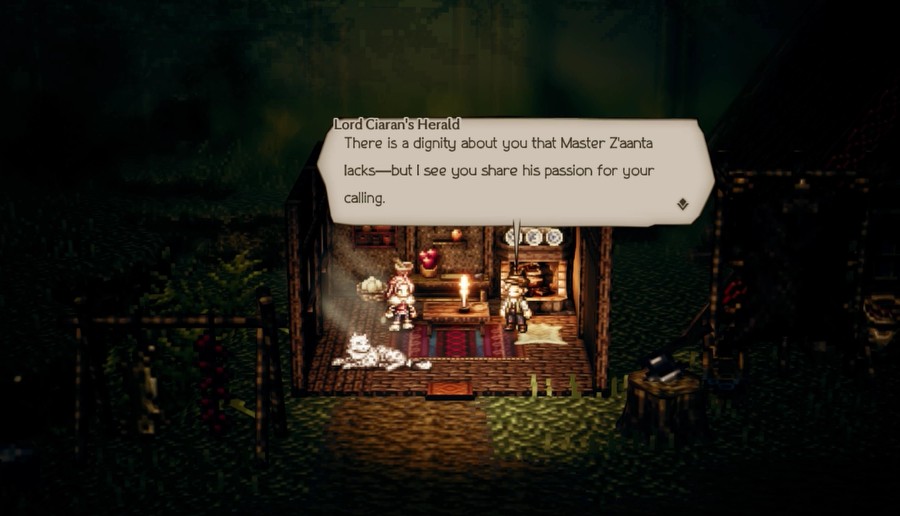 I hope you will continue to inherit only his better qualities.
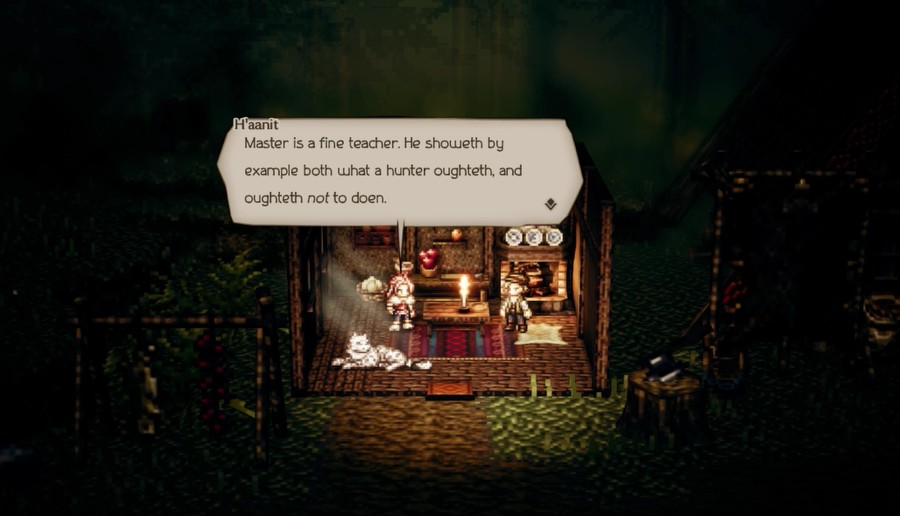
 It would seem we are in safe hands, indeed. Yes, thou art. Music: My Quiet Forest Home
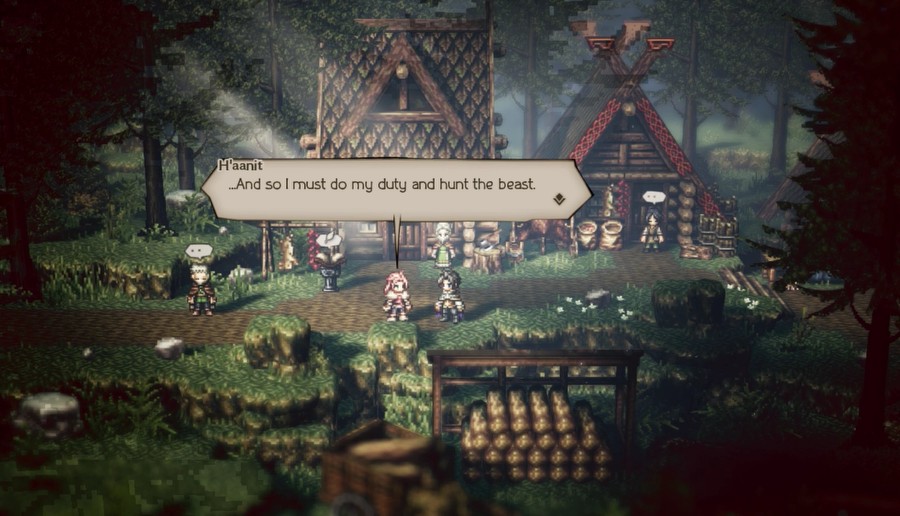
 May we assist in any way? We'd be happy to help save those people from that beast.
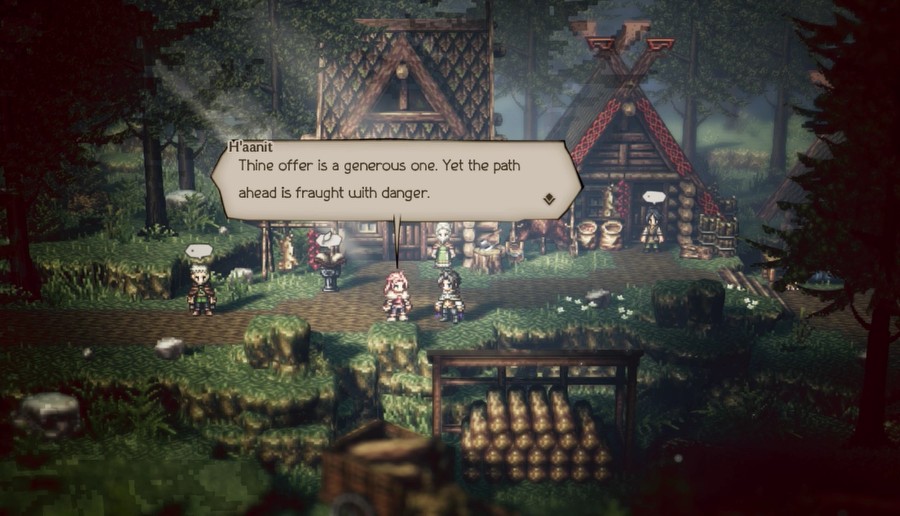
 Hmm. Your leopard is a friendly one.
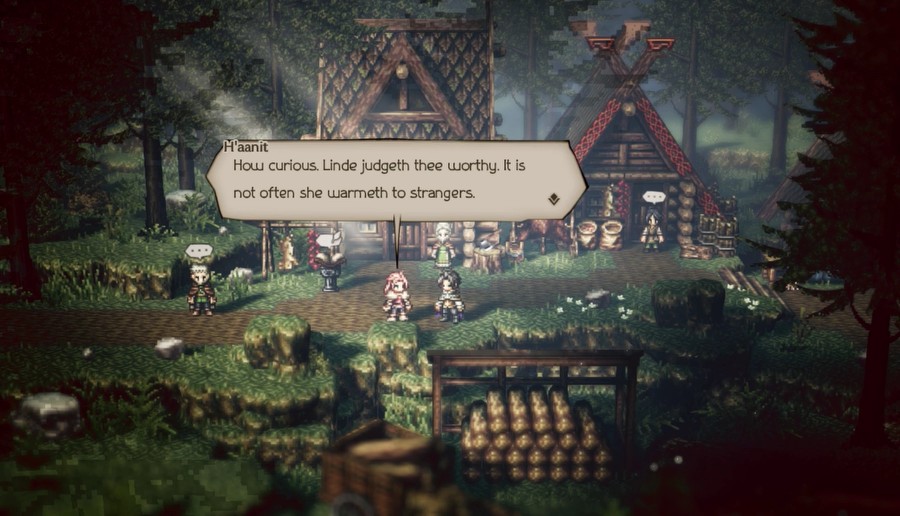 I shalle accepten thine offer. Lenden me thy strength in battle.
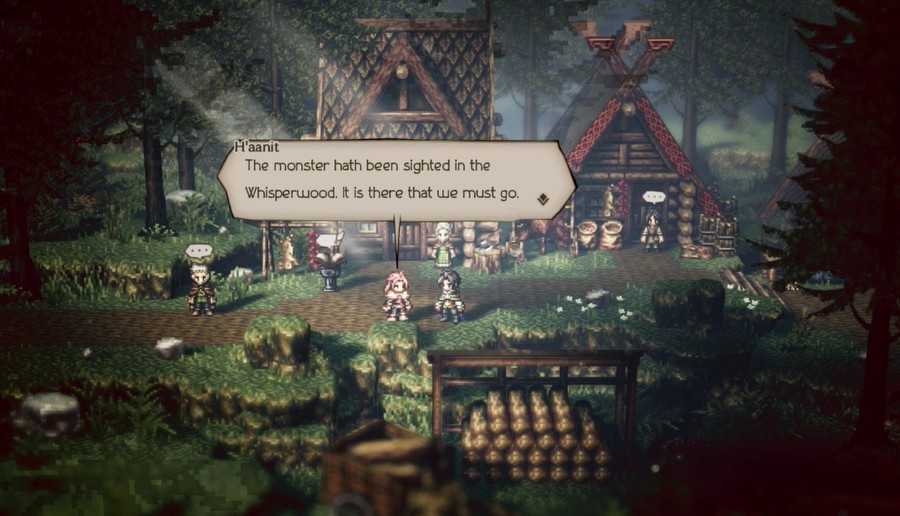
And we're up to six!
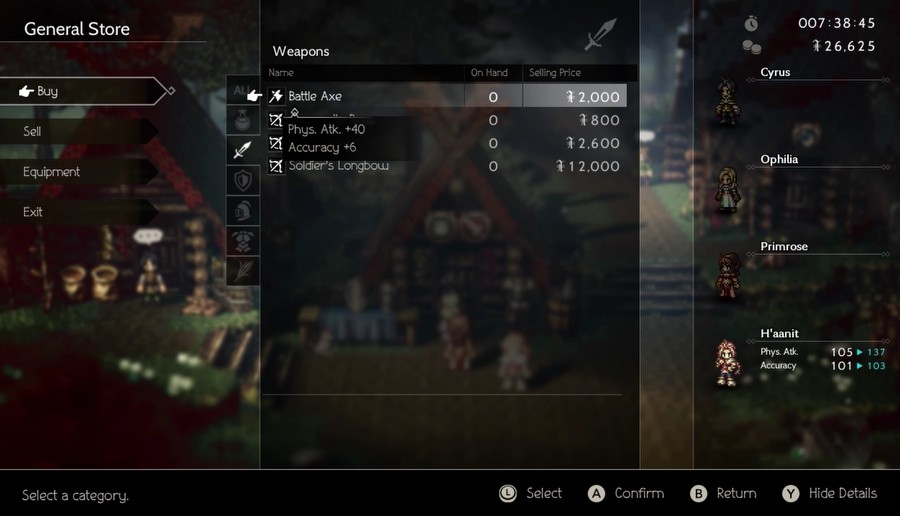
H'aanit's main weapon is the bow, but she can also use axes. Since we have none so far, I get her a quick upgrade before trekking out.
CAT

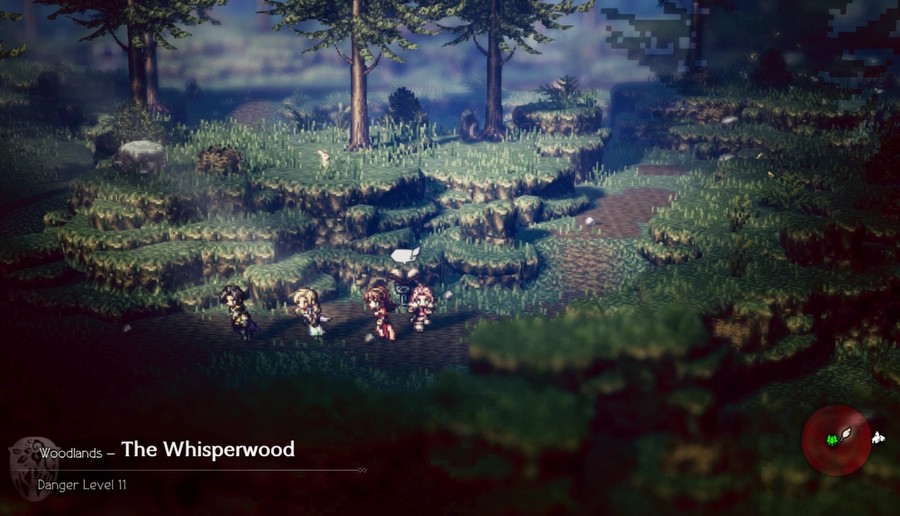
It's a quick jaunt before the actual dungeon, so we'll go ahead and delve into H'aanit's mechanics on the way there.
Music: Battle I 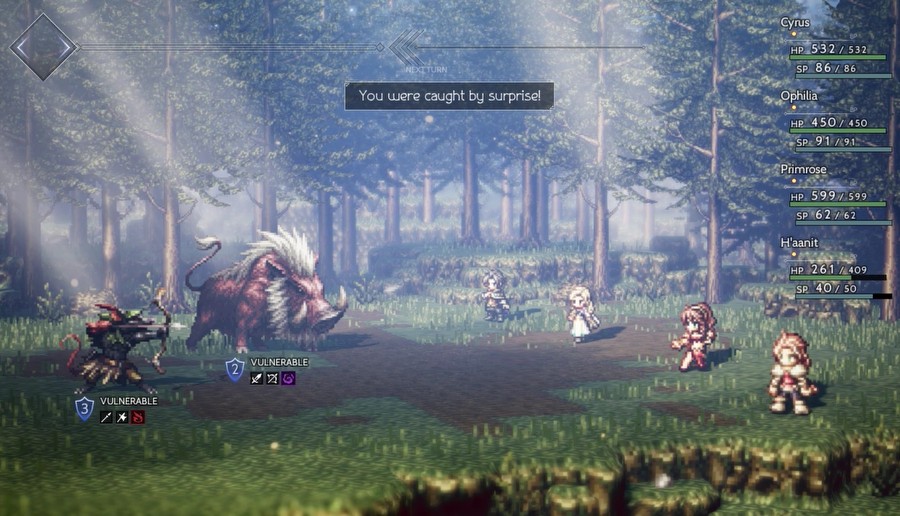
It's our good friend, the Giant Boar!
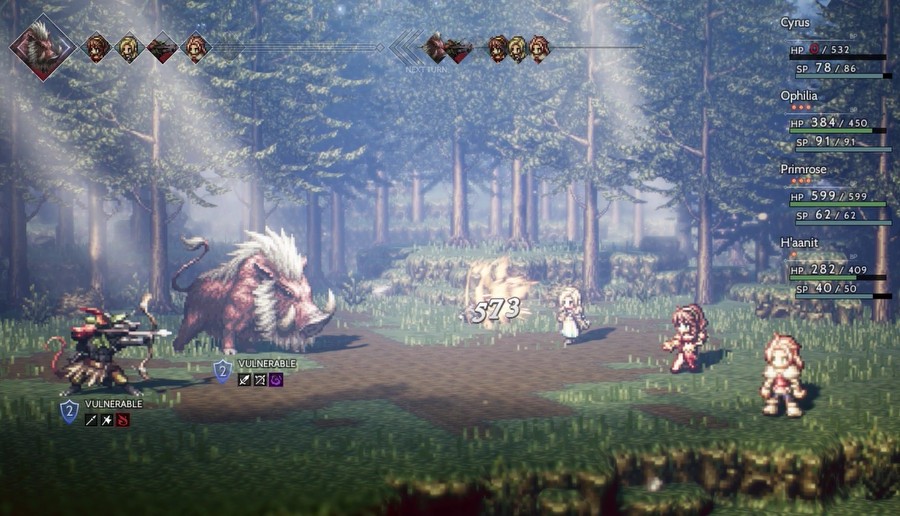
Note: he's not a very good friend.
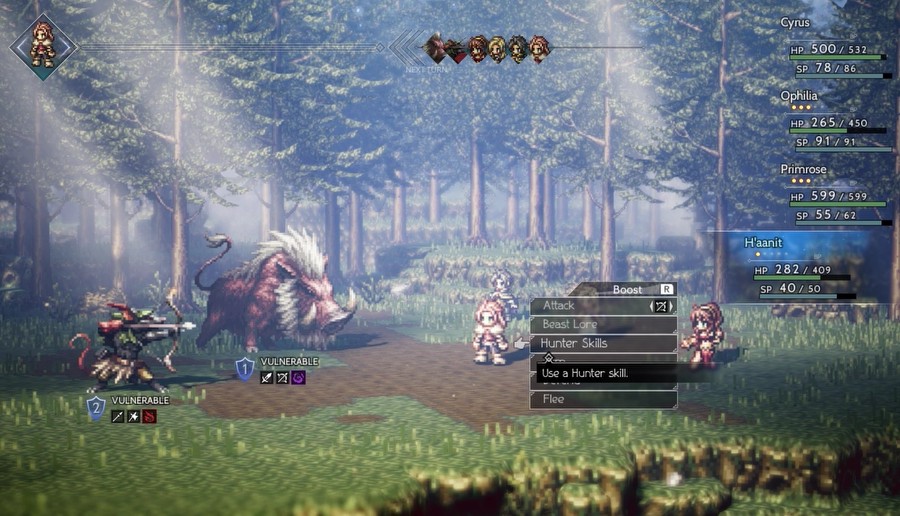
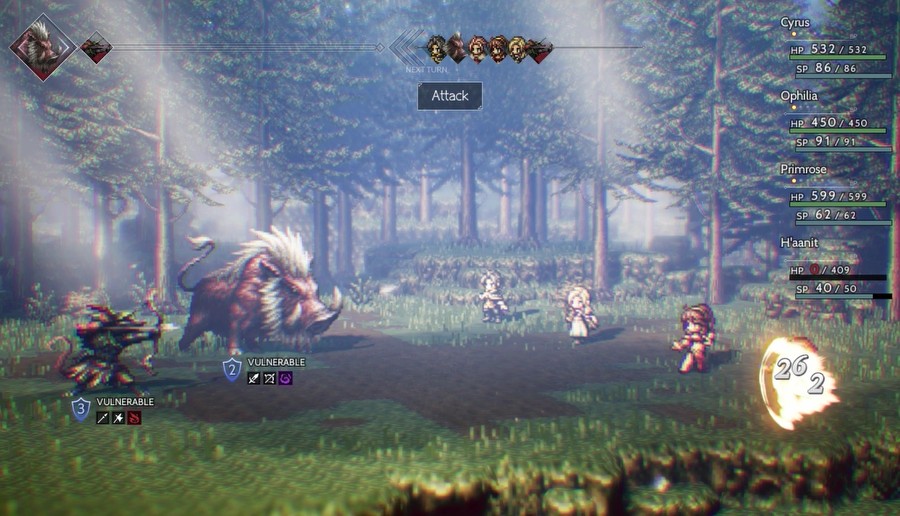
In regular battles, H'aanit has access to her regular attacks and Hunter skills as well as her special talent, Beast Lore.
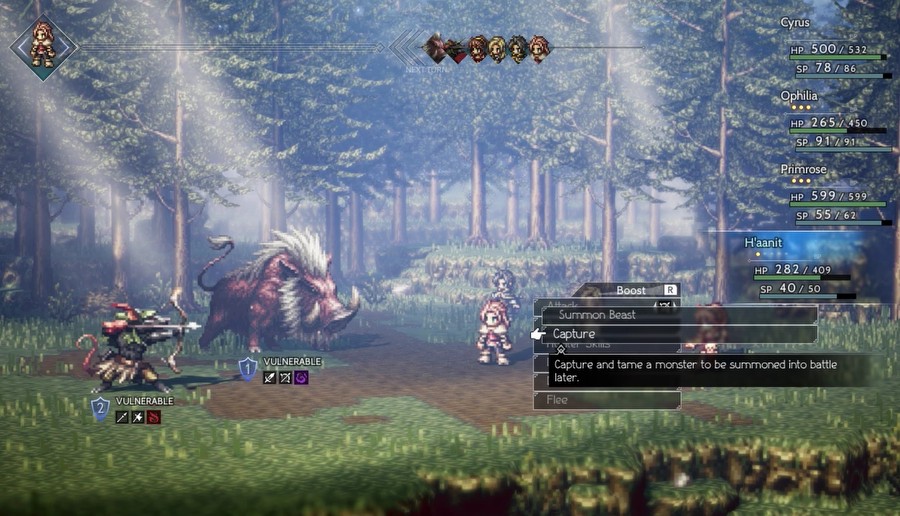
We've seen Summon Beasts already, but now we can try to capture foes.

Capture success depends on how much HP a monster has left (obviously lower is better) and how much boost H'aanit is using, with more boost points increasing the chance.
Unfortunately it isn't like Collect or Steal where you'll always get 100%. In fact, one of the main reasons Summon Beast drops off so much in the late game is because enemy capture rates become so ridiculously low that it's not worth the time required to mess with it when so many better options for damage and buffs exist.
On the other hand, Summon Beast is very strong early-game, giving H'aanit access to a variety of weapon and element attacks as well as buffs, healing, debuffs, what have you. And capture levels are still reasonable, so stocking up on monsters isn't that big a deal.
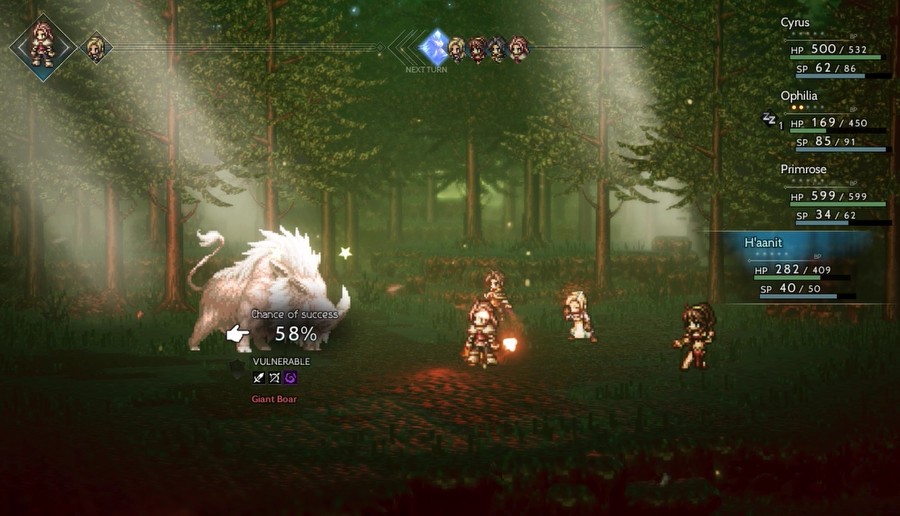

Eventually we get it to a reasonable capture rate, and it turns out this fella has quite the powerful attack!
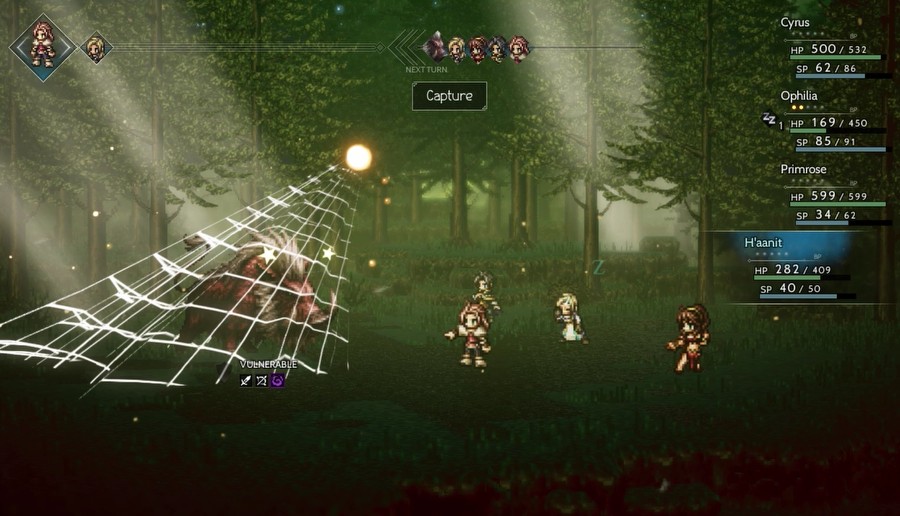
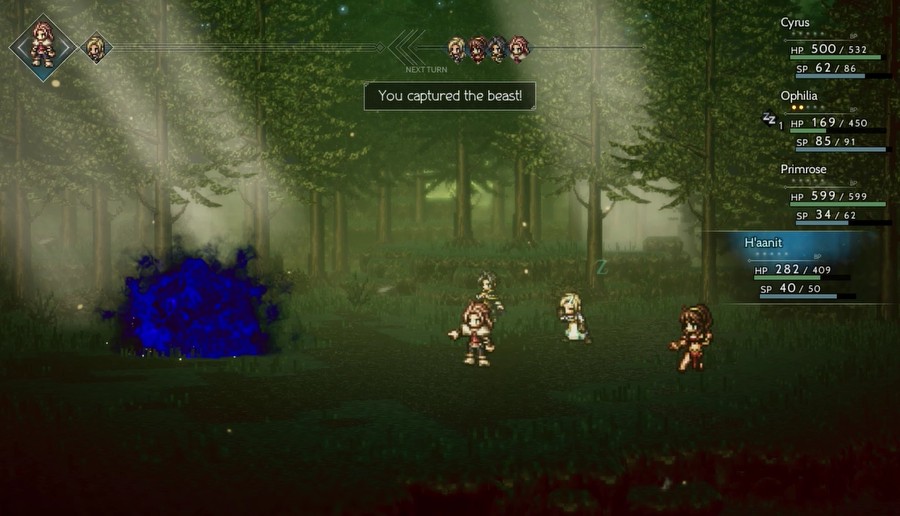
And success! The bright side is if we fail, we can keep trying to capture it. Of course, that sometimes means trying to survive a foe's brutal attacks while you keep trying.
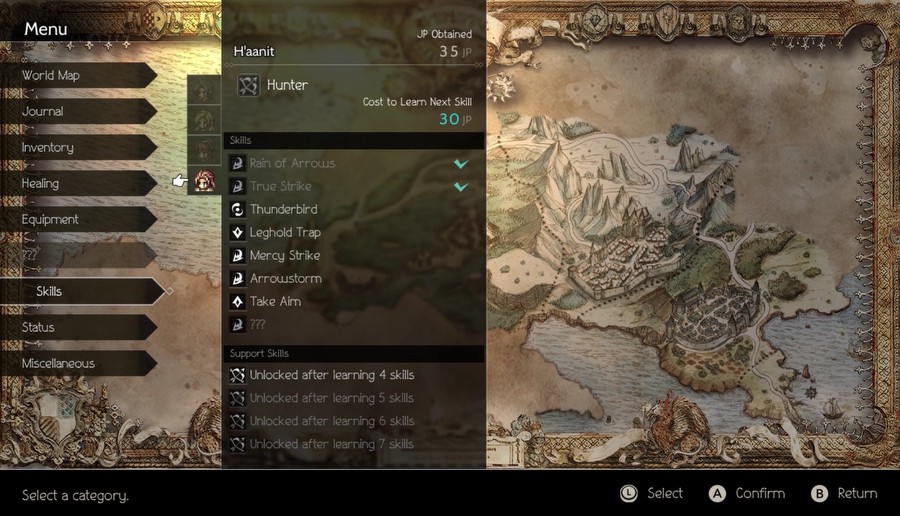
And that battle was enough to get H'aanit to her first skill, so let's go ahead and take a look at her skills to close this update out.
Rain of Arrows (8SP) - Attack random foes five to eight times with a bow.
This is like Olberic's Thousand Spears attack in that the individual attacks are weak, boosting barely matters, and it uses its own formula to determine whether it hits instead of accuracy and evasion. That said, great against single-target foes weak to bows as it rips through shields like butter. That's pretty much its sole use, but it's a good use!
True Strike (10SP) - Deal critical damage with a bow to a single foe.
Does 60% more base damage of a regular attack while ignoring 1/4 of a foe's defense. The big thing is that it always crits, which adds 25% more damage on top of all that. Decent single-target damage move.
Thunderbird (7SP) - Deal heavy lightning damage to a single foe.
Same as the other single-target elemental attacks. She doesn't have the ElemAtk to make it that good, so it pretty much solely exists to hit Lightning weaknesses. Whether that's worth it is up to you.
Leghold Trap (6SP) - Cause a single foe to act at the end of the turn for two turns.
Each boost point adds two more turns. Easily the shining gem in an otherwise lackluster skillset. Leghold Trap works on everything, and the only time an enemy will ignore it is taking post-break initiative. This makes a lot of dangerous enemies predictable and becomes invaluable for single foes since you'll always have four turns before theirs. Note it doesn't take affect until the following turn, though that means it'll last a turn after it wears off. It's arguably worth having Hunter solely for this skill, that's how useful it is.
Mercy Strike (4SP) - Attack a single foe with a bow. Otherwise lethal attacks will instead leave the target with 1 HP.
It does do 25% more damage than a regular attack for relatively cheap. Otherwise, it exists solely to make Capturing monsters easier. I never bothered with this one, to be honest.
Arrowstorm (24SP) - Attack all foes 5 to 8 times with a bow.
It's Rain of Arrows but for all enemies. The damage is bad, but if you have a large group of enemies all weak to bow attacks (which happens more often than you'd think!) then this utterly destroys them all. So situational, but holy crap is it a game changer in the right situation.
Take Aim (8SP) - Increase all allies' critical rate and accuracy for two turns.
Boosting adds two more turns as normal. The buff adds 50% more to each stat. Mainly useful for physical fighters, since elemental attacks don't crit or miss, and even then it's not really that great. I guess if you have nothing better to do, then it won't necessarily hurt.
Draefendi's Rage (30SP) - [Divine Skill] Unleash a highly powerful bow attack on all foes.
940% the damage of a regular attack, reduces defense by 1/3. One of the most powerful target-all attacks in the game, it's really nice for wiping out groups of foes and should still do great against a single foe. Solid skill.
Passive Skills
Heighten Senses - Gain an increased chance of attacking first in battle. (Equipping this skill with multiple characters will have no added effect.)
Mostly useless for bosses, but great for regular exploration, as a free turn can let you break enemies quickly and avoid a lot of damage. Not bad for a convenience skill.
Eagle Eye - Increases the equipping character's critical rate by 50.
I'm not a big fan of Crit myself, but it's an option.
Second Serving - Gives the equipping character a 50% chance of attacking twice when performing a standard attack.
It's always a 50% chance of one additional hit, whether one attack or a full-boost four attacks. Generally your attacks start being outclassed by skills by the time you get this ability, so it's only nice for fishing for shield breaks. That said, it does have a specific situation where it shines late-game, but we'll be saving that for much later.
Patience - The equipping character will gain a 25% chance of acting again at the end of a turn.
This is huge. Basically, after everyone's regular turns, there's a special turn for the character with Patience if it triggers. You get all the benefits of a regular turn too, like per-turn HP/SP healing (I don't think you get another BP, but I could be wrong). An extra turn for every four still turns out to be utterly invaluable, and one I highly recommend.
Next time, the hunt is on.