
 The Harborlands (Night)
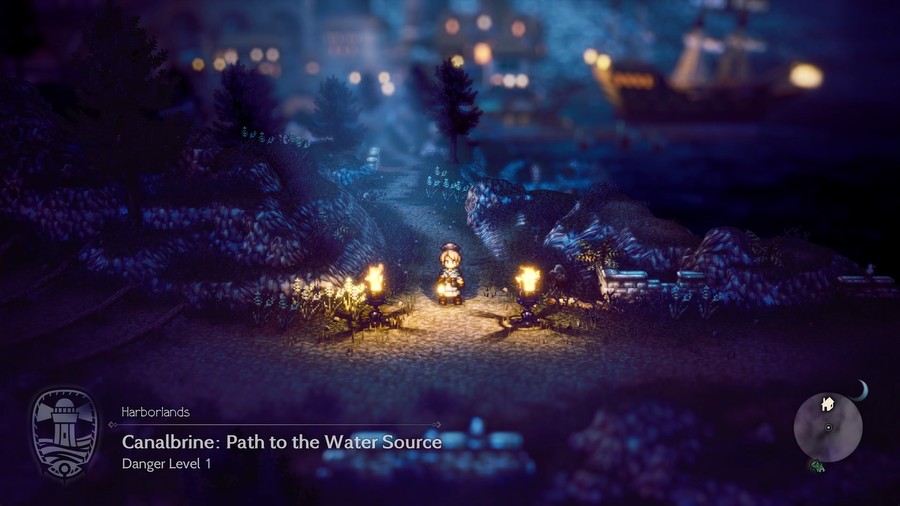
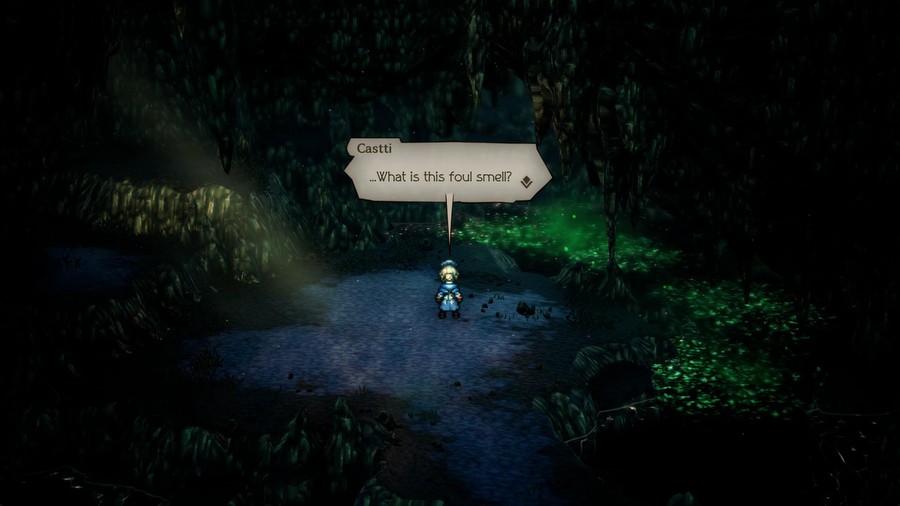
It's time to march our way to the water source and purge whatever is contaminating it.
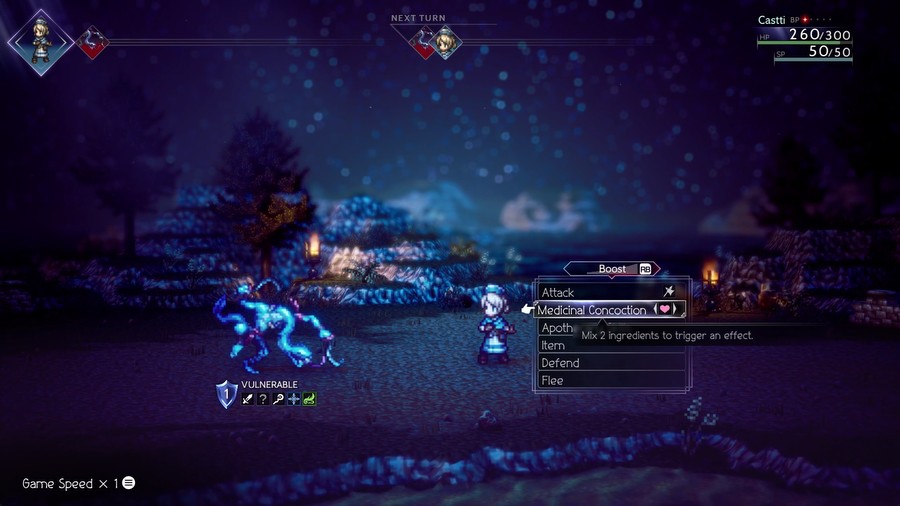
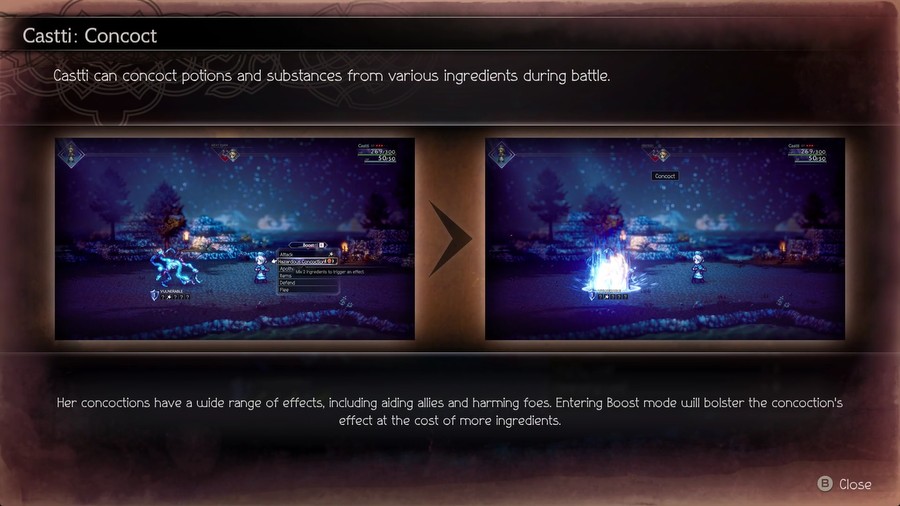
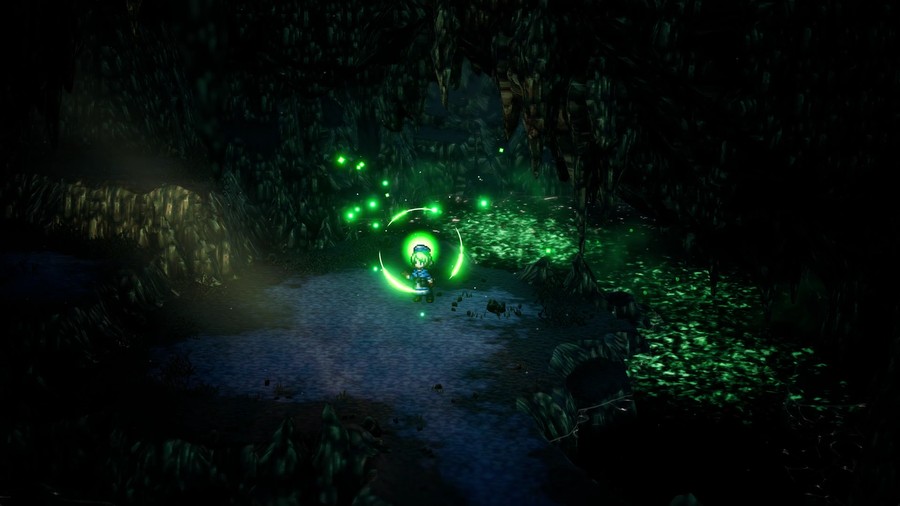
Castti's Talent is Concoct, and it works a lot differently than it did from OT1.
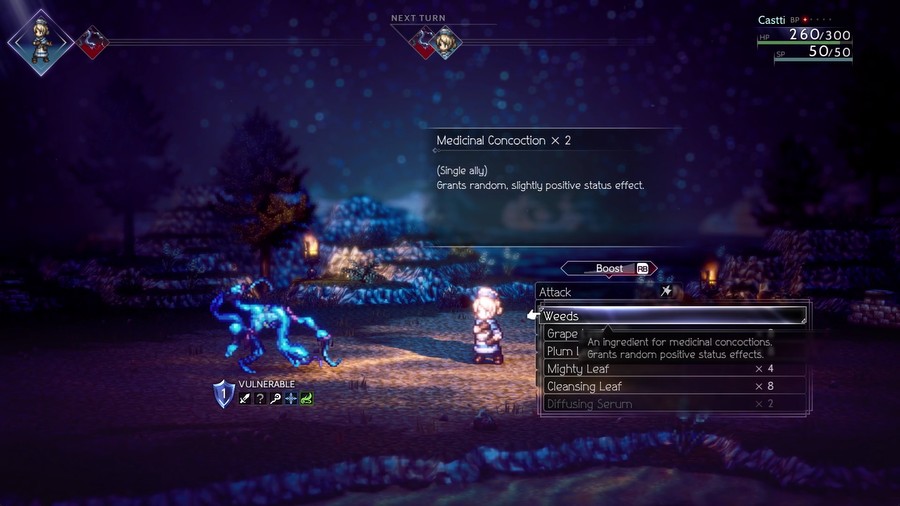
For OT2, Castti chooses from a list of ingredients, and each one she chooses will do its effect. Grapes will heal a set amount of HP, Plums restore SP, Cleansing removes status conditions, and so on. There's also a couple ingredients that modify these effects, one which strengthens the effects and one that spreads the effects to the entire party.
The key thing is that, unlike OT1, you can actually use BP to boost Concoct and select more ingredients, up to five at max BP. You can select any number of ingredients as many times as your BP allows (you may be limited to only one each of the Diffusing/Strengthening Serum, but more than one would have no effect anyway), letting you stack, say, four Pomegranate Leaves and a Diffusing Serum to give the entire party four BP. Which, yes, means Concoct has the potential to be just as busted as it was in OT1.
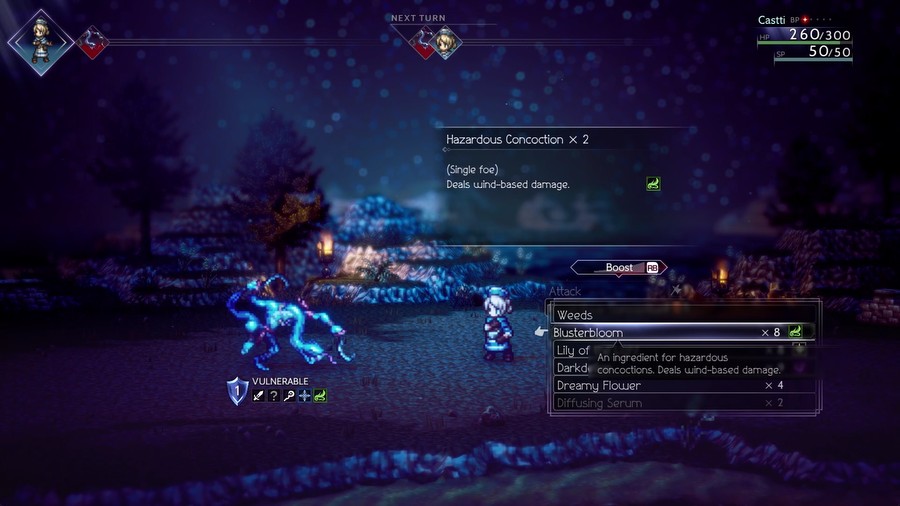
Also like in OT1, there's Concoctions that heal and buff the party, and ones that hurt and debuff the enemies. While the elemental concotions don't do multi-hit effects anymore unless you stack them, instead they do actual damage now.
Of course, the limiting factor with all this is the amount of ingredients you have. Some are easily bought for cheap, and Weeds are always free to give random de/buffs, but naturally the good stuff can be difficult to get a good number of. Fortunately, this isn't as huge an issue as you'd think for reasons we'll see later.
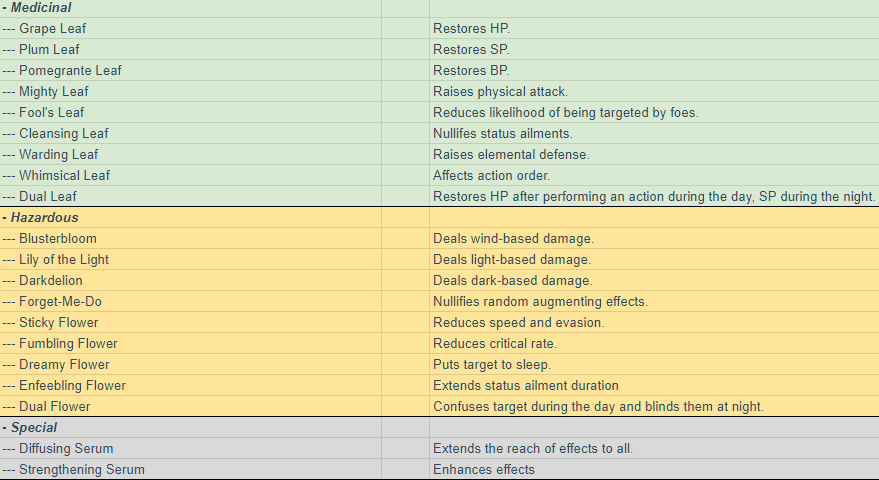
If you're curious, here's all the possible effects, courtesy of the massive community-made OT2 spreadsheet (which I'm not gonna link here because naturally there's a lot of massive spoilers in it).
Apothecary's biggest stat is HP, being mediocre in basically everything else, which suits its role as an utility healer just fine. Thus an extra 200 HP complements Castti's role just fine.

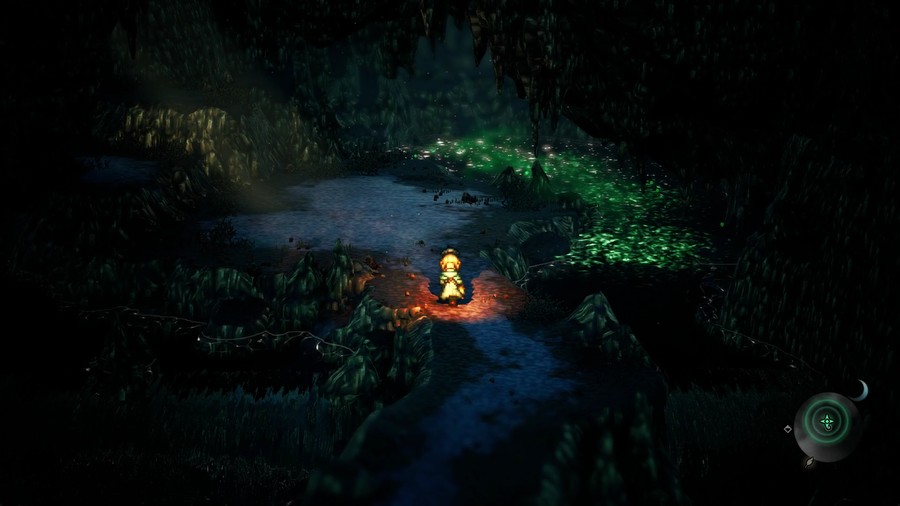
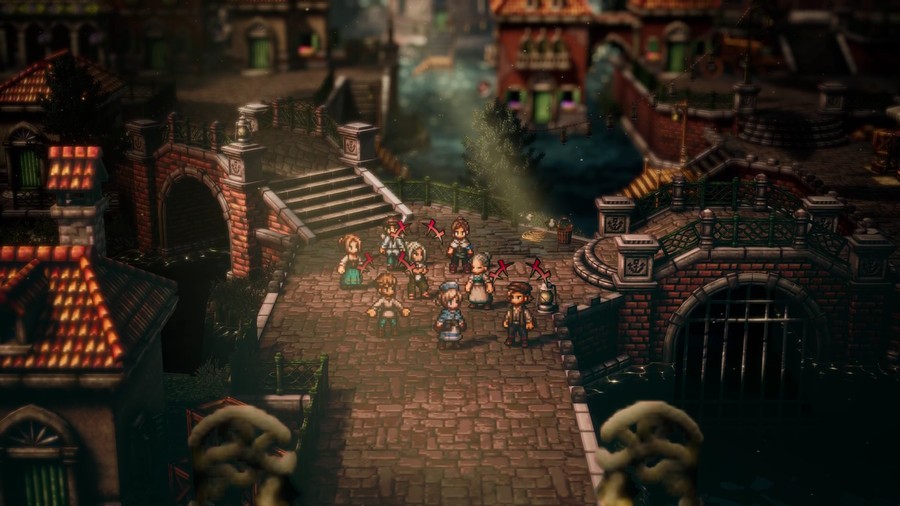
Otherwise, it's a rather scenic walk to reach the river.

This helm is a surprisingly large improvement over Castti's starting hat.
Sure, why not.
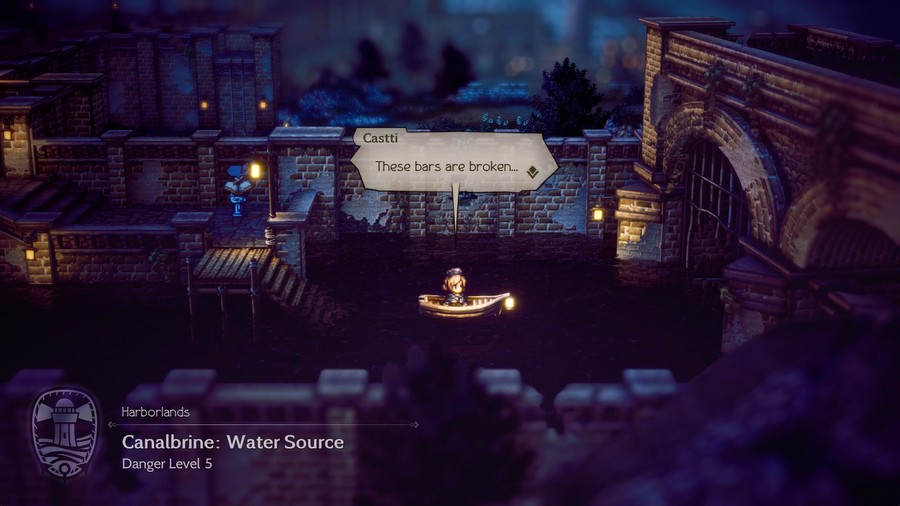
 Something must have forced its way in here. The wellspring is just a little further. I'll need to approach it with caution.
Naturally, it seems some sort of creature or villain may be involved here.
Stillness Underground
Nothing else to do but explore the area further.
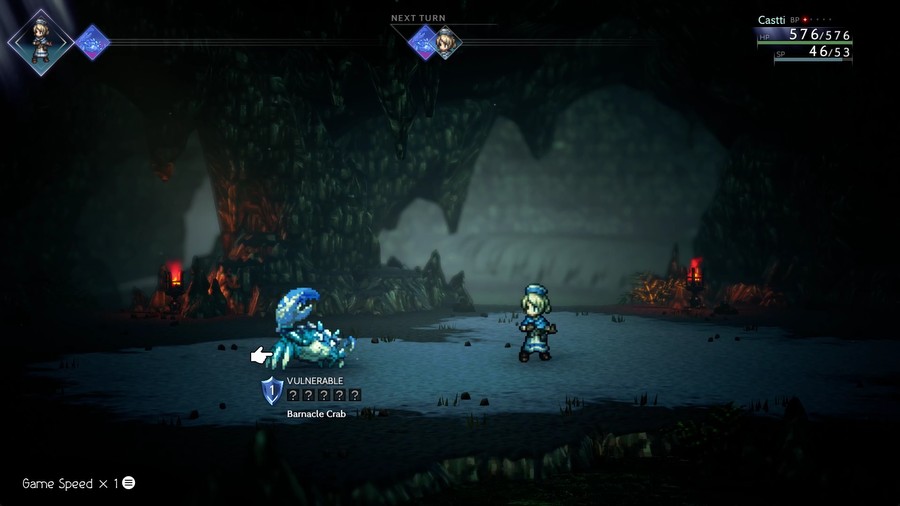
And annihilate any crabs along the way.
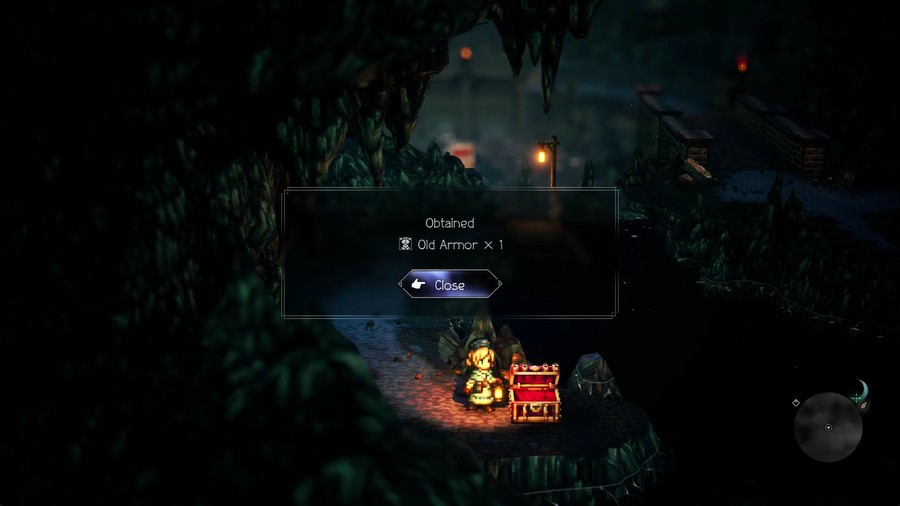
Another solid armor upgrade.
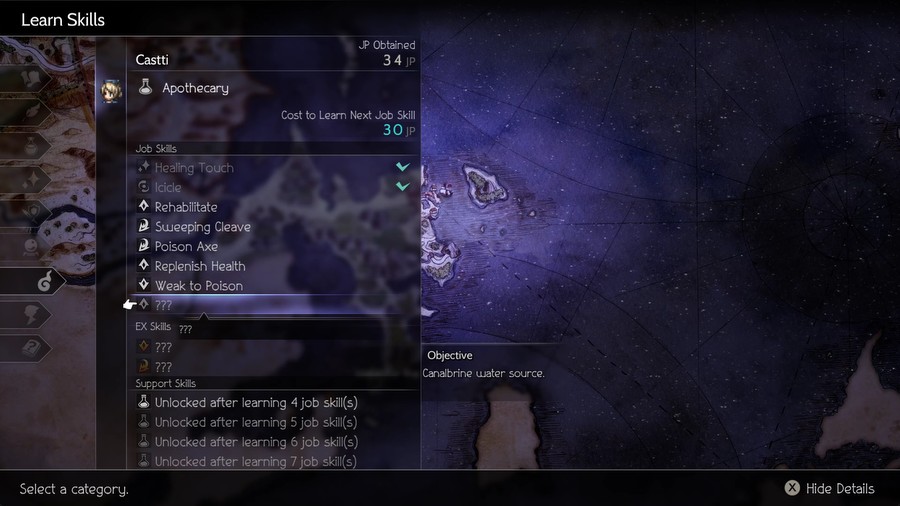
At least this time I don't have to actively grind to get to 30JP. Let's get into the Apothecary's abilities...
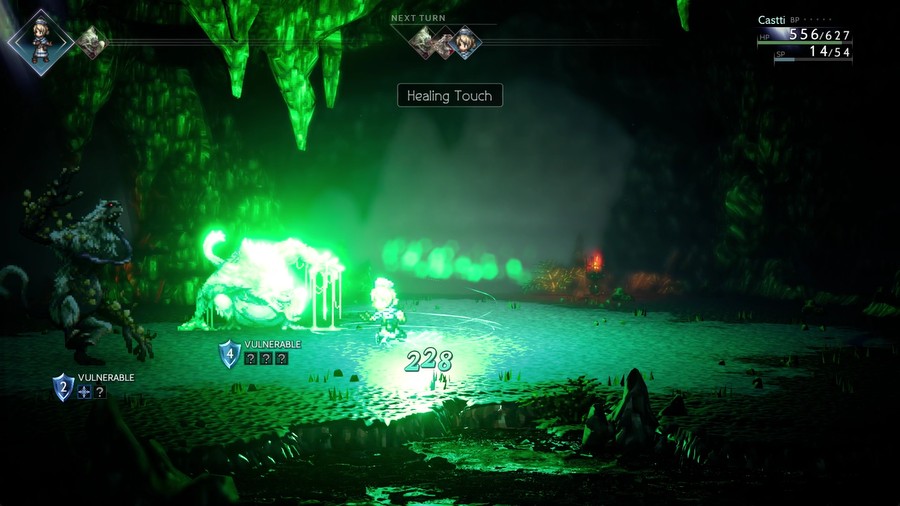
Healing Touch - Restore HP to or revive a single ally. The actual healing is not really that impressive and can arguably be outdone by items and Concoct even at higher levels and more BP, but the revival part is huge, particularly since most other revival methods leave characters at low HP.
Icicle - Deal ice-based damage to a single foe. Mediocre damage source, mainly useful for chipping away at ice shields or for high-E.Atk jobs like Scholar and Dancer.
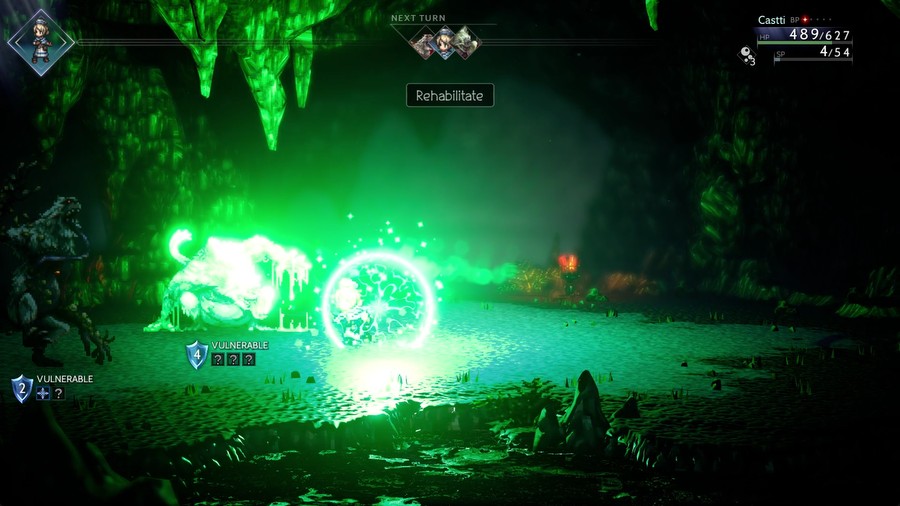
Rehabilitate - Grant a single ally immunity to status effects for 2+(2*BP) turns. It also heals status effects, but it's cheaper just using herbs to do that. Otherwise, status immunity is great for certain battles, just as long as you buff its duration efficiently.
Sweeping Cleave - Unleash an axe attack on all foes. Target-all weapon attacks are always handy, and axes are generally one of the stronger weapon types. This can do serious damage paired with a good P.Atk-user.
Poison Axe - Unleash a powerful axe attack on a single foe, and poison them for 2 turns. Checking the ability data spreadsheet, I don't think BP boosts the number of turns a foe is poisoned, only the damage from the axe attack, but correct me if I'm wrong there. Regardless, this is more of a powerful single-target attack with a poison bonus rather than a good way to inflict poison.
Replenish Health - For 3+(2*BP) turns, grant HP to a single ally after they perform an action. Checking the spreadsheet, I think it recovers 20% of Max HP a turn, but I could be wrong there. It's passive recovery over the course of a battle, so it's really only going to be helpful during boss battles, and even then the healing may be wasted if the target's at full or needs and gets a big heal. Not really a skill to rely on.
Weak to Poison - Makes a single foe weak to poison for 2+(2*BP) turns. This makes it sound like it makes poison do more damage, but I don't think this is the case? All the info I could find was from the OT Wiki, which says this effect makes the foes lose a shield when taking poison damage. Which is situationally useful against foes with otherwise difficult weaknesses to hit, but there's generally other ways around this, and this effect requires a weird amount of set-up to take advantage of when many easier methods exist.
Divine Skill: Dohter's Charity - Extend the reach of a single ally's items to affect all for three turns. Considering the existence of Jams that can fully recover combinations of HP/SP/BP/Latent Energy, this is a fantastic skill you can throw on any party member who may not have much else to do. I'd assume this also works with Concoct, though it's not as important to it as it is in OT1. Very great divine to have handy.
Support Skills
Vigorous Victor - Restores 30% of the equipping character's max HP and SP upon winning the battle. It's a nice QoL passive for random battles if nothing else. Won't be too useful end-game, but it's arguably one of the more conveient passives to have before then just to save time with menus and let you be more aggressive with SP-expensive skills.
Hale and Hearty - Raises the equipping character's max HP by 500. Another filler ability, useful for healers and more fragile characters, but nothing you want to keep around once you get more passives.
Inspiriting Break - Restores the equipping character's SP when breaking a foe. The OT2 spreadsheet says it restores 20SP, which is alright. The issue is that generally when breaking a foes, you're not going to go out of your way to have a specific character break a foe. Thus this is too inconsistent to really make work, especially with so many other passives out there.
Preventative Measures - Grants the equipping character immunity to enfeebling effects for three turns at the start of battle. Might be useful for randoms and maybe specific bosses, but generally debuffs aren't that big a deal at the start of a battle, so it seems underwhelming to me.
I opt for Rehabilitate because why not. Probably should've done Sweeping Cleave instead but oh well.
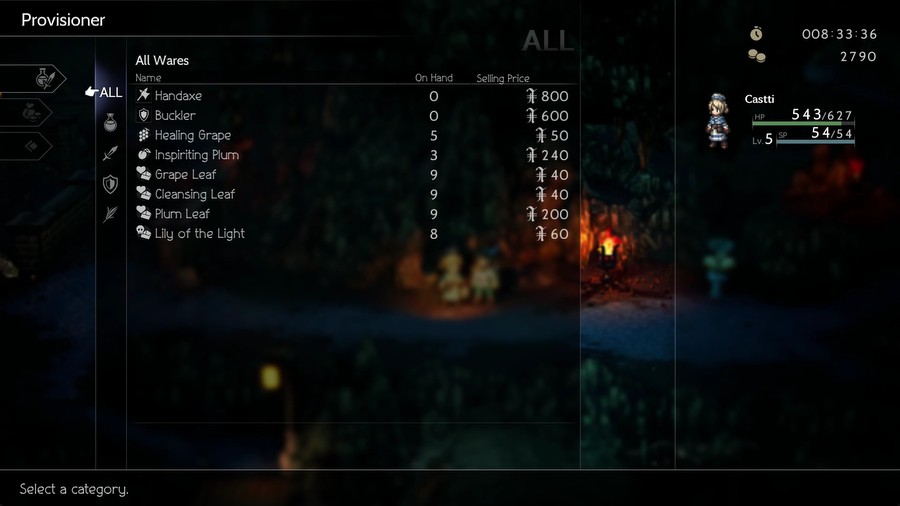
Token "Merchant standing in the middle of nowhere" has some nice ingredients for sale.
Looks like we've found the source.
 It is true what they say: filth is the root of all illness. Now then... What is it that's made all this mess?
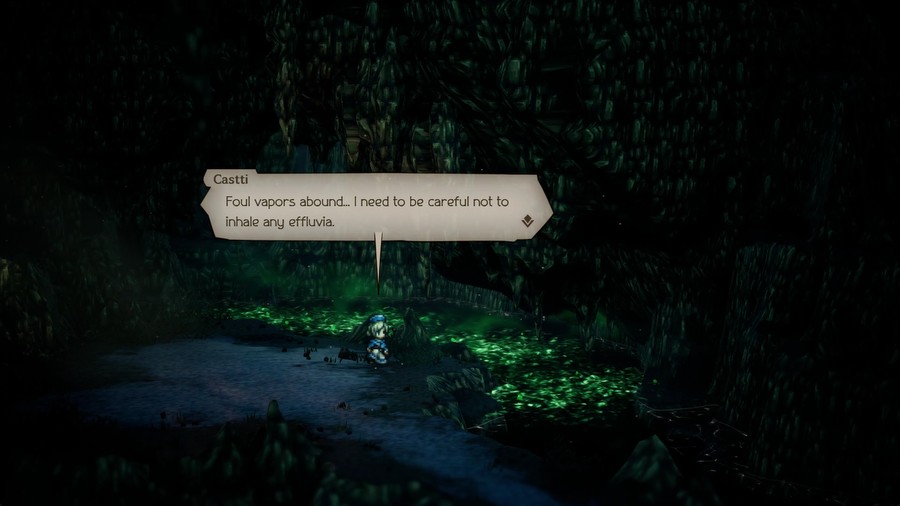
As Castti investigates the filth, a loud scream grabs her attention.
In Pursuit of Memories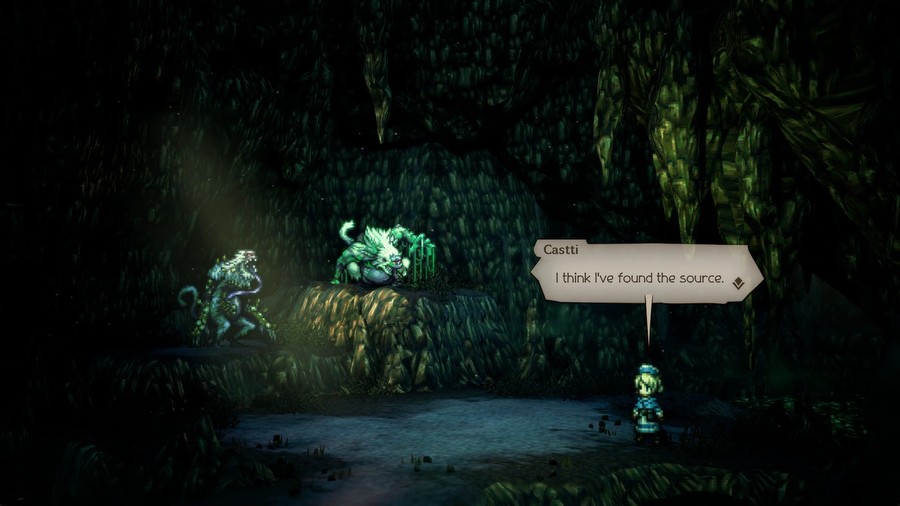 So you're the ones causing all this trouble.
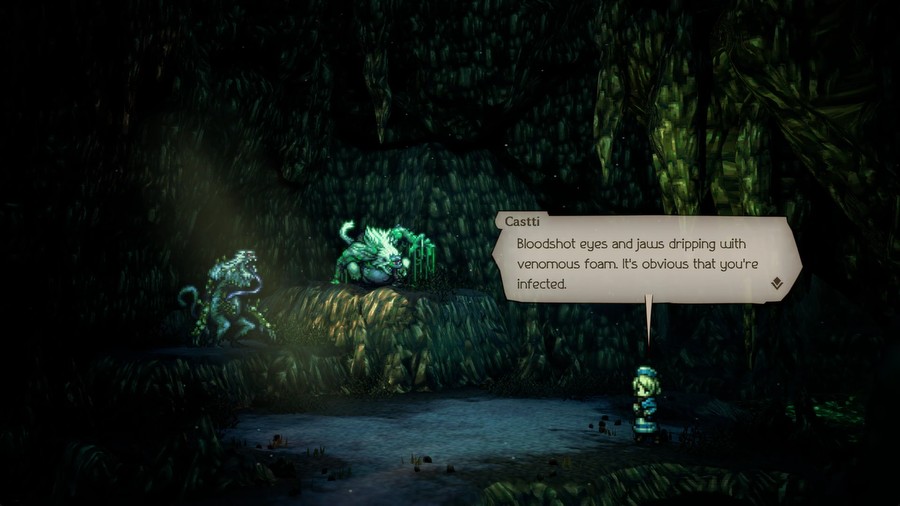 Your very touch poisons the waters here, sickening all who drink it.
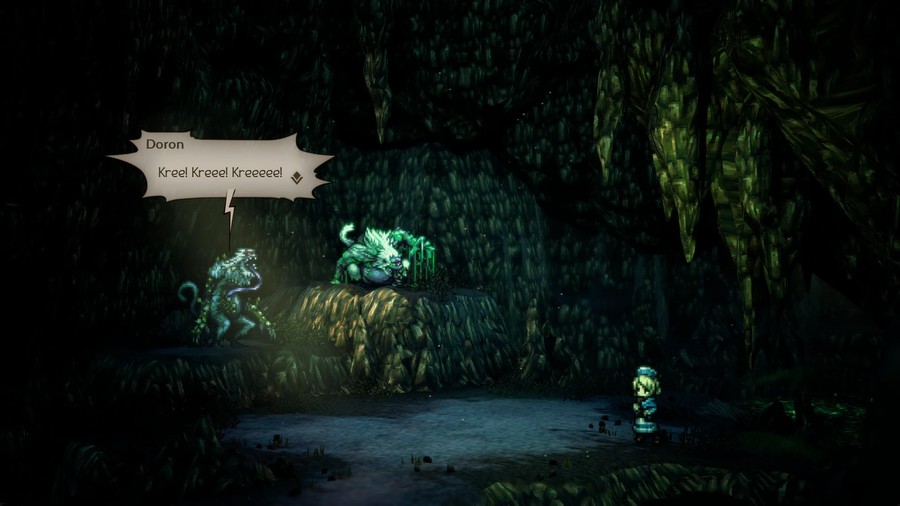 I couldn't convince you to leave peacefully, could I? The townsfolk need these waters more than you.
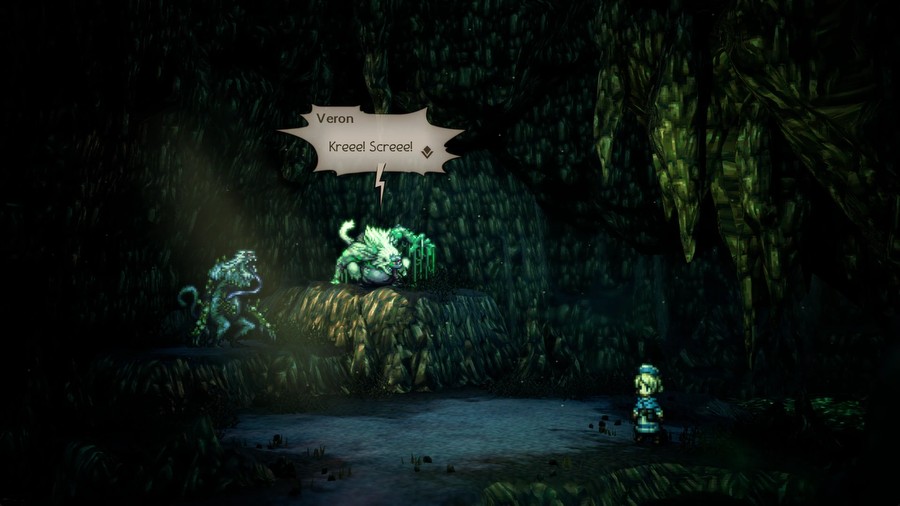 *sigh* It was worth a shot.
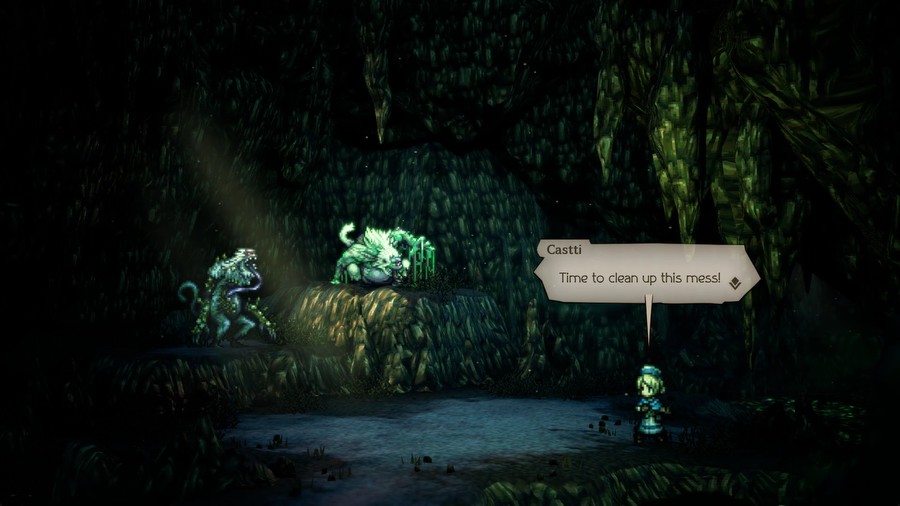
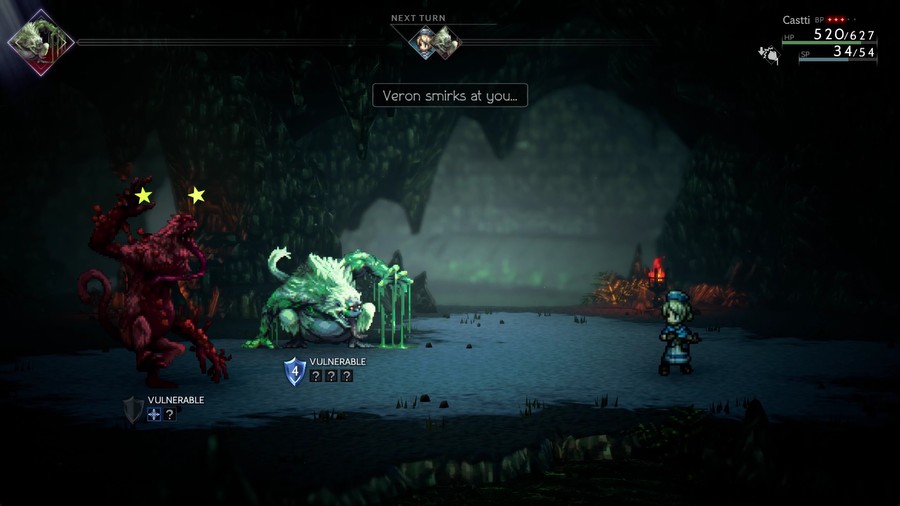
 Video: Boss - Doron and Veron
 Critical Clash II
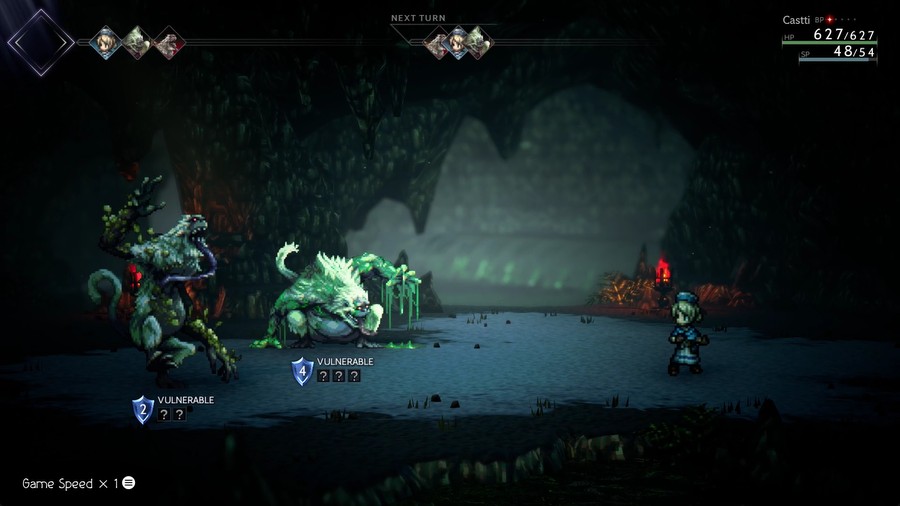
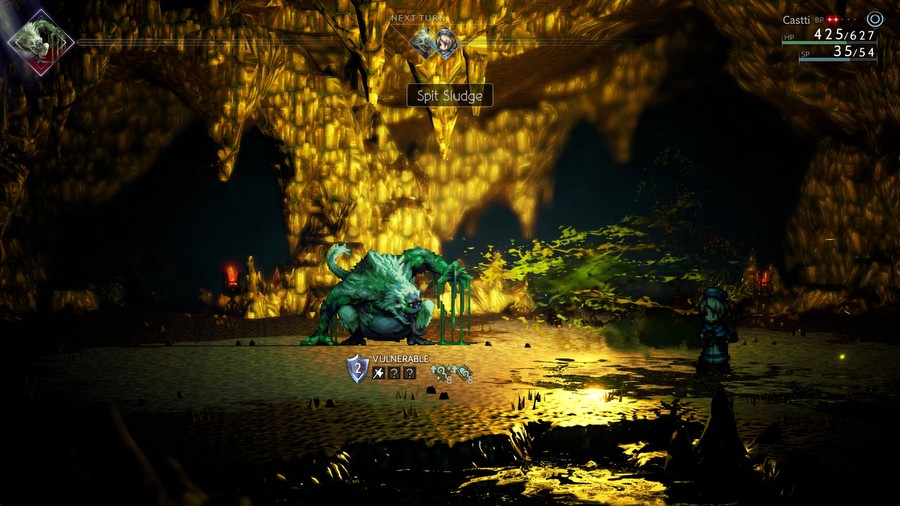
This fight is a bit tricky, as it's two-on-one and these nasty creatures have appropriately nasty effects they can inflict.
In addition to dealing decent damage, they can also debuff Castti's P.Atk.
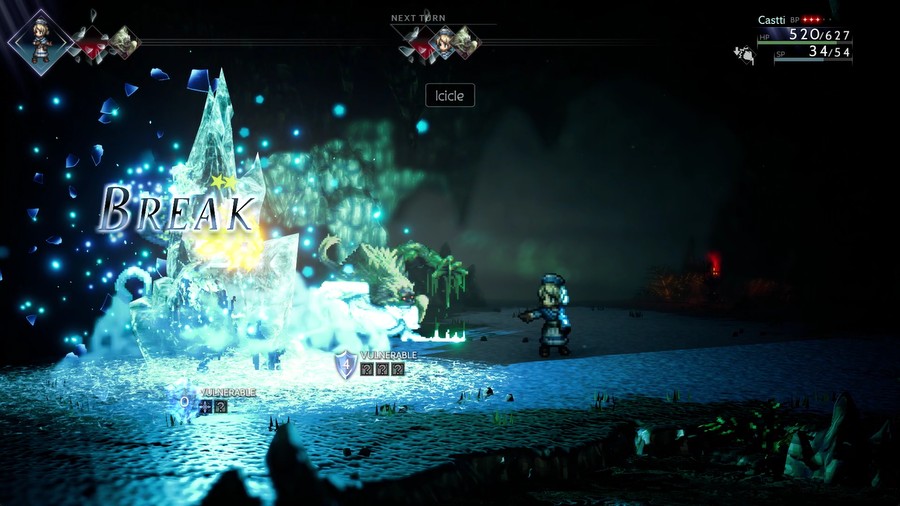
Doron is weak to ice, and Veron to axes. Doron's probably the easier target to go after first.
Thankfully sometimes these creatures will just waste a turn to give you some breathing room.

Boost and Burst.
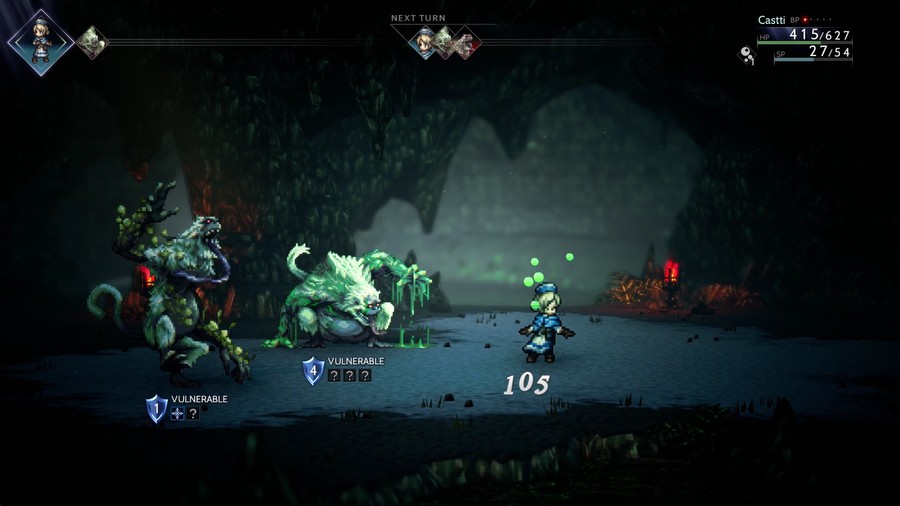
Poison's a nasty status effect, doing 1/6 Max HP damage each turn. Sadly it's not nearly that potent on bosses.
Of course, the nice part of being an Apothecary is that the job itself is very self-sufficient, able to do some damage while keeping the user healthy.
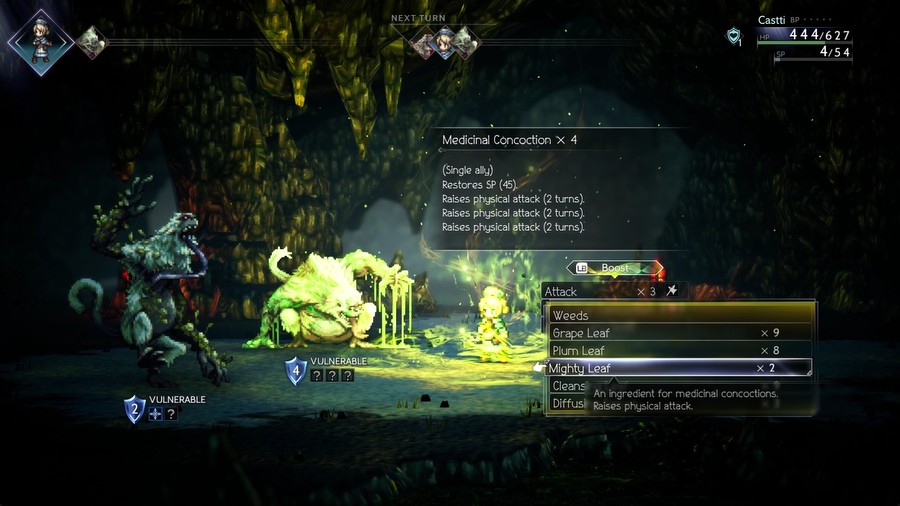
I need SP after all that, so I decide to use a bunch of the Mighty Leaves I have to buff Castti's P.Atk for a few turns.
Naturally after I do that I get hit with another P.Atk debuff, which cancels out the remaining turns I had. Oof.
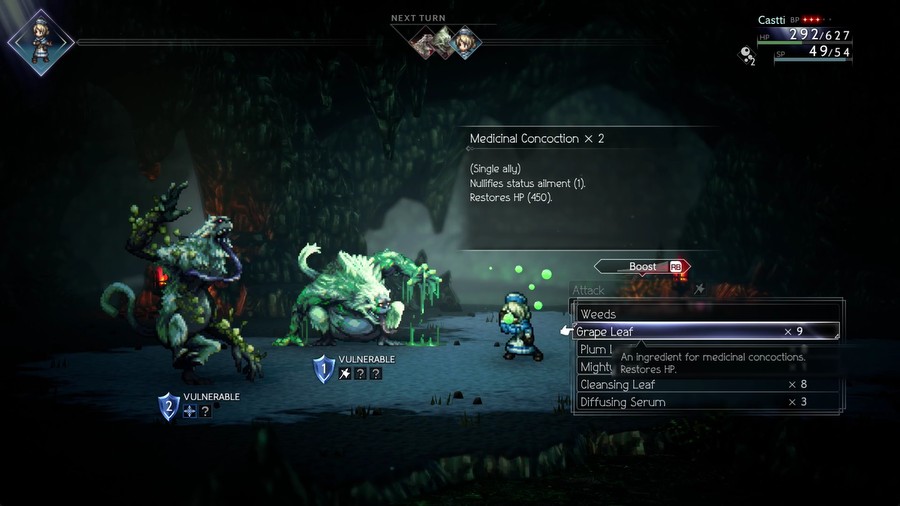
Otherwise, Concoct is incredibly handy for this battle, if only because healing poison and recovering HP in one turn is great turn economy.
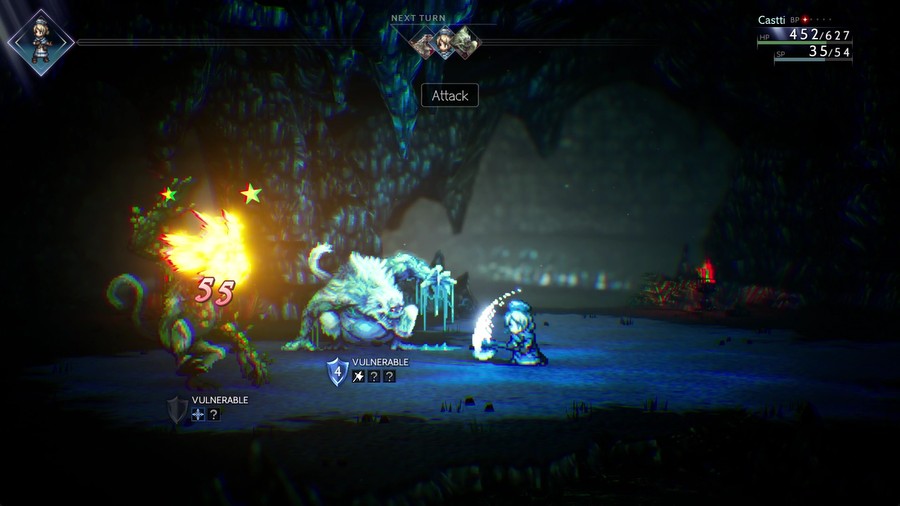
Eventually I get Doron to near death.
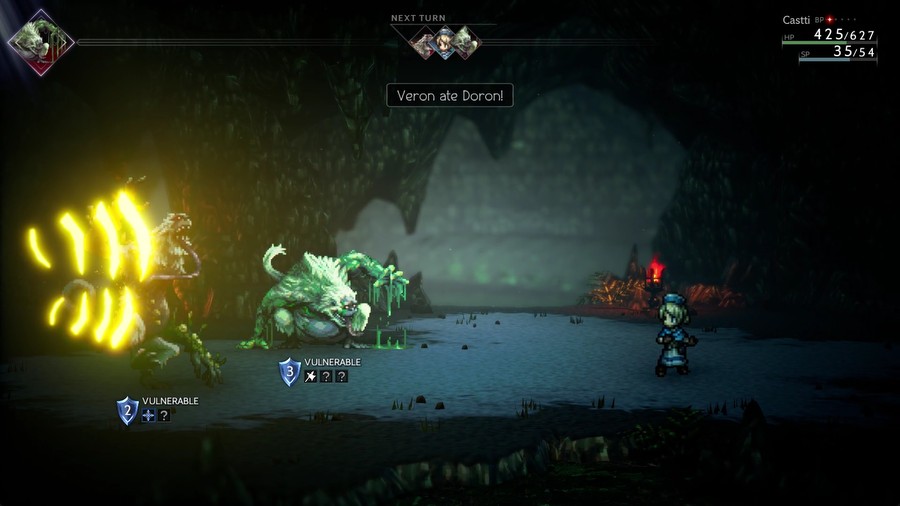
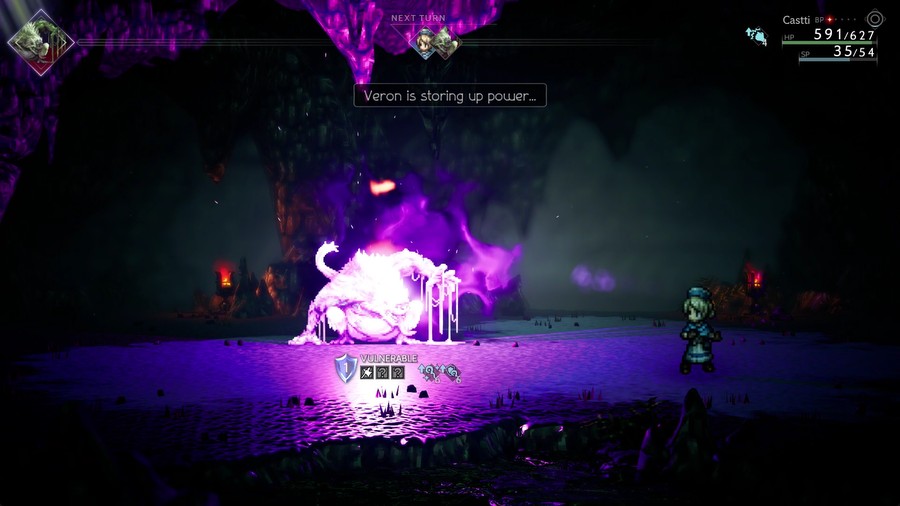
But not before Veron literally eats its companion. Gotta say, this caught me off-guard the first time I played this game, especially since I started the game with Castti.
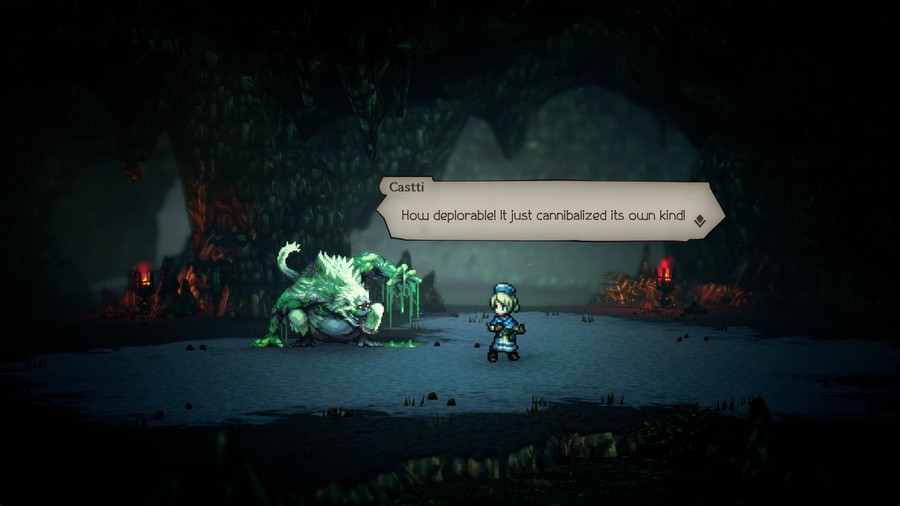
 Ick... What a noisome odor... Did cannibalizing its own empower it somehow?
Yeah, best to eliminate this threat as soon as possible.
As if this fight couldn't get any more disgusting.
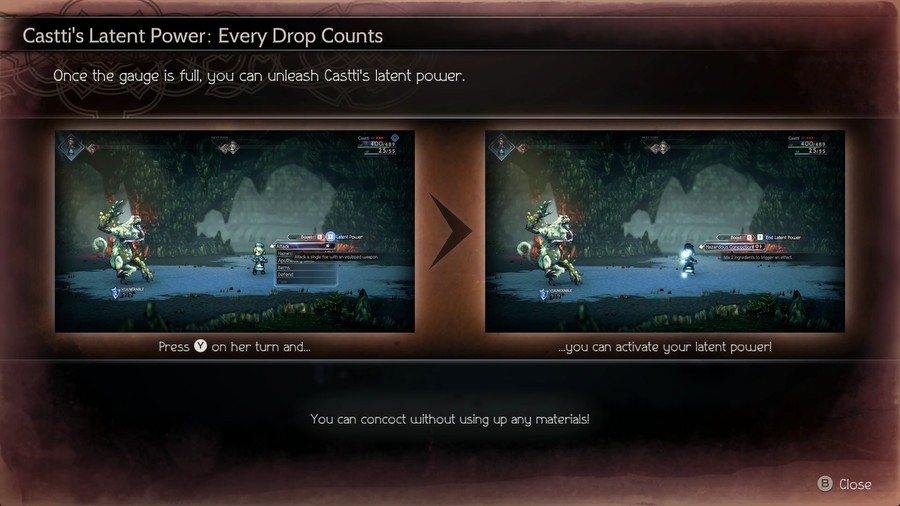
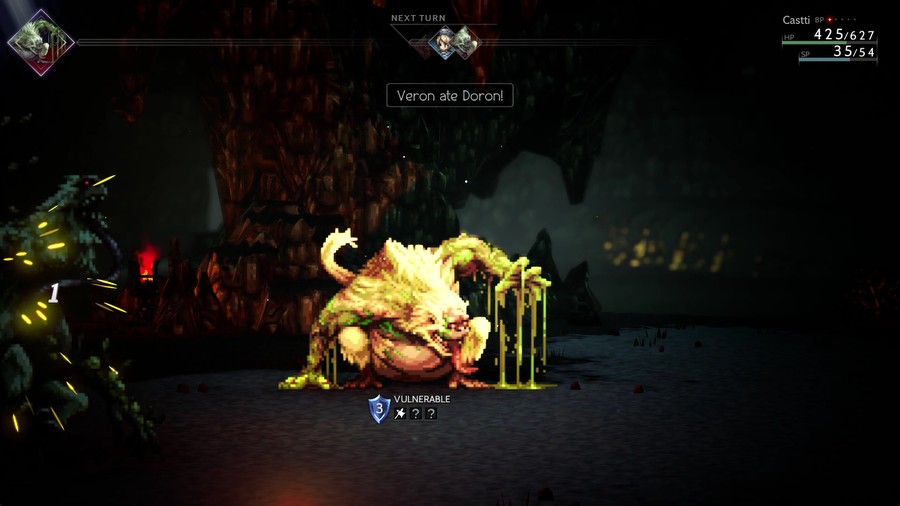
Fortunately, now we get access to Castti's Latent, and it's one of the best in the game.
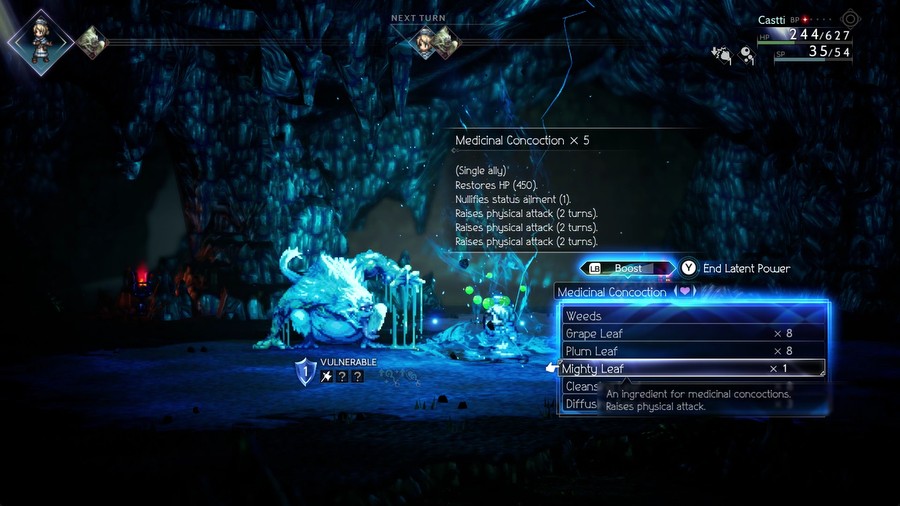
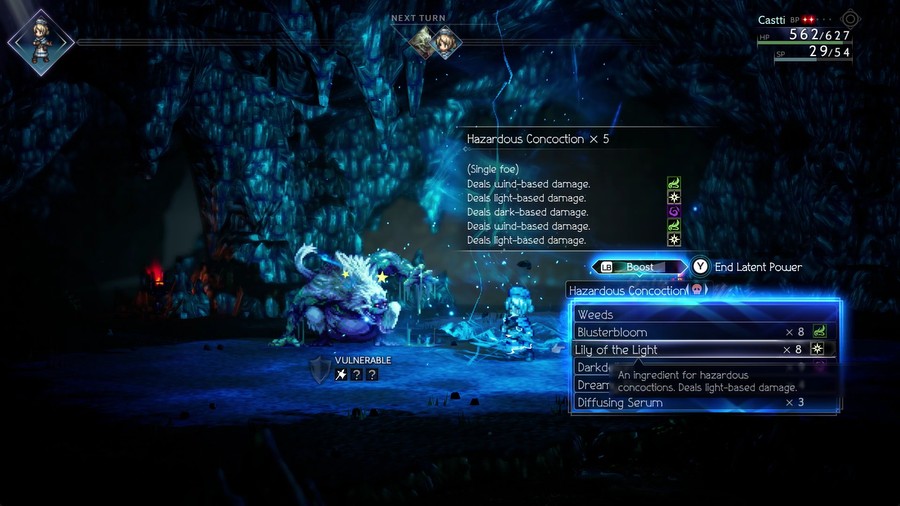
When active, Concoct does not use any materials. It becomes significantly more spammable as a result, as you can do all sorts of crazy effects for essentially free. And as shown here, as long as you have even one of an ingredient you can use it multiple times.

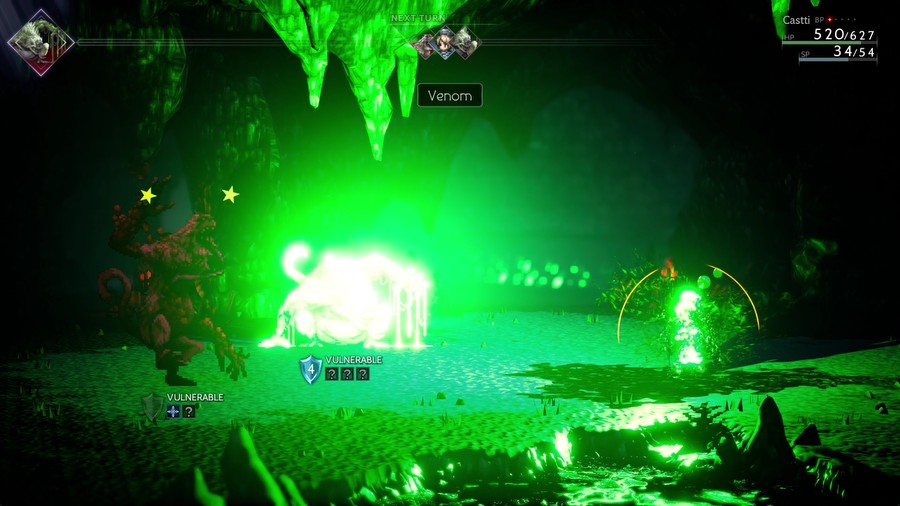
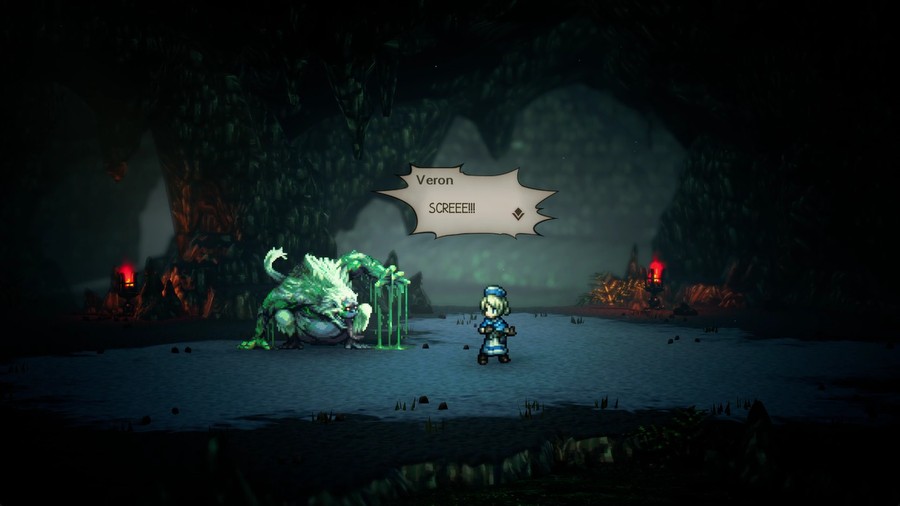
This hits decently hard and inflicts Poison. An appropriately nasty attack.
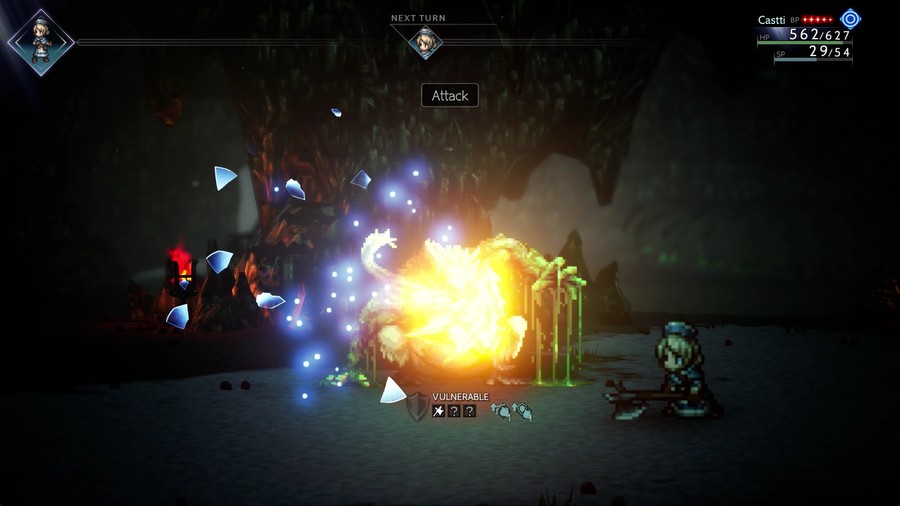
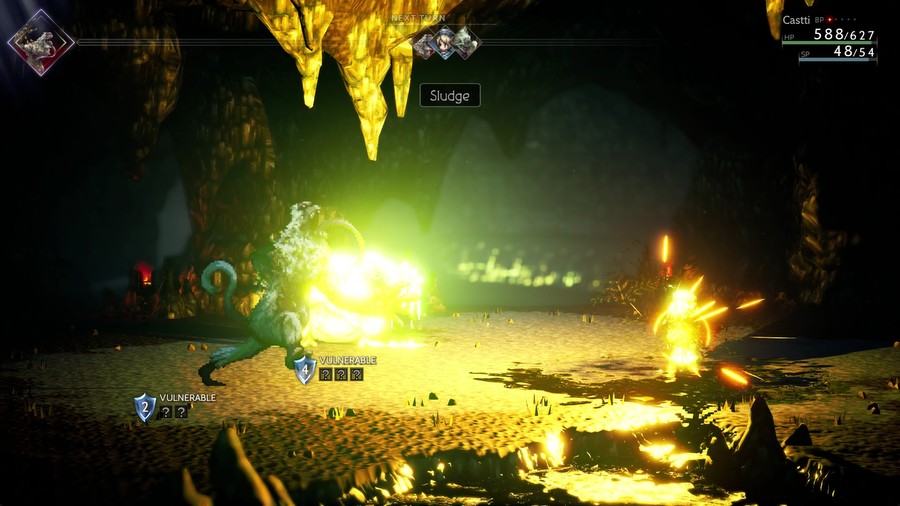
Time to show off what Hazardous Concoctions can do!
In OT1, these effects only did single-digit damage, since they were more focused on breaking shields and inflicting debuffs. The increase to damage is much appreciated for this fight!

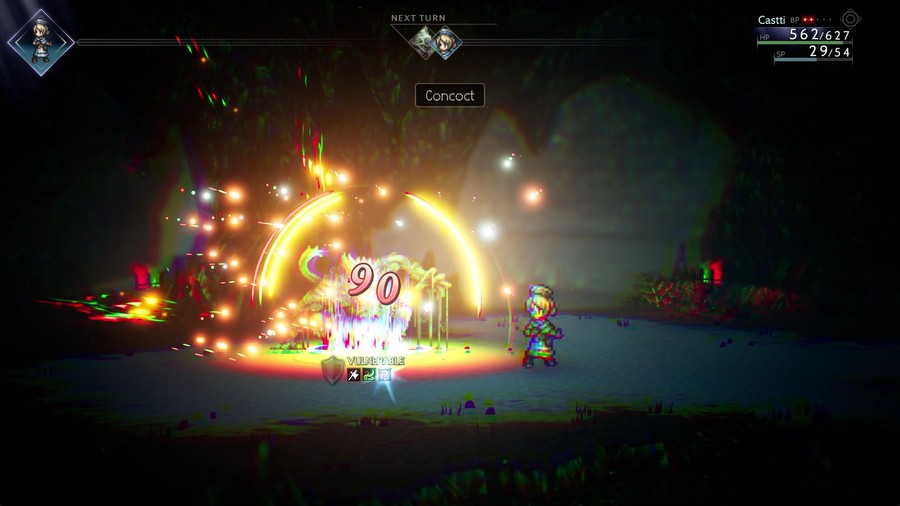
And after all that, Castti finishes the creature off with ease.
SILENCE That takes care of the root of this illness.
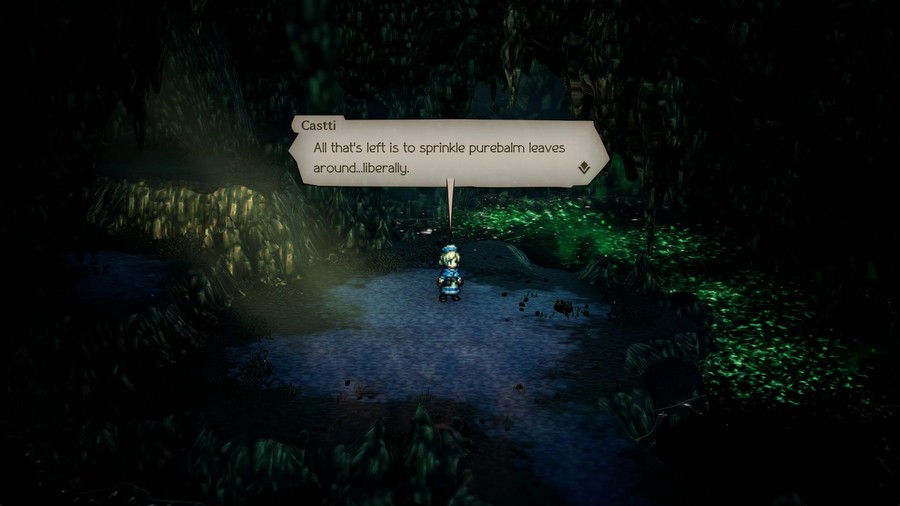
 With time, the corruption here should fade.
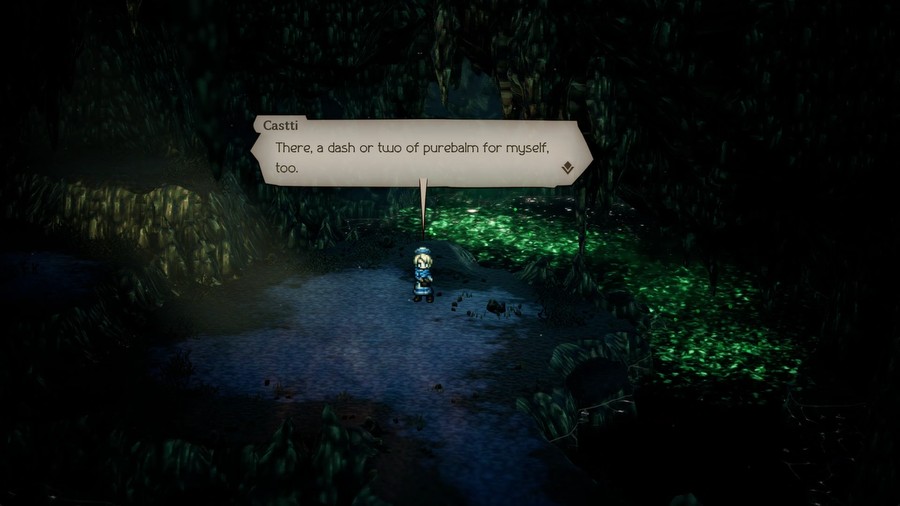
 It won't do anything for the smell, but I'll feel better for it nonetheless.
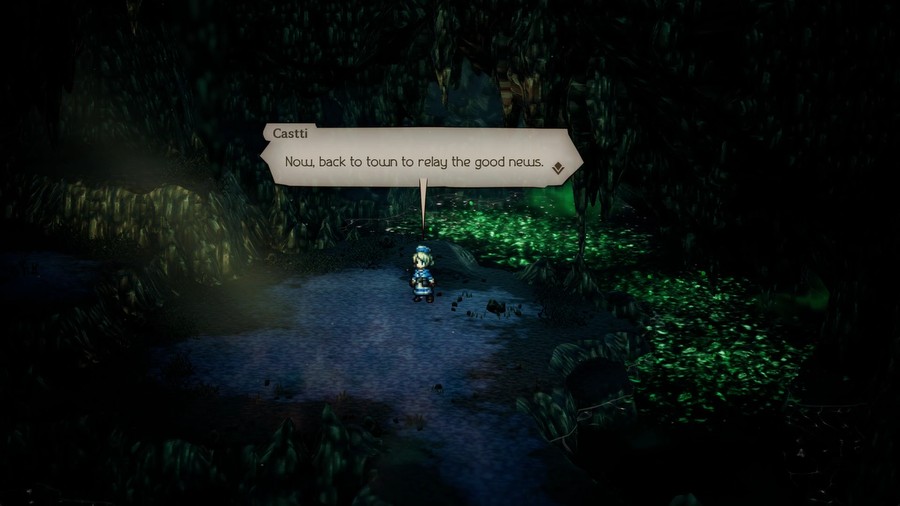 Hope
Hope
 Yes, er... Sorry about that.
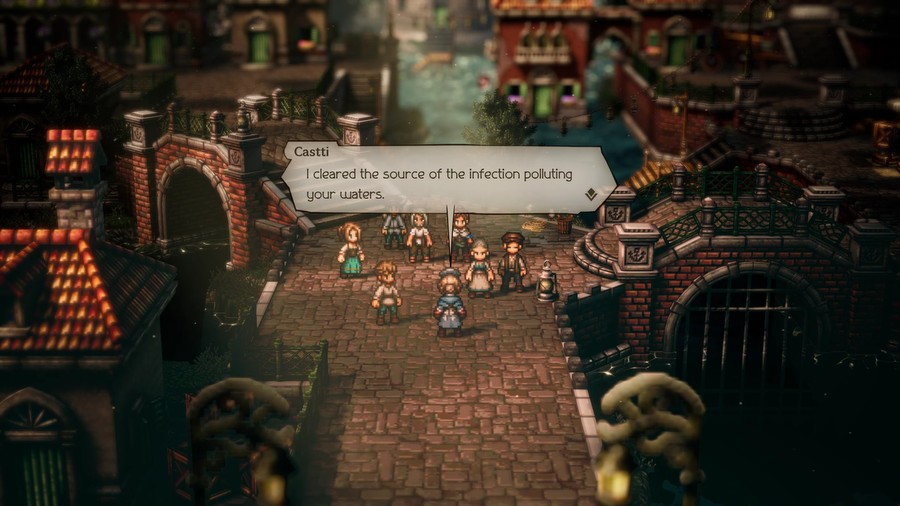 The spring will run clean again in time. Nevertheless, I recommend boiling all your water for a good while yet.
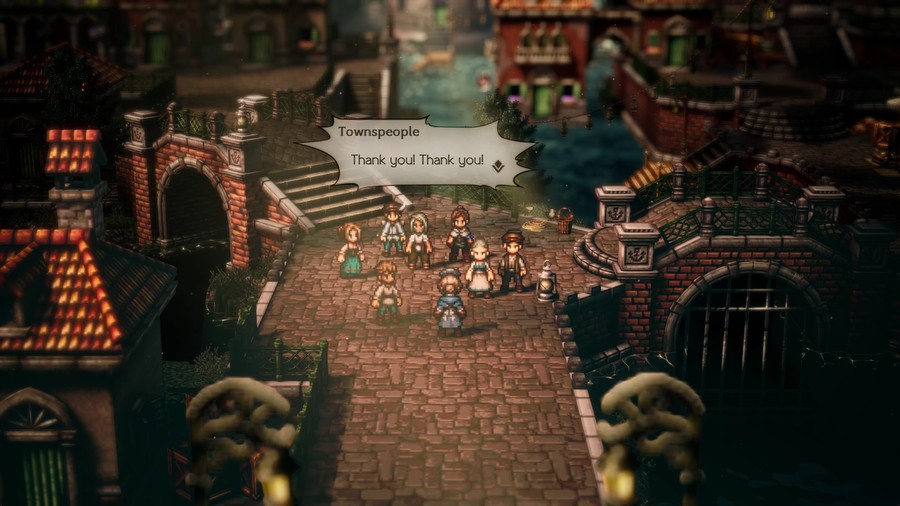
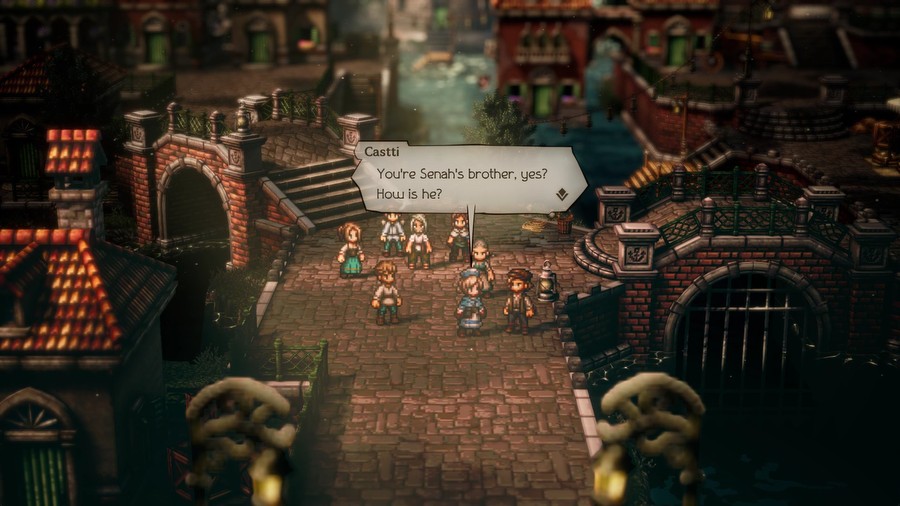
 Back on his feet and as rambunctious as ever! Not a trace of that nasty fever left. I'm glad to hear it. Allow me to stop by later to check on him, just in case.
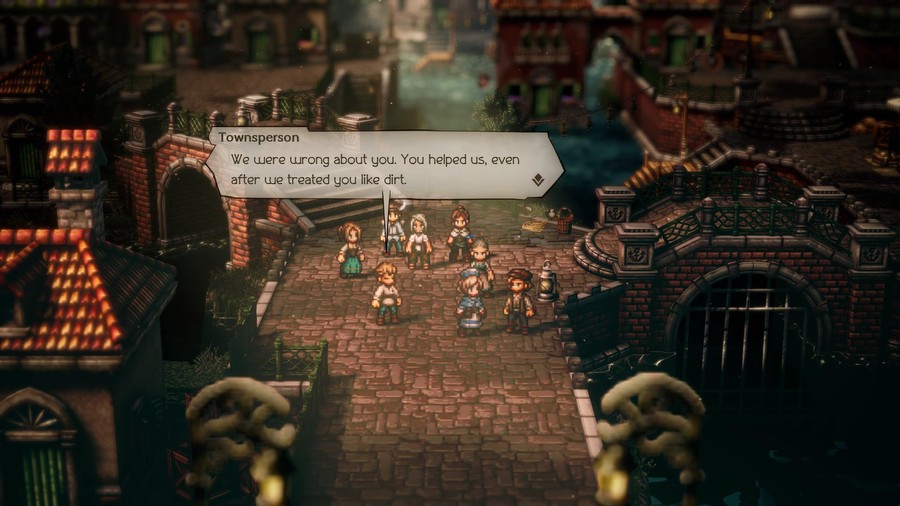
 How can we ever make it up to you?
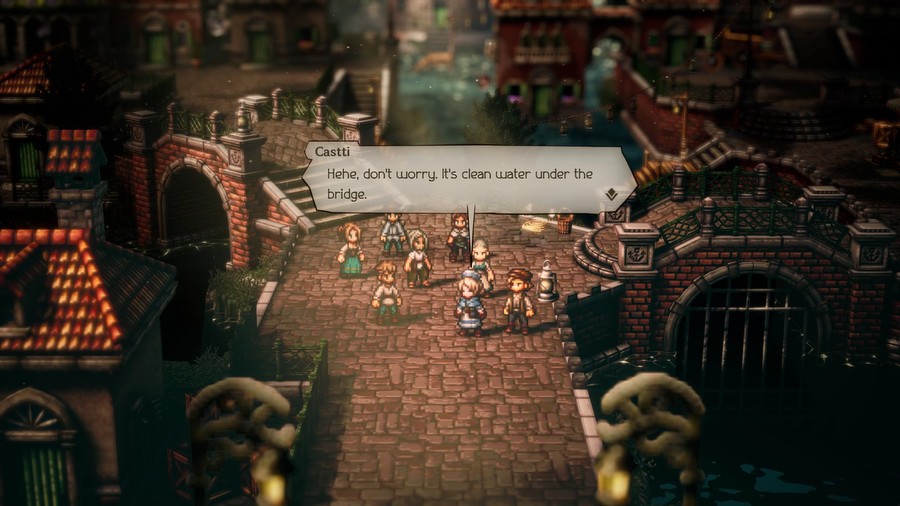 Although...I do have one request. Anything! Just name it, Castti!
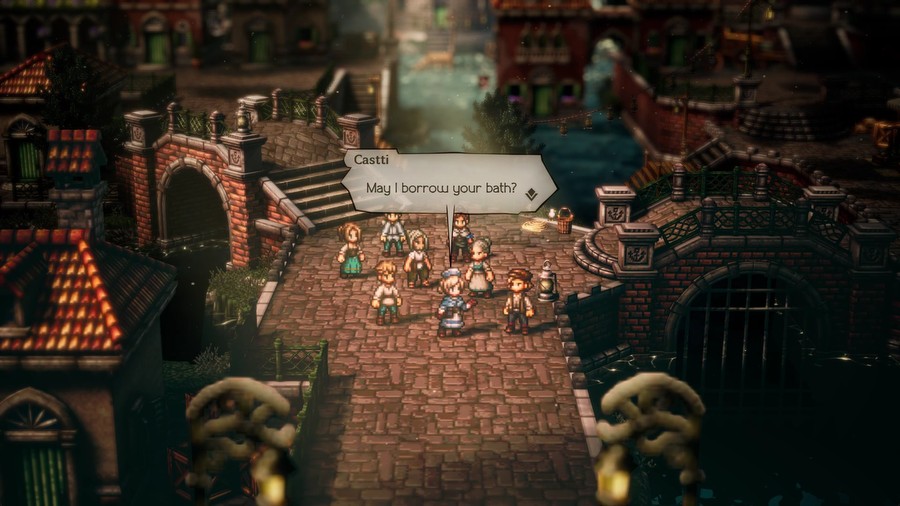
 Video: Treatment Log Bygone Days
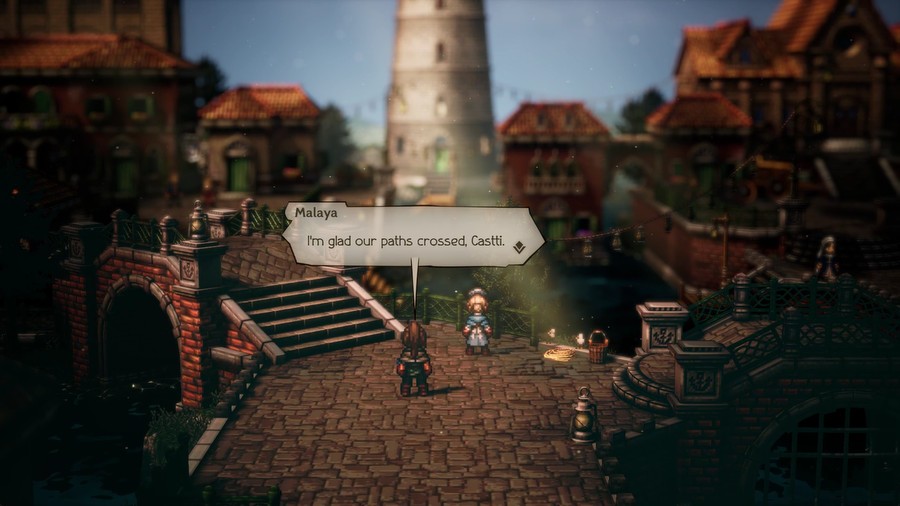
 But it's time for me to move on. The open road is calling. Malaya... May I ask what it is that compels you to travel? ......
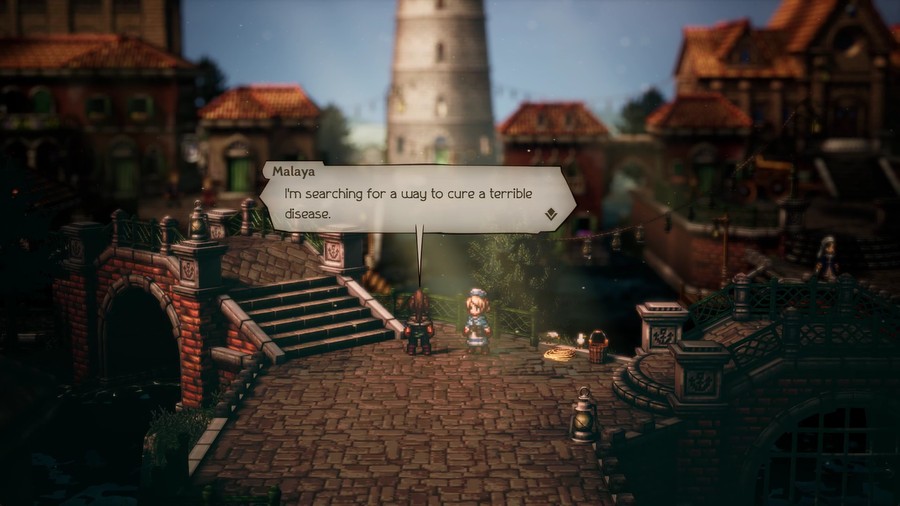 I've identified the ingredients I need to brew the medicine, but I've yet to discover the correct recipe.
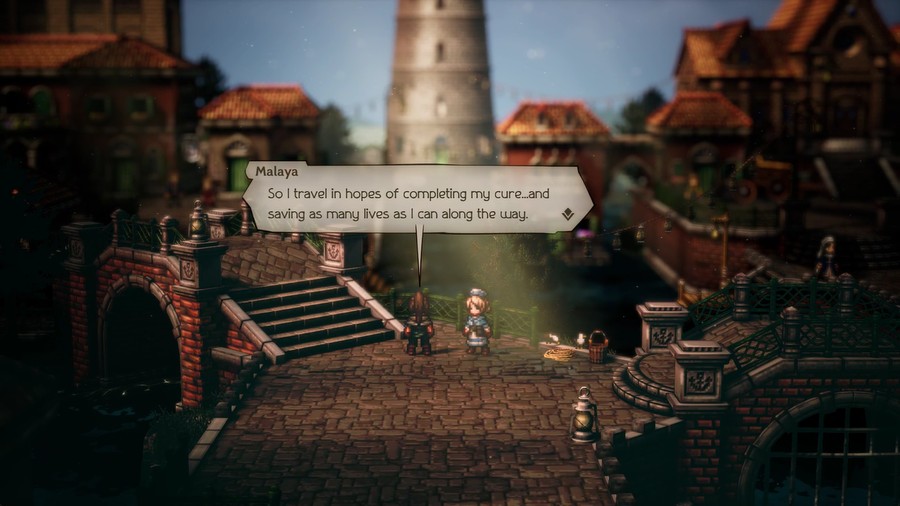 Is there anything I can do to assist you? No. This is my problem, my burden to bear. You have your own troubles to see to.
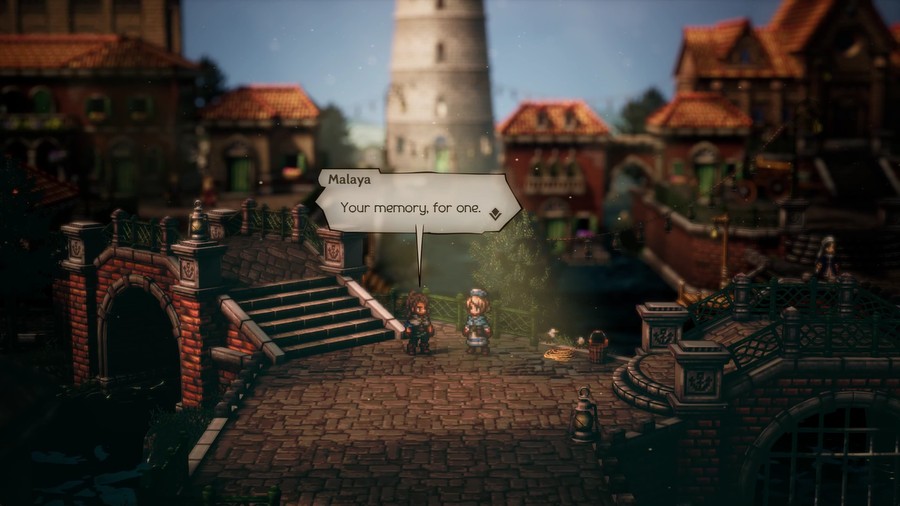
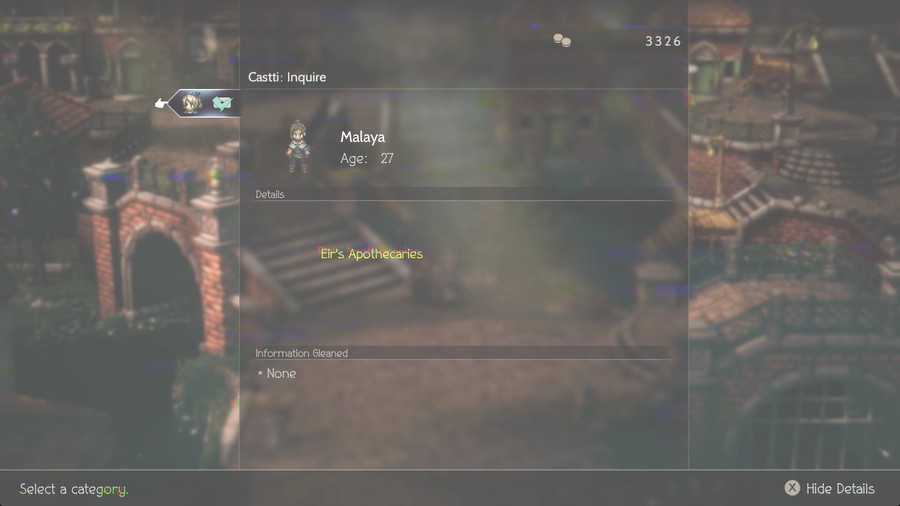
 (...I need to know who Eir's Apothecaries are. And who I am as well...)
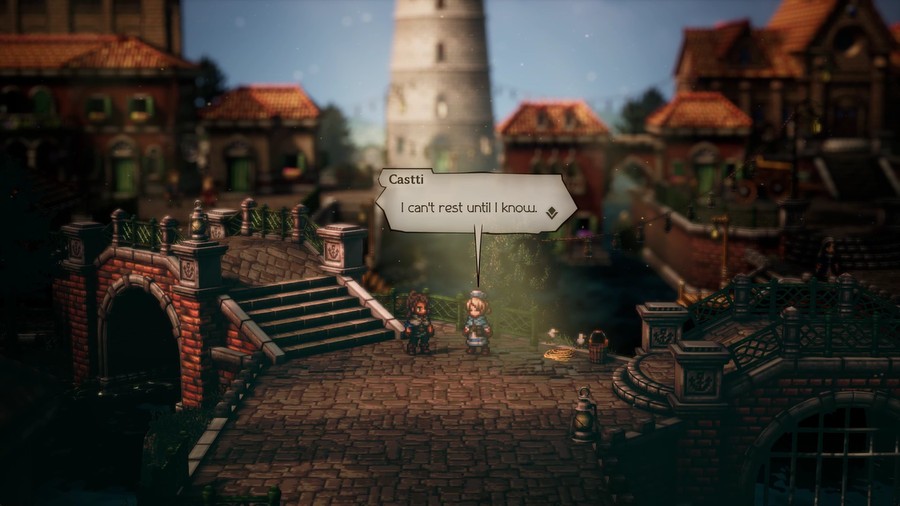 Malaya, correct me if I'm wrong, but you seem to know something about them. ......
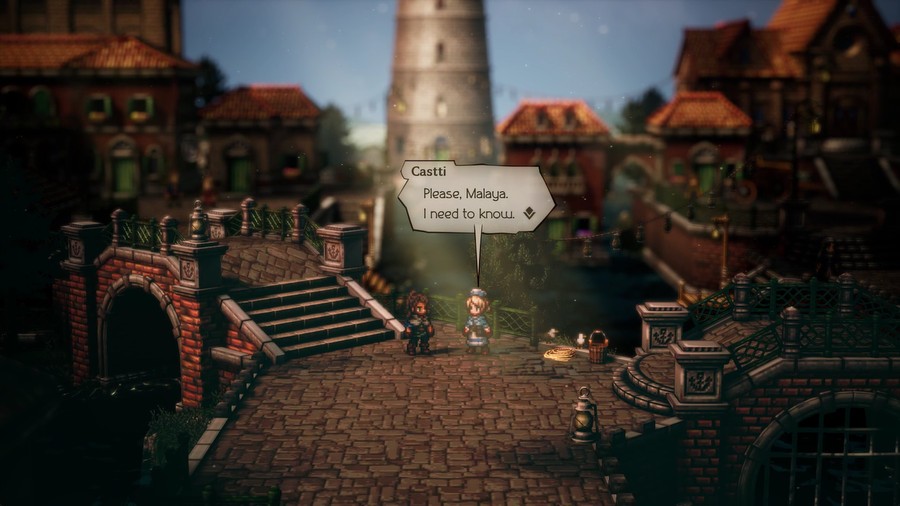 Tell me. I'm begging you. ......
What will Castti learn?
...Wait a minute.
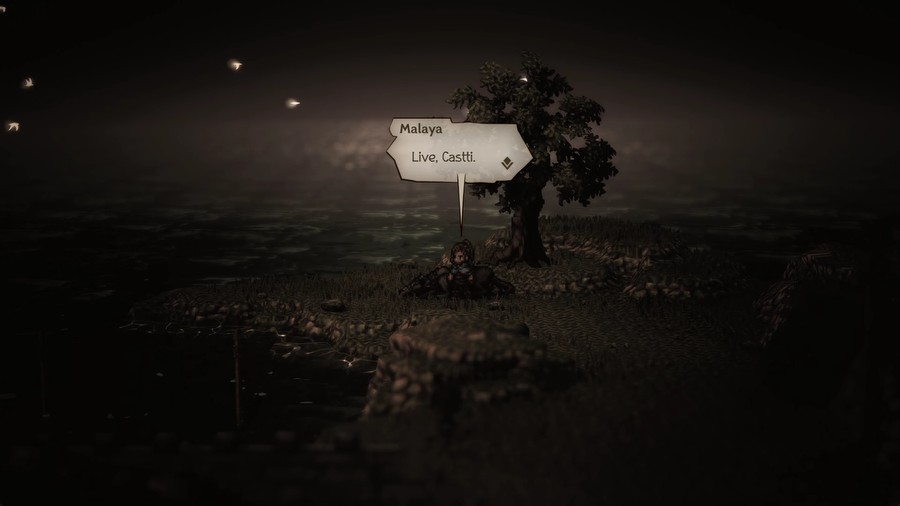
 Empty Memories
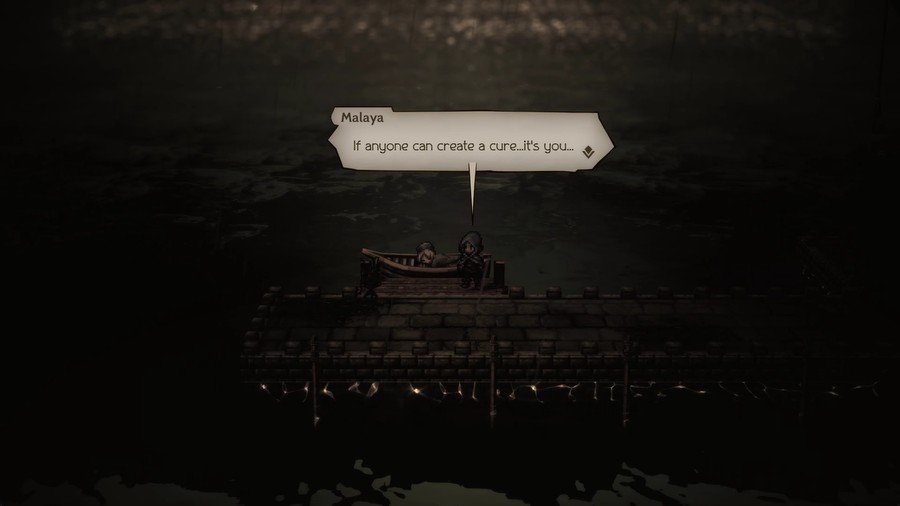
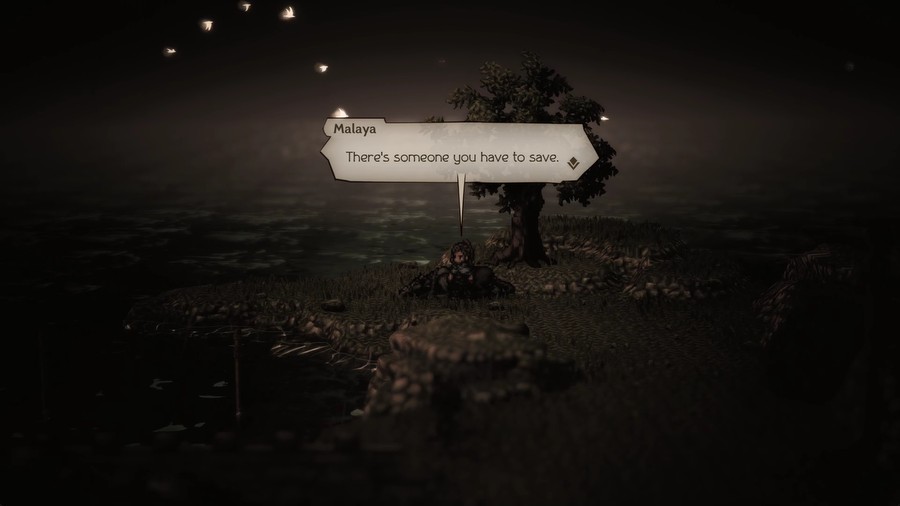
 Castti... You have the power to save lives. More than any other.
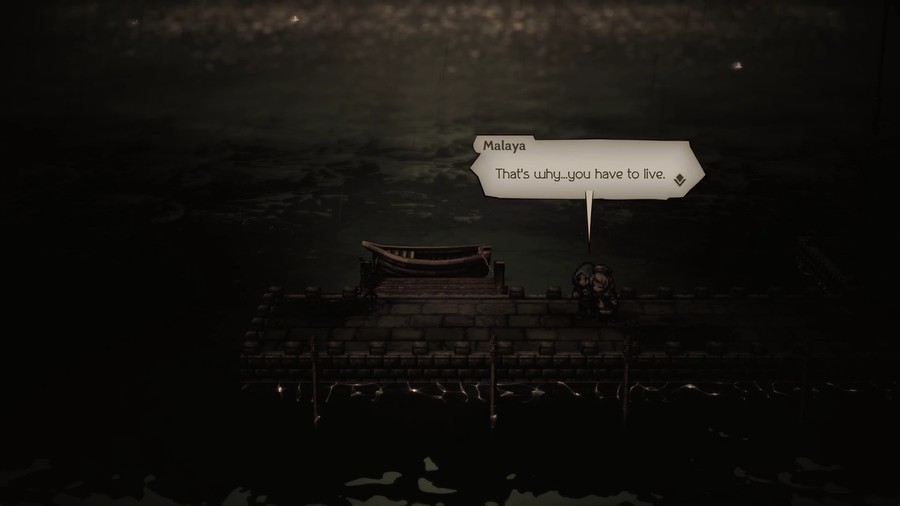
 It's up to you now...
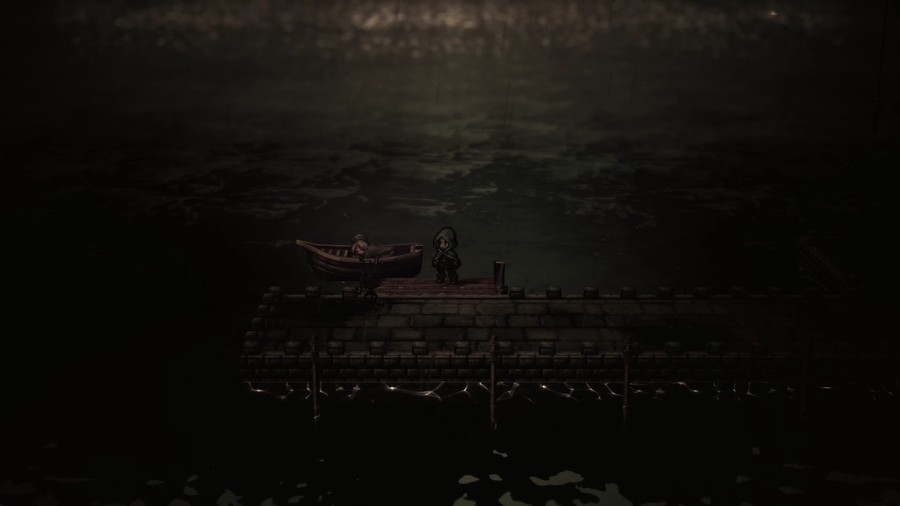
Transition to...
 Heart's Lament
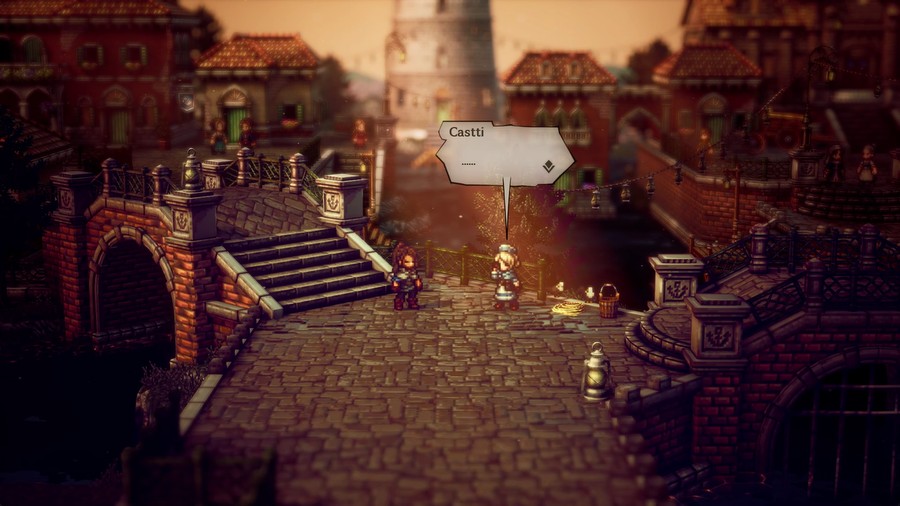 It can't be...
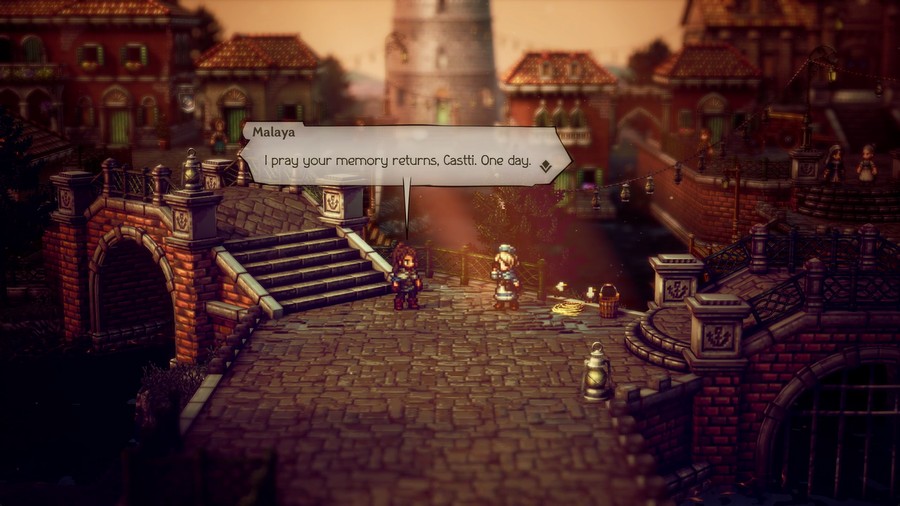 Farewell.
 Wait...!
 (That was Malaya. Then we've met before? What's going on?)
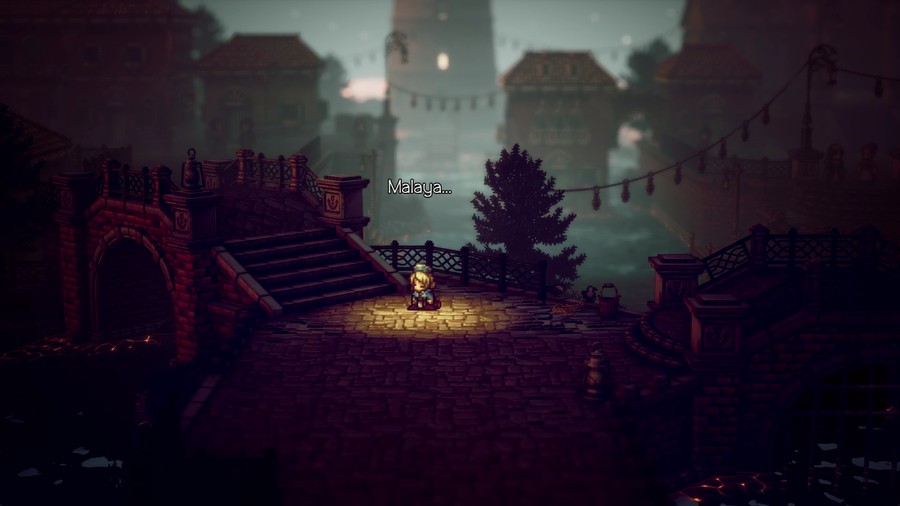 (What made you act as if you didn't know me?)
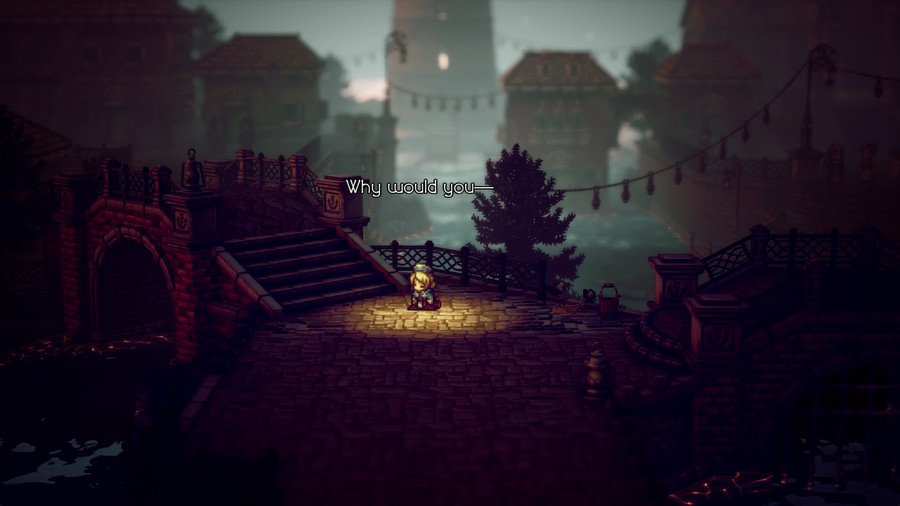
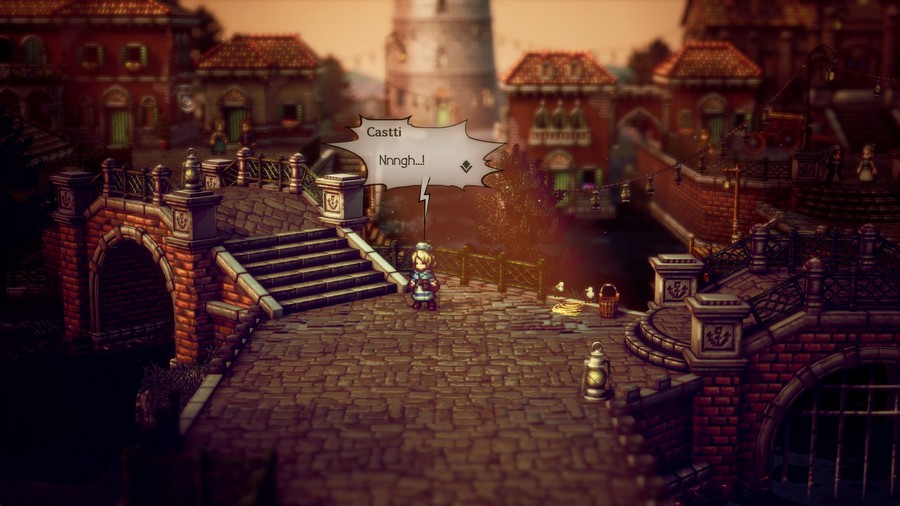 Malaya!
 ......
 (But why? Who--or what--were we running from?)
 I need more clues. Something else to go on.
 A book...
 Everything beyond the first few pages is too stained and smeared with blood to make out. What in the world is the story here?Castti, the Apothecary
 This journal is the only clue I have. I have little choice but to visit Sai and Winterbloom, and see what I can find. I need to rediscover who I am.
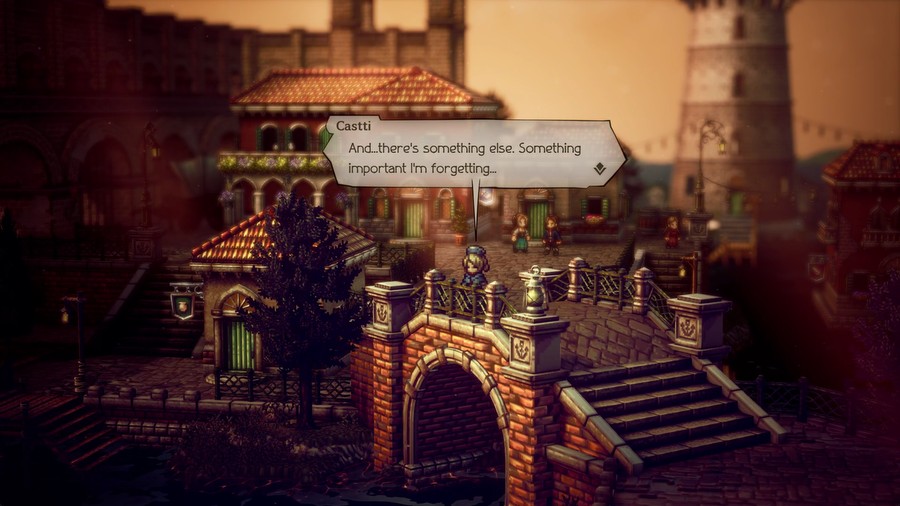 I need to remember.
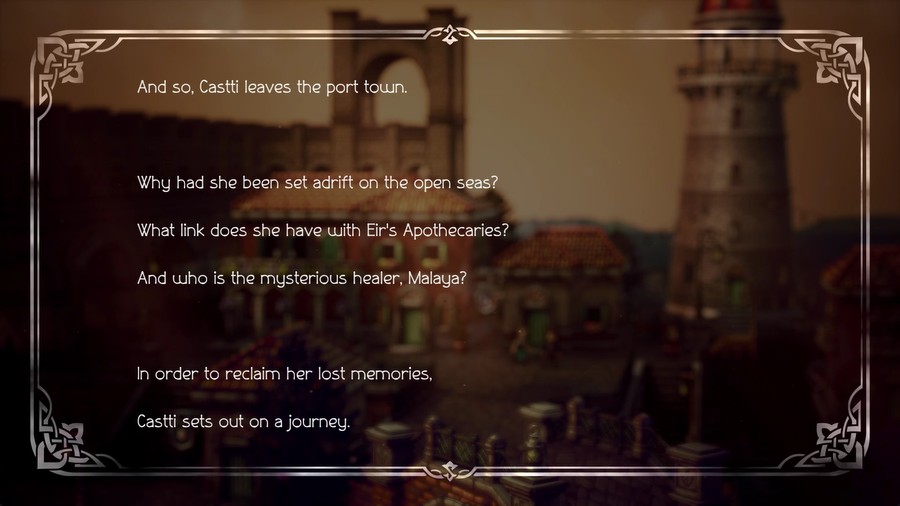
And thus we begin Castti's story to regain her lost memories.
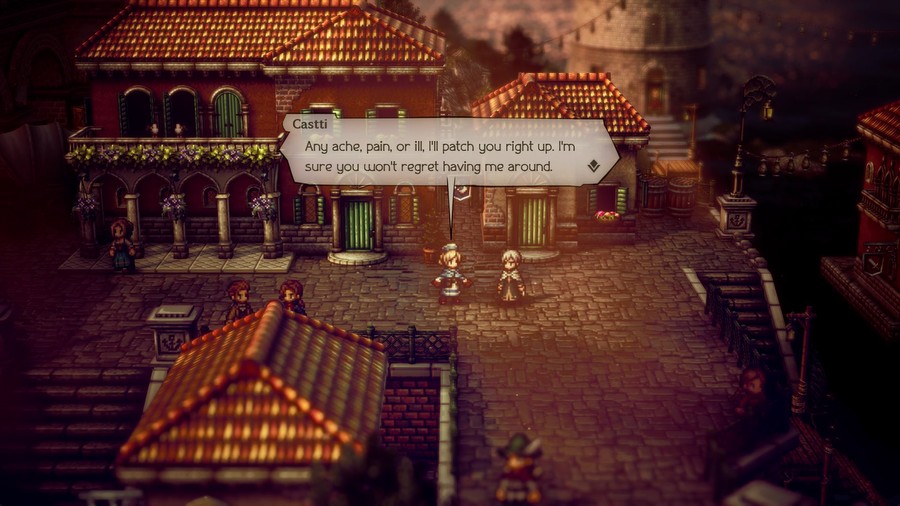 You choose the road for now, and I'll follow.
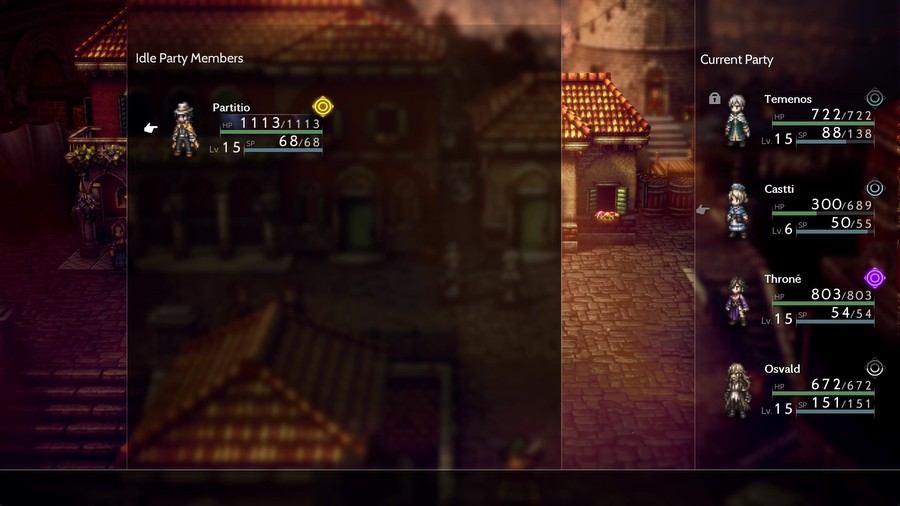
I'll be rotating the party a lot for various reasons. For now Castti's gonna want to play catch up, and Partitio fills a similar role as support, so he'll be sitting out battles (though certainly not Path Actions, I'll rotate heavily for those).
Next time, we'll explore Canalbrine and also tackle a couple more side stories before we tackle our next character, who you can vote for here. Just three left!