
Oh, right, we've still got some jobs to collect.
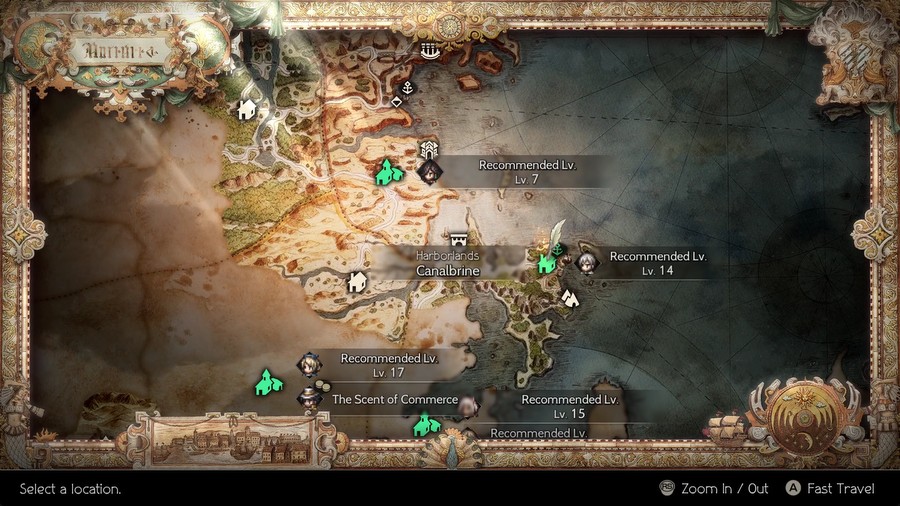
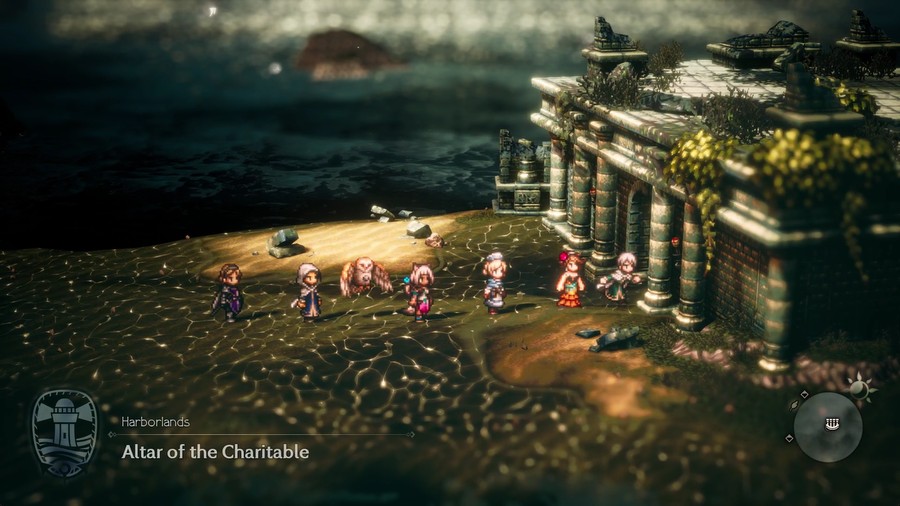
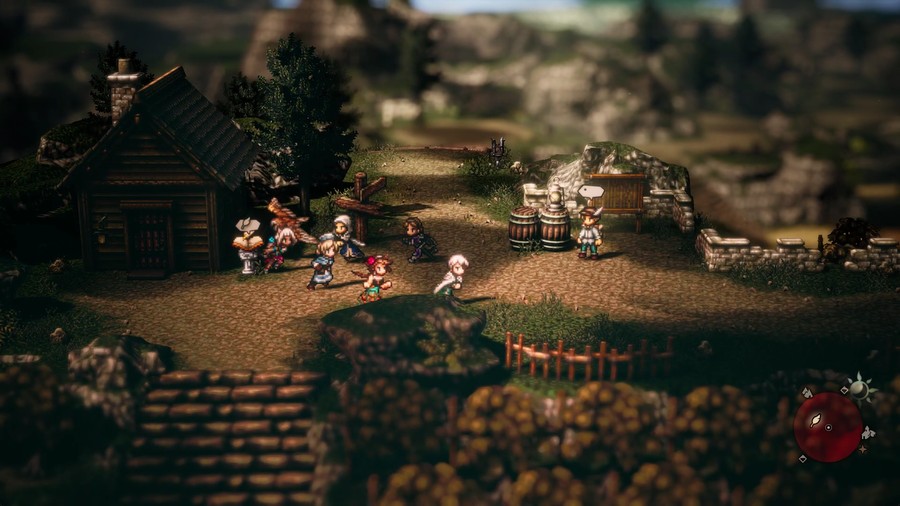
 The Harborlands
Next up, the Harborlands.
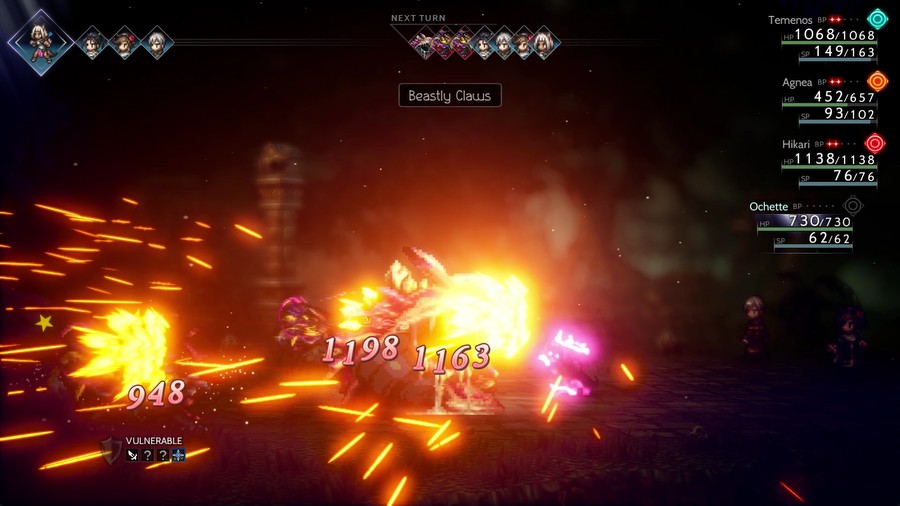
The building of Ochette's monster collection is proceeding well.
The extra power of these foes is still a bit above my punching weight, but the new jobs I'm gathering are helping even the field.

Plus it's not like I can't hit just as hard!
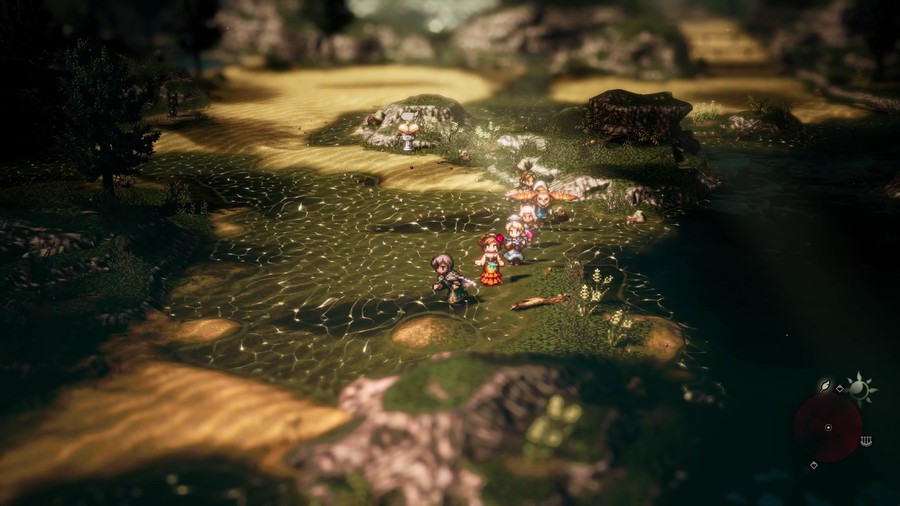
There's some nice shallow areas to wade across, and doing so here leads us to our next job altar.
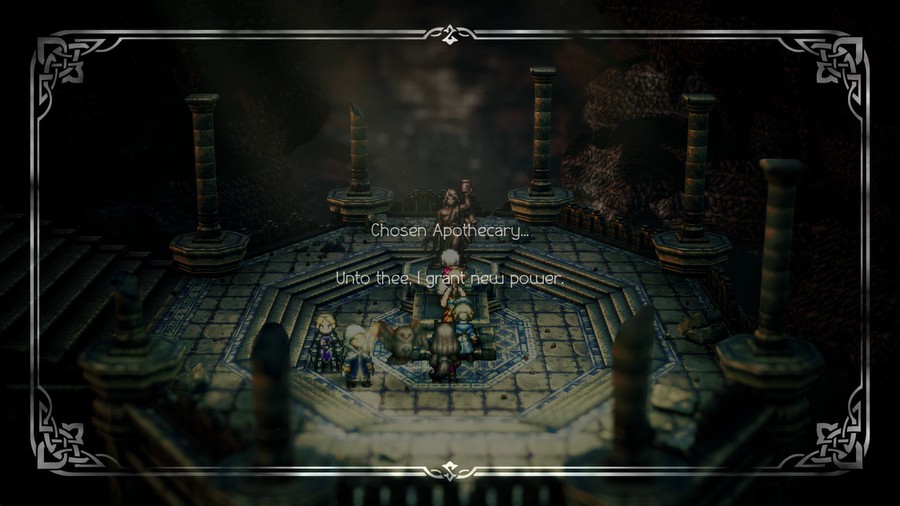
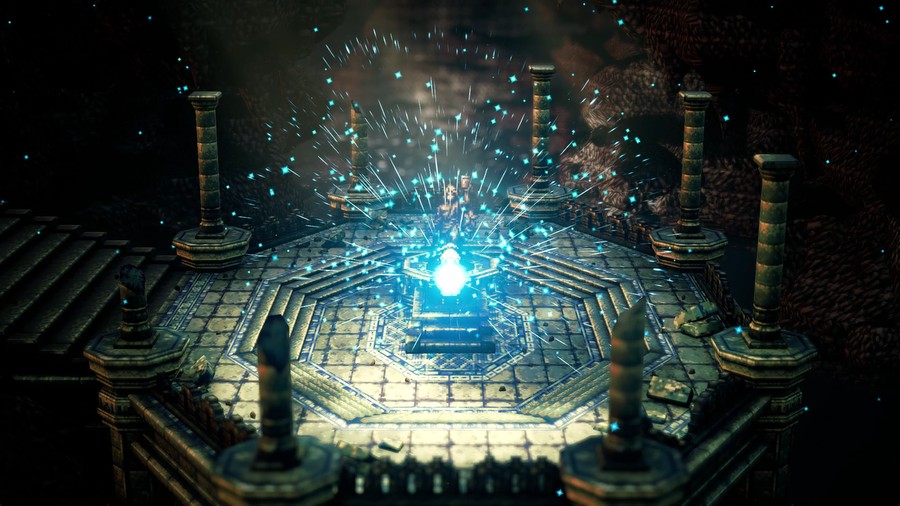
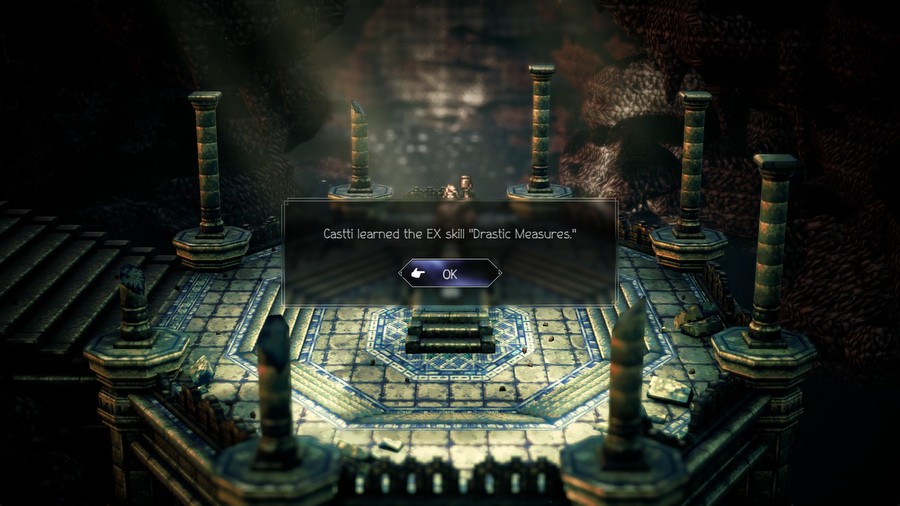
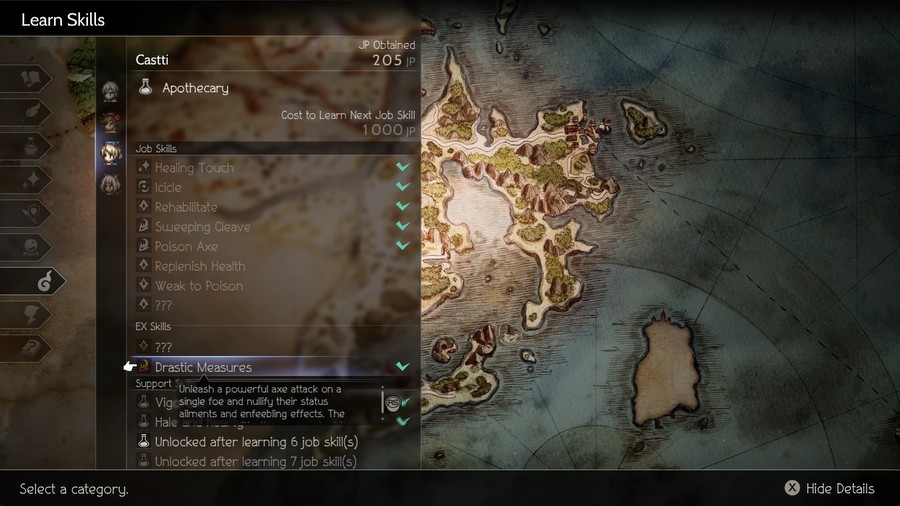
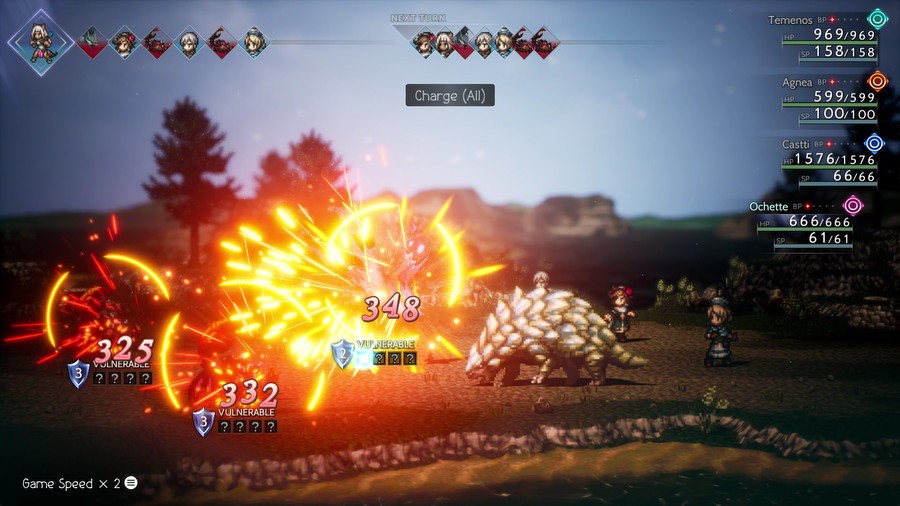
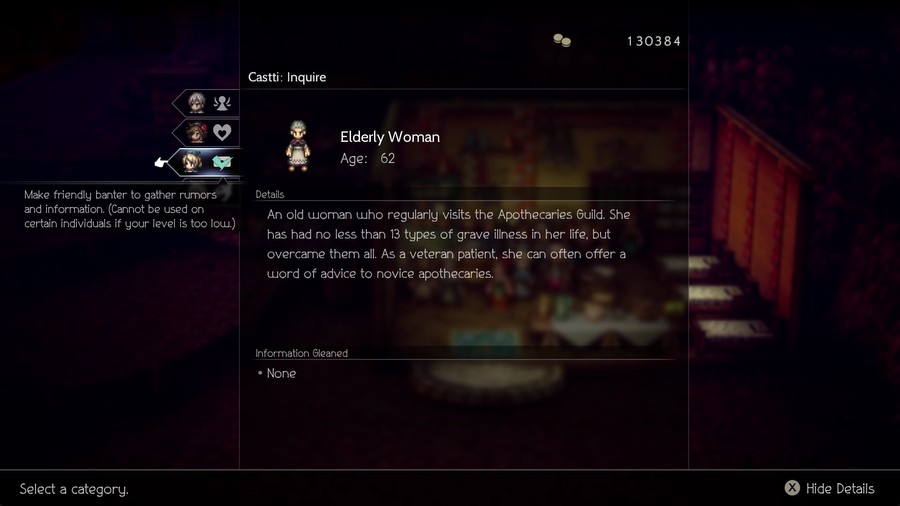
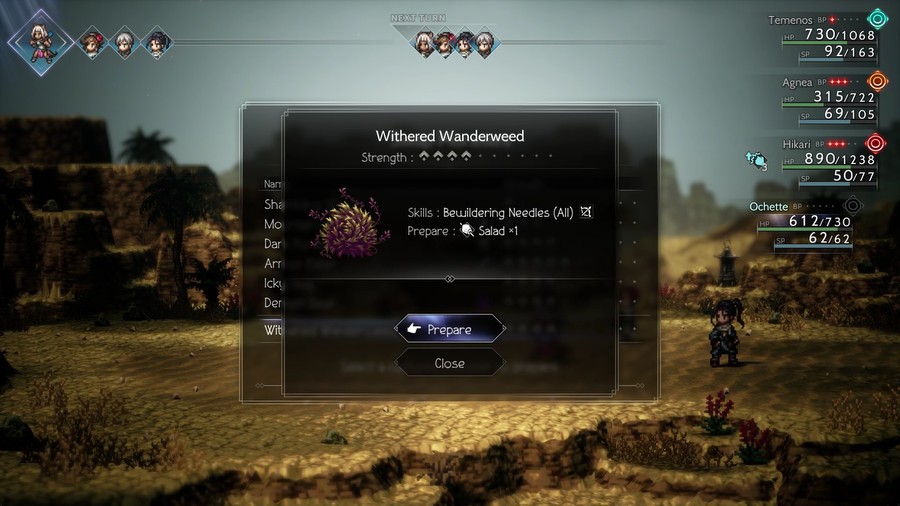
Castti's first EX skill, Drastic Measures, deals more damage the more debuffs a foe has, but then removes them. It works well with Castti's penchant of inflicting debuffs, even if she works better as a healer. It seems to be the same in power to her Poison Axe skill, so it's pointless if there's no debuffs. As for how much damage goes up, I cannot find any info, but if I were to guess it's probably similar to the Warrior's Enervating Slash, so there's probably diminishing returns for stacking too many debuffs. Could be a potent attack in the right circumstances!
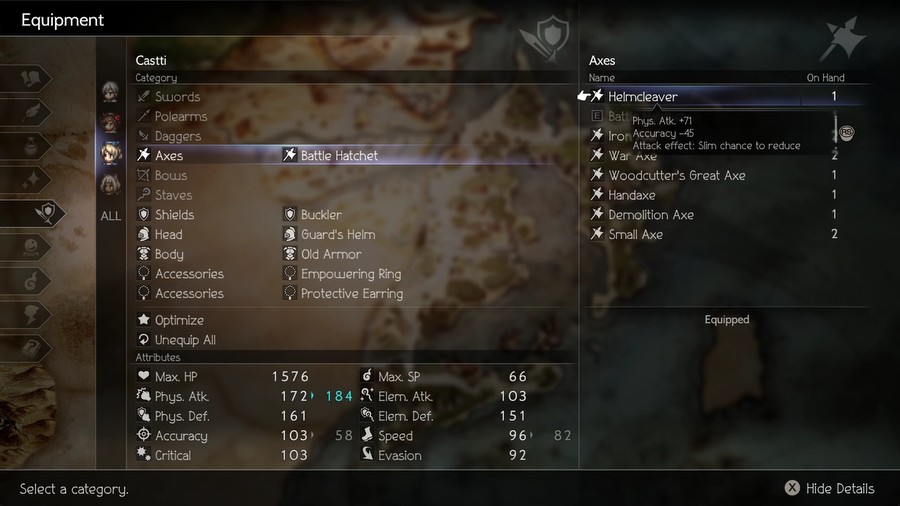
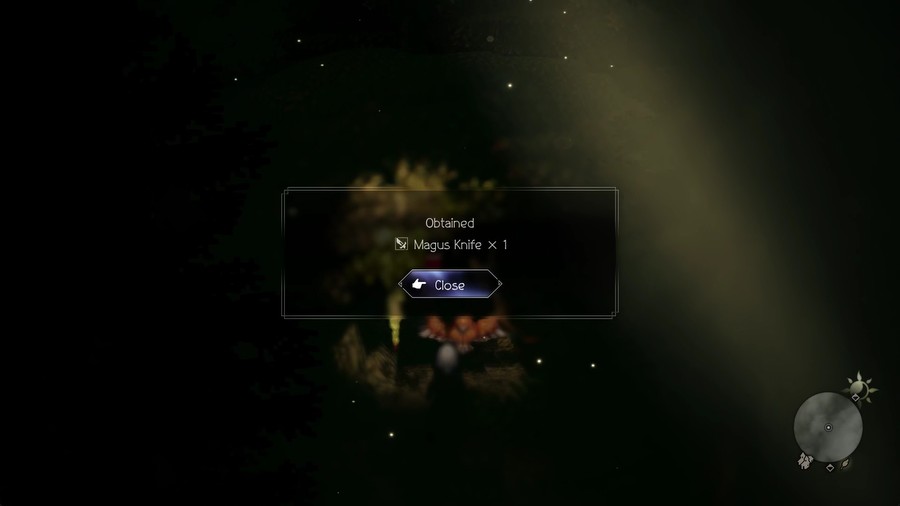
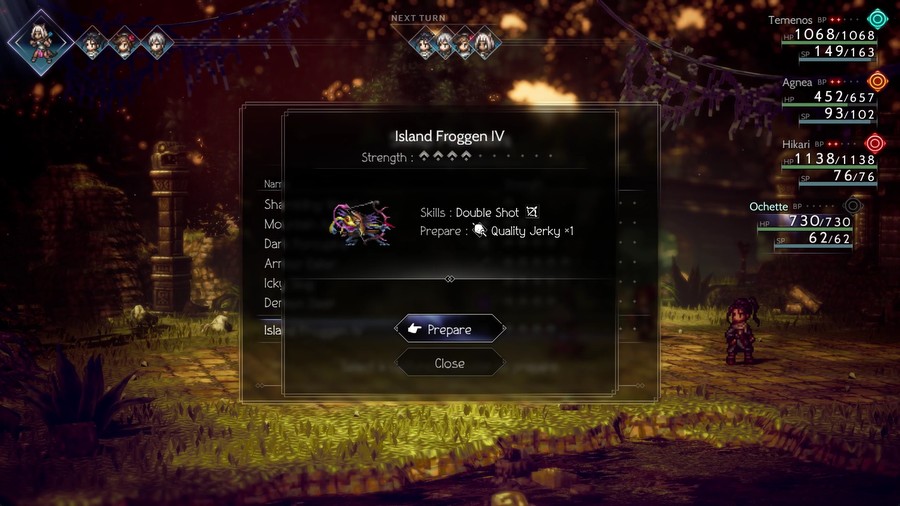
This would be a nice axe upgrade if not for the decent Accuracy penalty. If we can get around that, it can debuff P.Def as well as deal some nice damage, but since we're getting to the point where accuracy starts mattering, it's not worth dealing with right now without some good investment, though it may fit Ochette well enough.
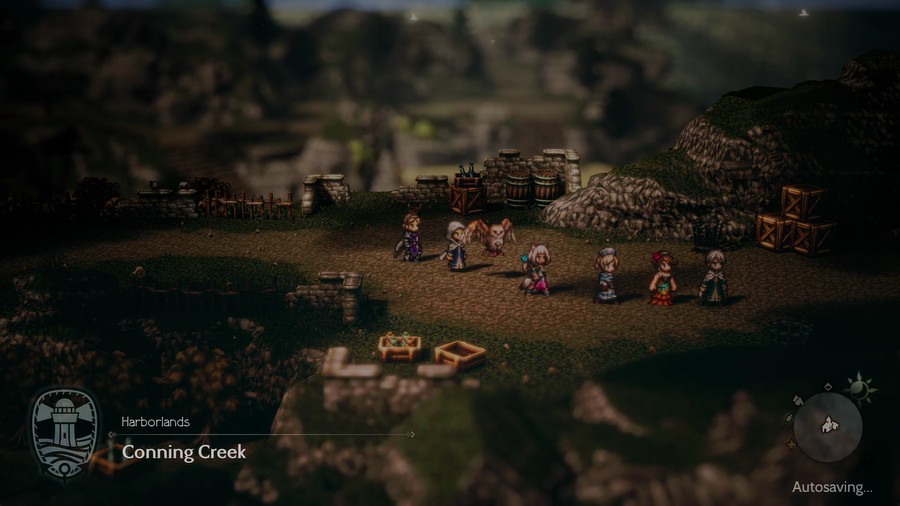
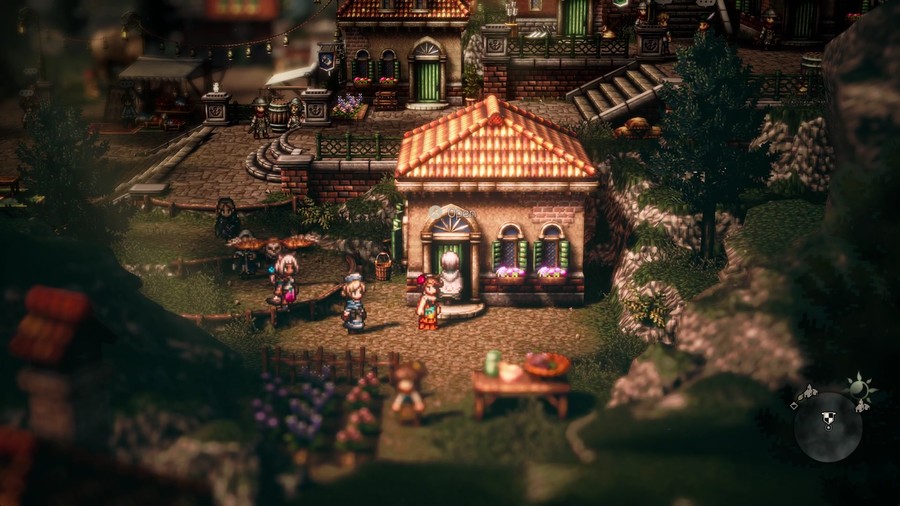
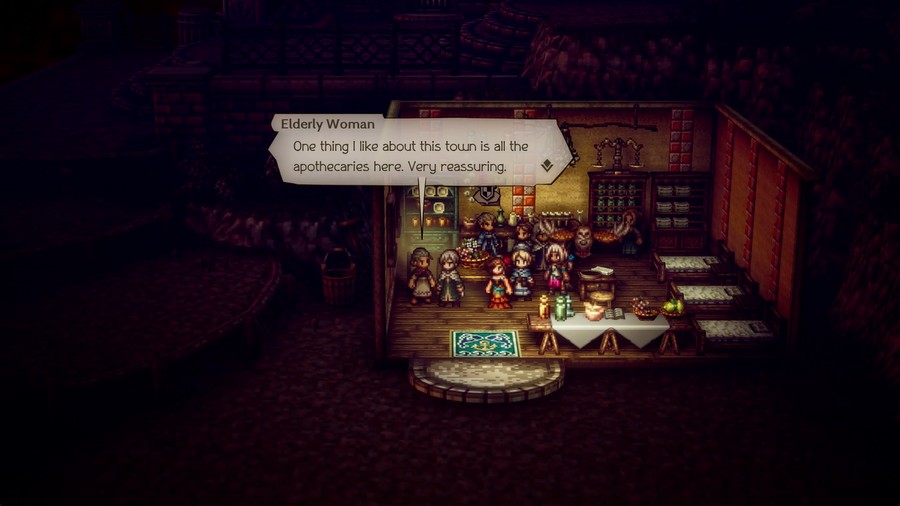
The next guild is within the town of Conning Creek. We'll check out the town proper in the future, but for now, let's skip to the Apothecary Guild.
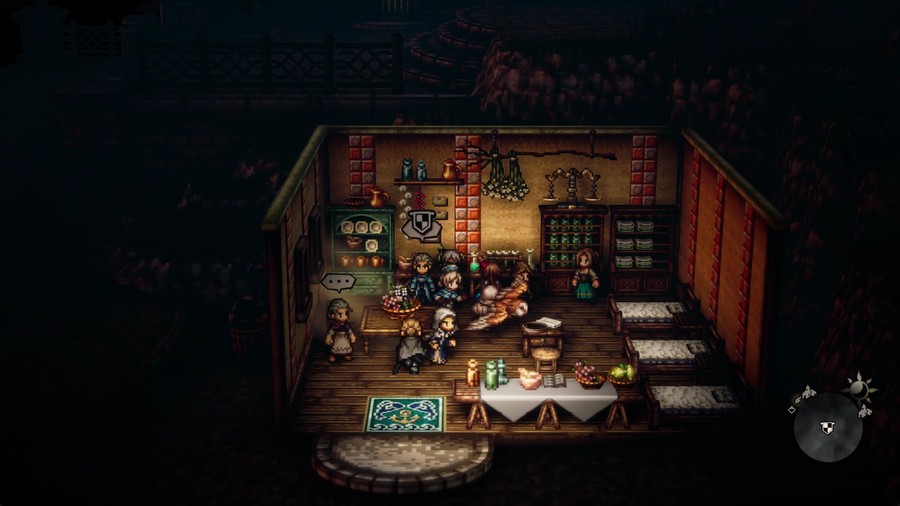
Yeah, seems like the perfect place for an apothecary guild, alright.

 But such is your destiny, I suppose.
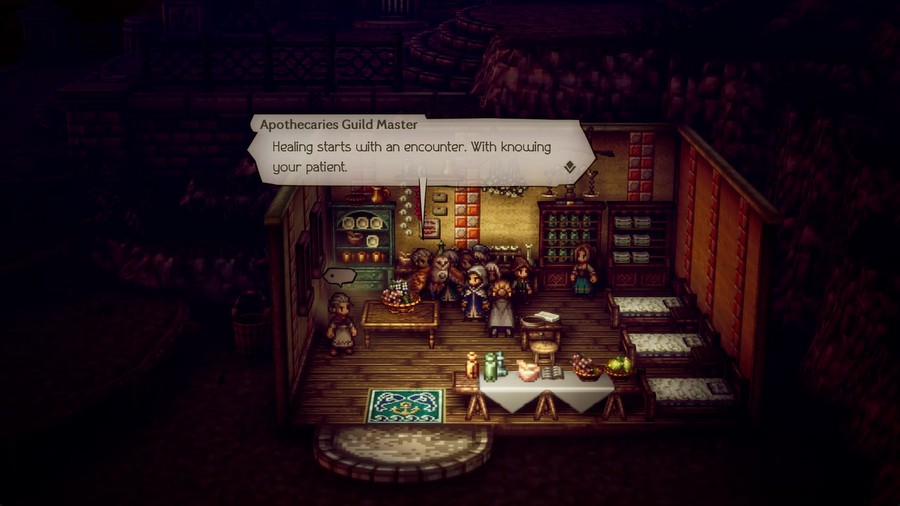 You've got the makings of a great apothecary in you. I'd like you to join the Apothecaries Guild. Please, lend us your strength.
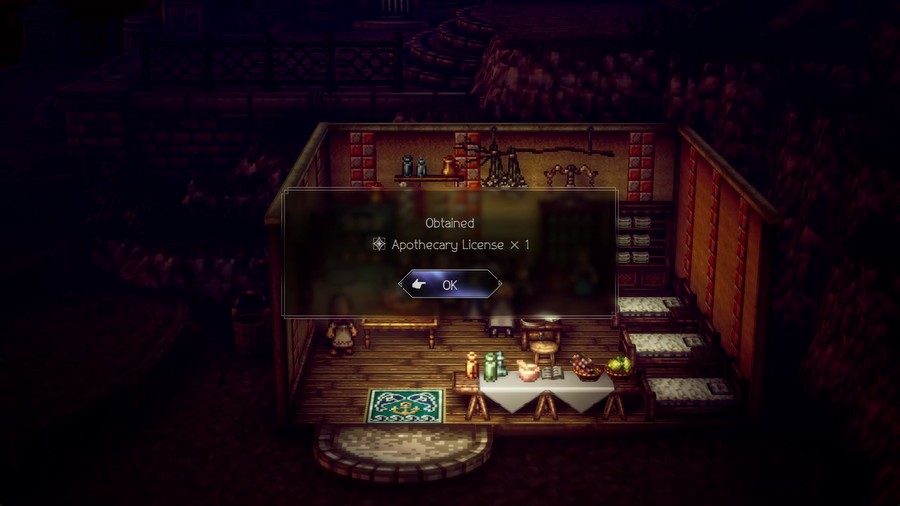

Another job down!
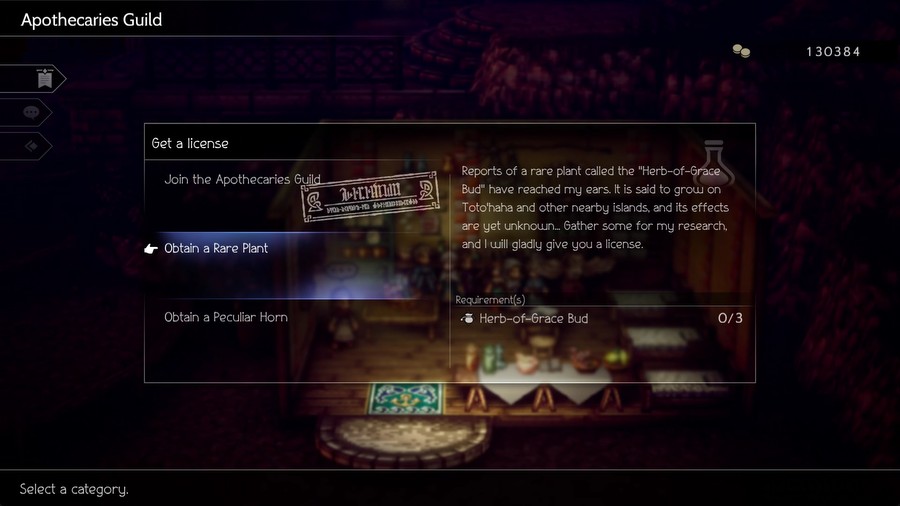
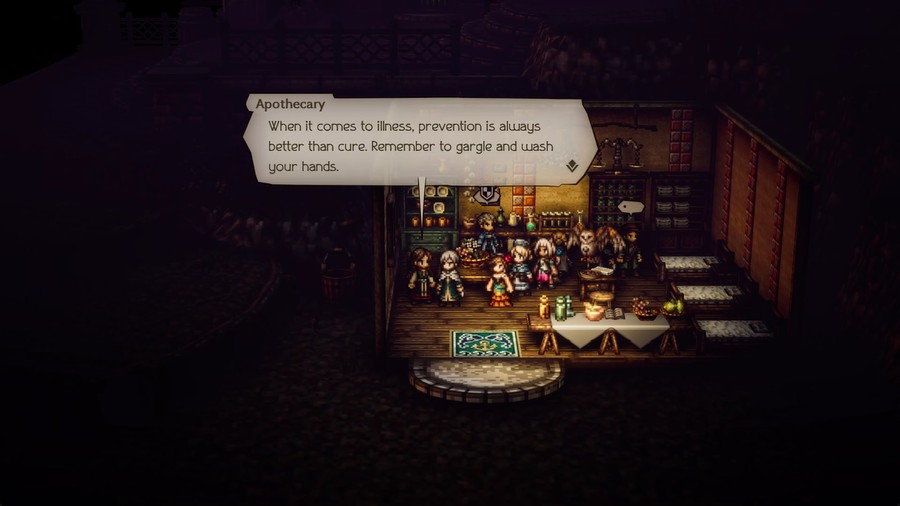
The apothecary tasks require gathering rare ingredients, as is appropriate, and some may take a wee bit of bloodshed. Gotta spill blood to heal blood!
Now to chat on the usual.
Licenses
In this guild, we share the challenges we face when it comes to treatment. If you help us overcome these problems, I'd be happy to give you a new apothecary license. Anyone who equips the license will be able to use an apothecary's skills.
Makes sense to me!
Legendary arms
Hrmm... I've just heard some troubling news. However, the ship carrying the tomahawk ran aground and sank. Fortunately, all the sailors aboard made it to land safely, but the cargo is still submerged.
Maybe if we could learn to swim or something, we could check that out. For now, though, not an option.
EX skills
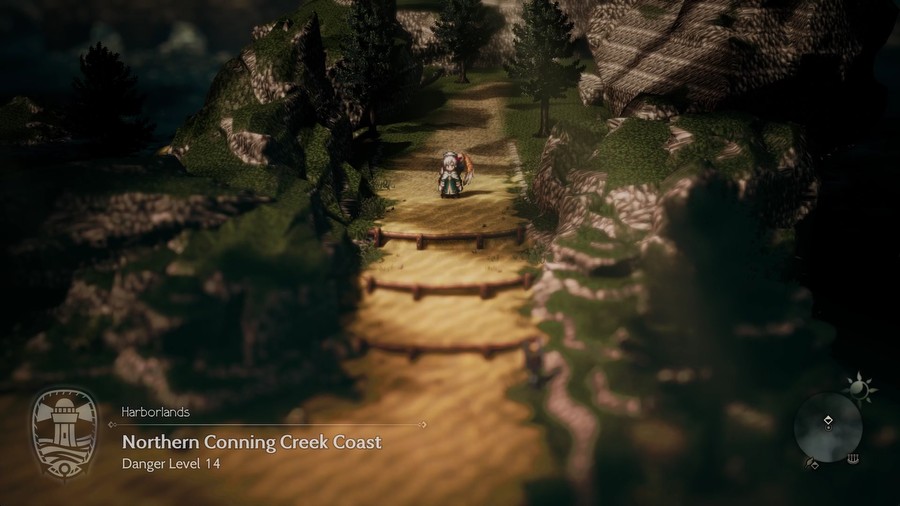
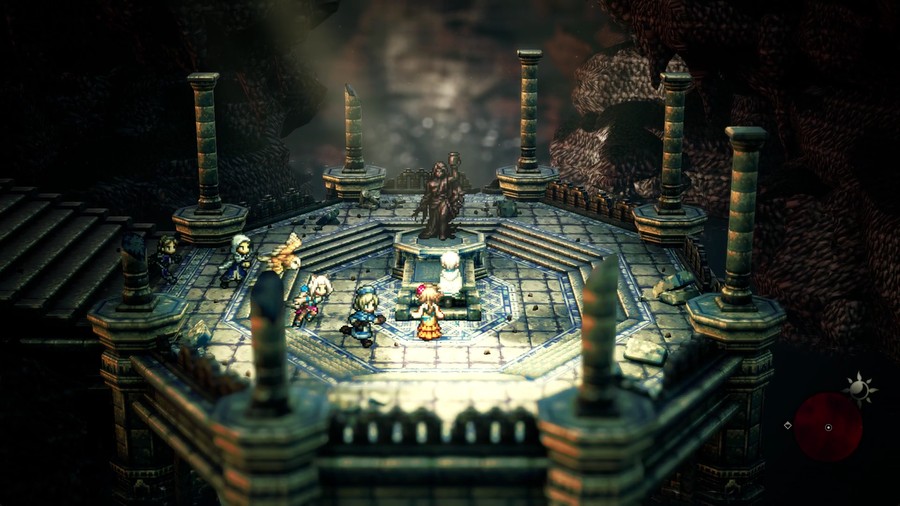
 Those are the words of a prophecy passed down in our guild. When the chosen apothecary reaches the altar, they will be granted a great power... Or so the prophecy says. I've never heard of anyone actually succeeding.
 I suppose you could probably walk along the shallows of Northern Conning Creek Coast, but would that suffice...?
While we're here, might as well chat up our new guild mates.
I gotta admit, that's a hell of a way to give back to the world, using your expertise in surviving life-threatening illnesses to guide healers.
This is good life advice in general.
 No? Drat. I had a remedy I was hoping to try.
I mean, give me a few drinks and we can discuss this later.
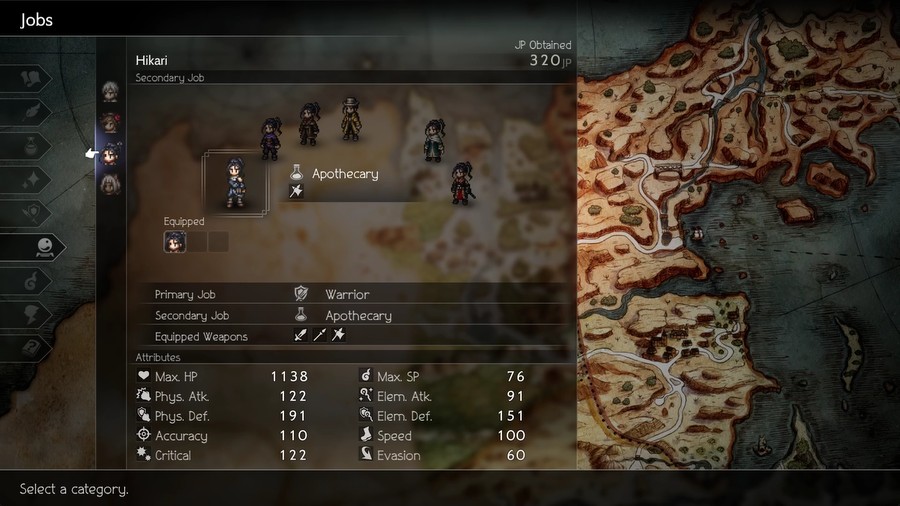
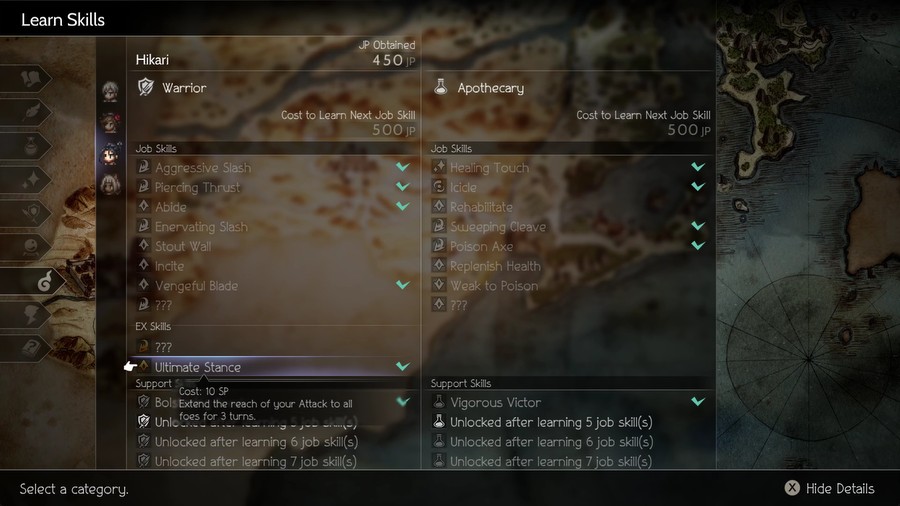
Now that we're down to our last three characters, I can better focus on leveling these latecomers up. I give Hikari Apothecary, as he loves having either that or Thief for his Challenges.
The Leaflands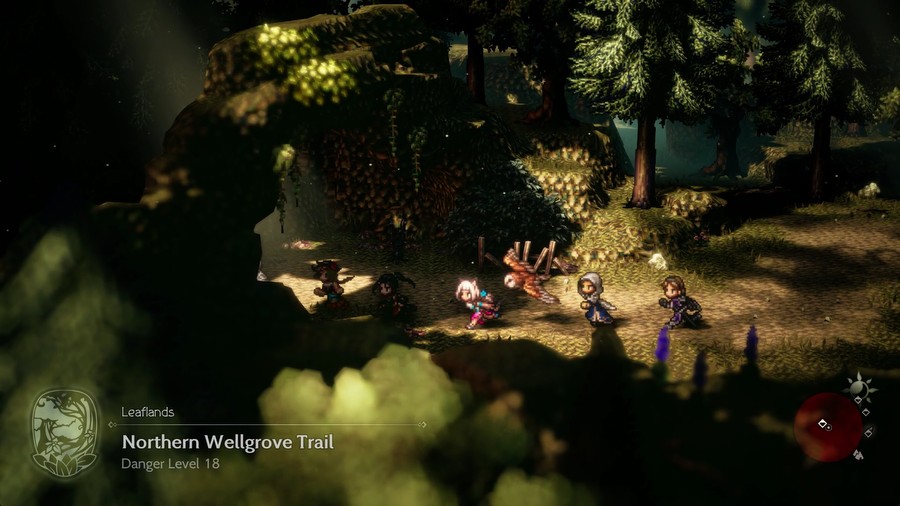
Next up, the Leaflands!
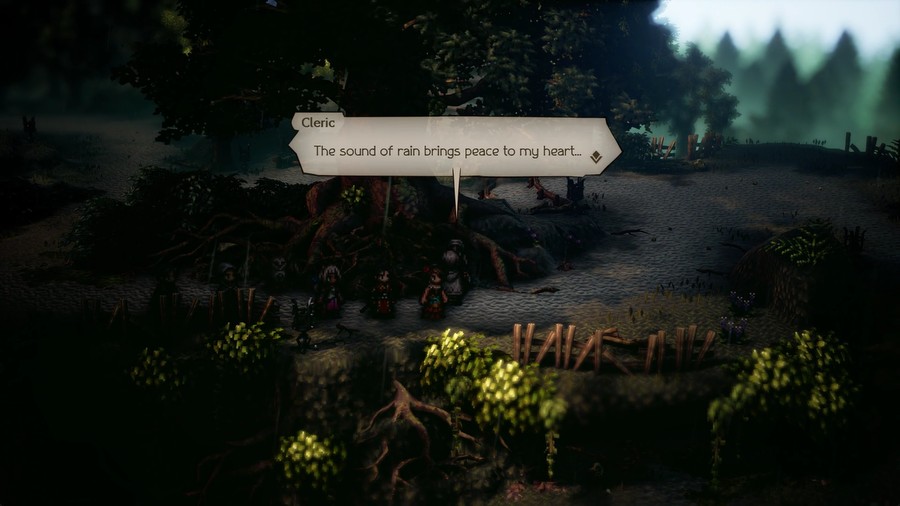
This area is cool since it's during rainfall.
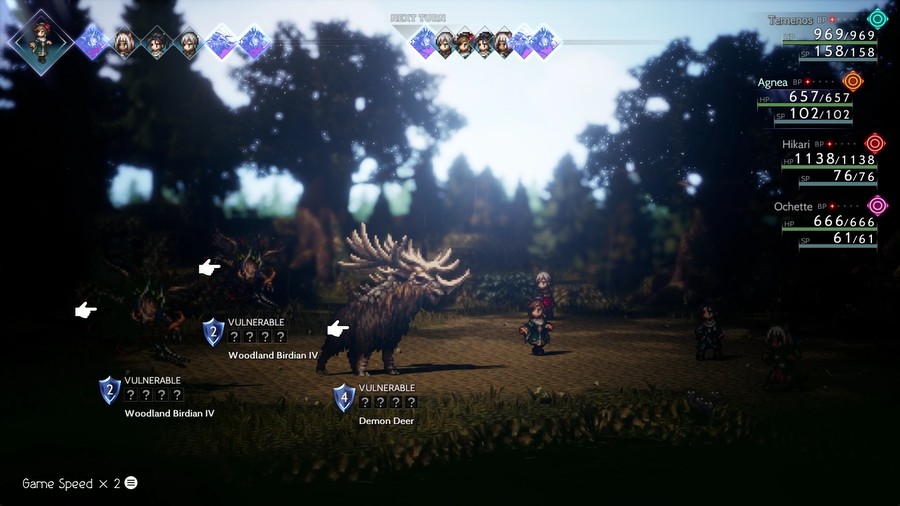
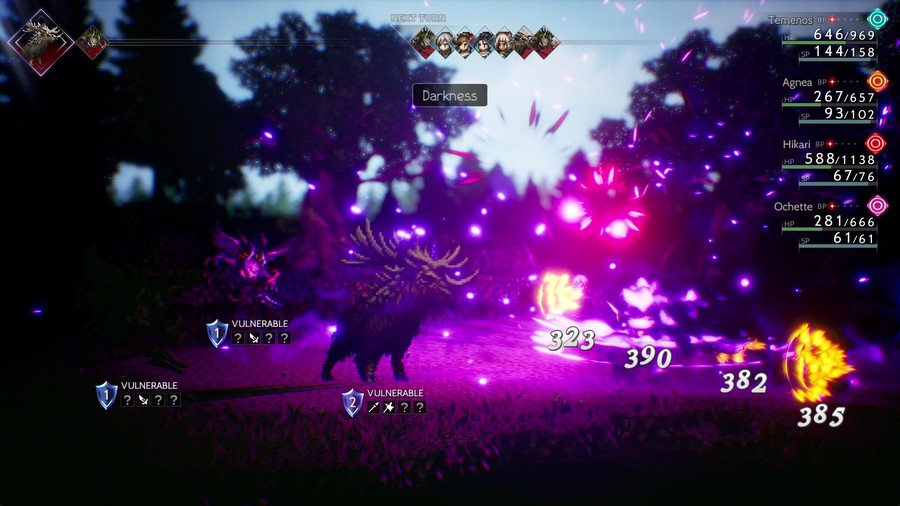
Do note that this deer is indeed demonic.

It's literally the same power level and ability as the Shaggy Aurochs I caught, but I have to respect a deer that's so dedicated to the dark arts. Besides, the Aurochs was delicious.
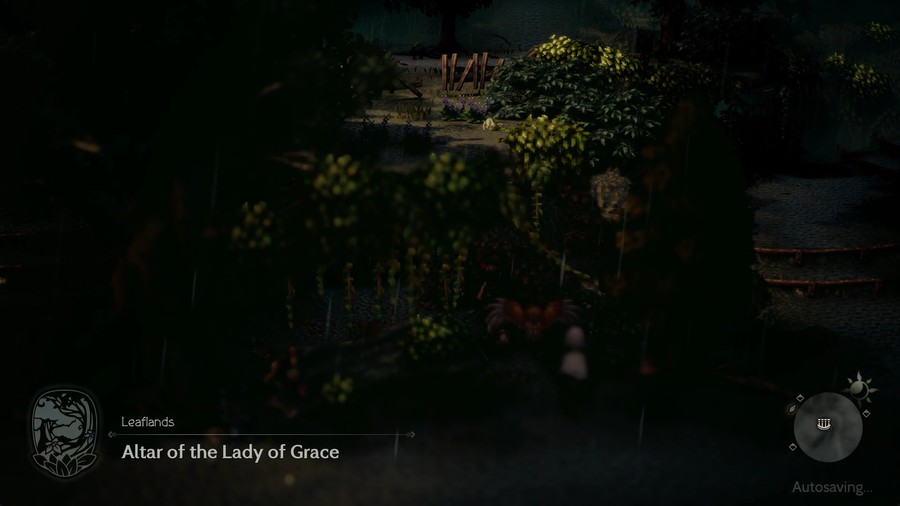
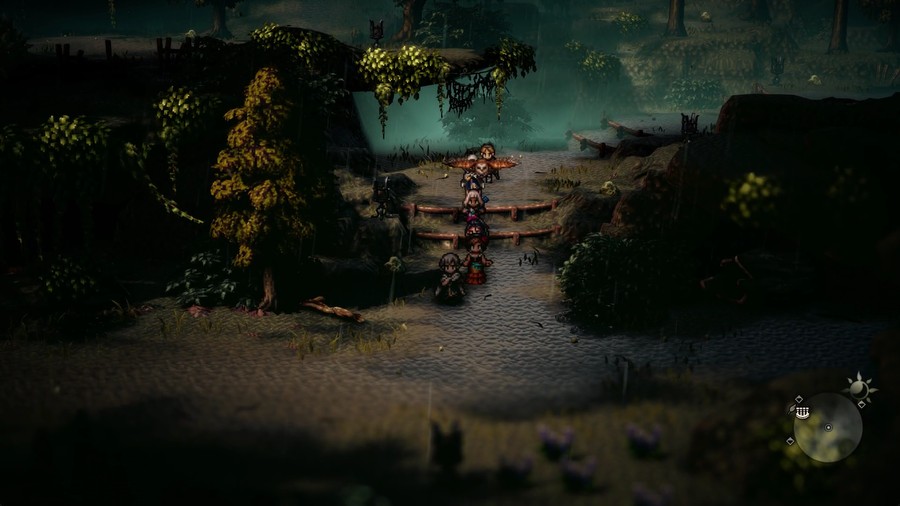
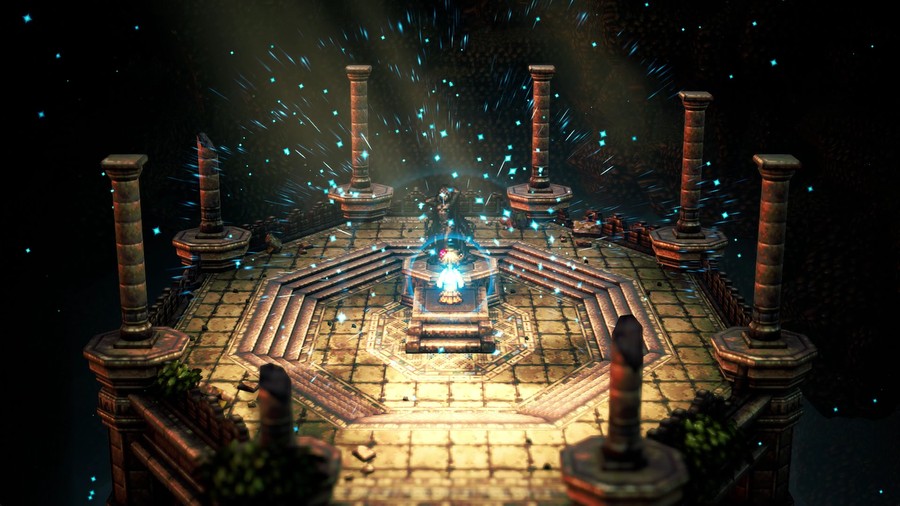
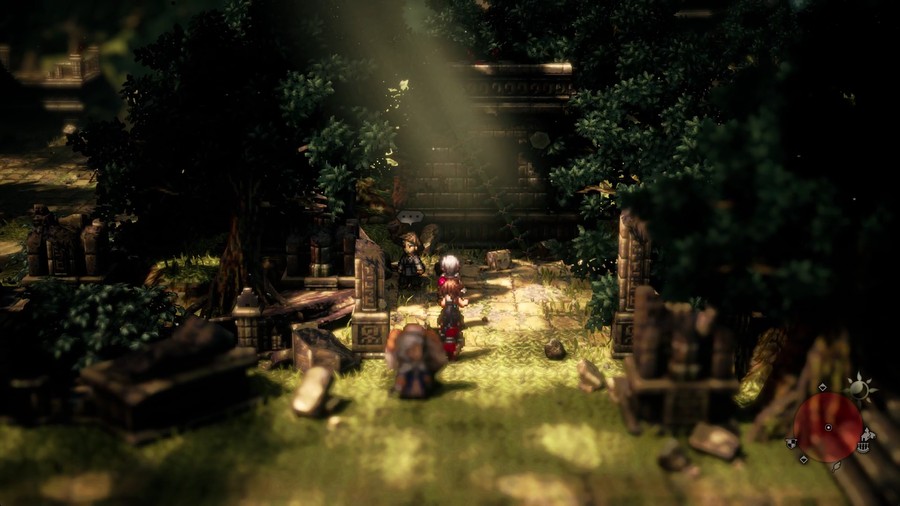
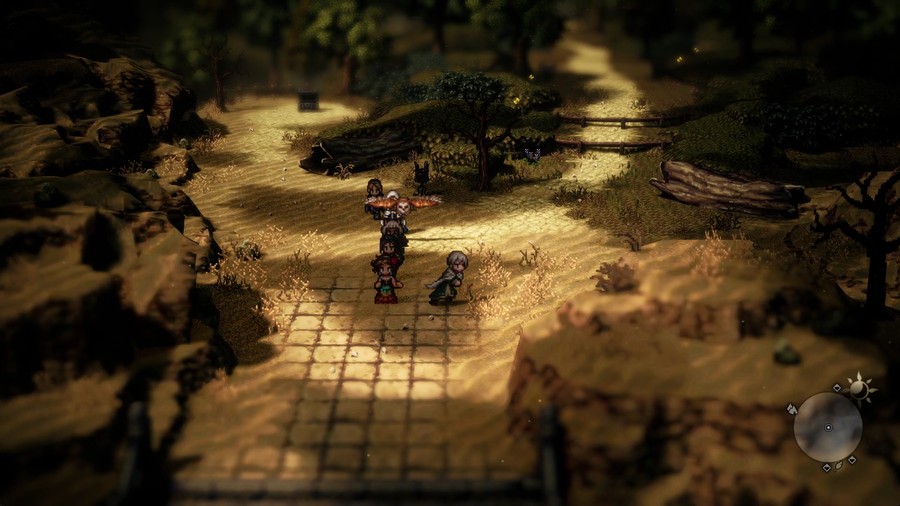
Hiding behind some growth is our next altar.
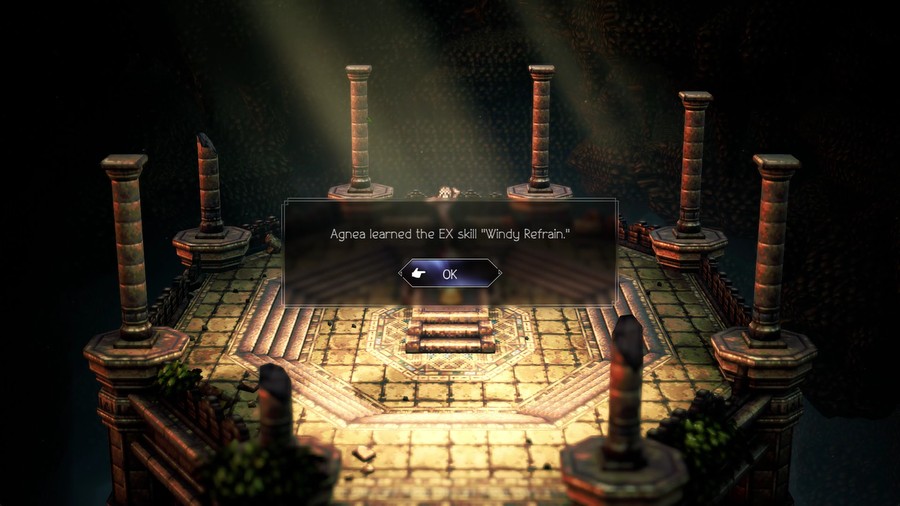
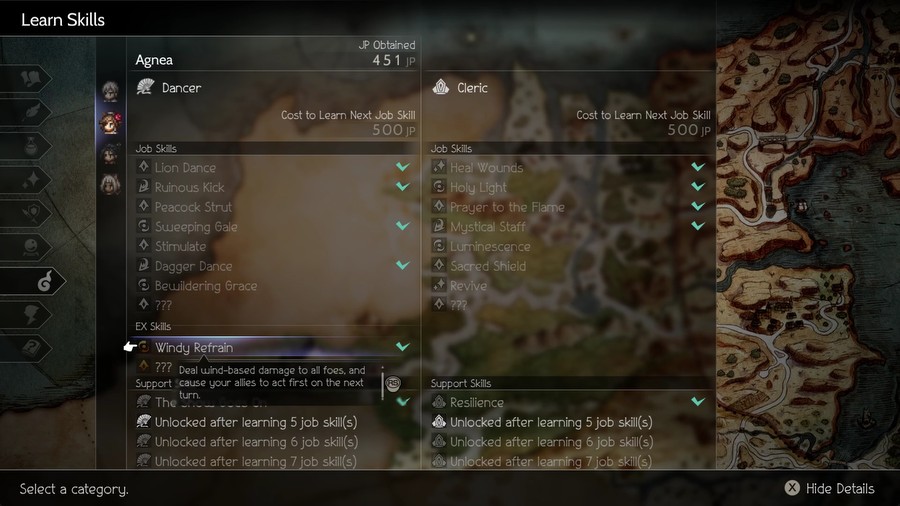
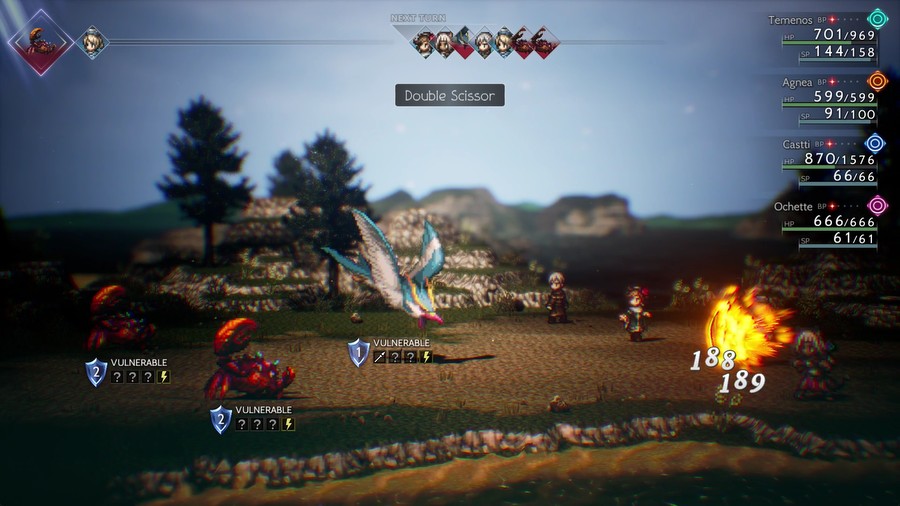
Windy Refrain is a great skill, dealing wind damage to all foes and also setting it so all party members attack before all foes in the next round (as usual, with the exception of foes recovering from Break). This is both a good AoE attack using Agnea's respectable E.Atk, and also fantastic in its role in turn manipulation, as it could really save your ass if your foes are otherwise gonna strike early the next round. Of this base set of EX skills, this may be the most generally useful, even if several others are incredibly powerful in certain situations.
It feels like my sword options have been lacking so far, so a good upgrade that also can debuff E.Atk is very much welcome.
uhhhh, ok then
While our levels are still kinda lowish, gear generally has a much bigger effect on your party than levels, so these free upgrades are great to have.
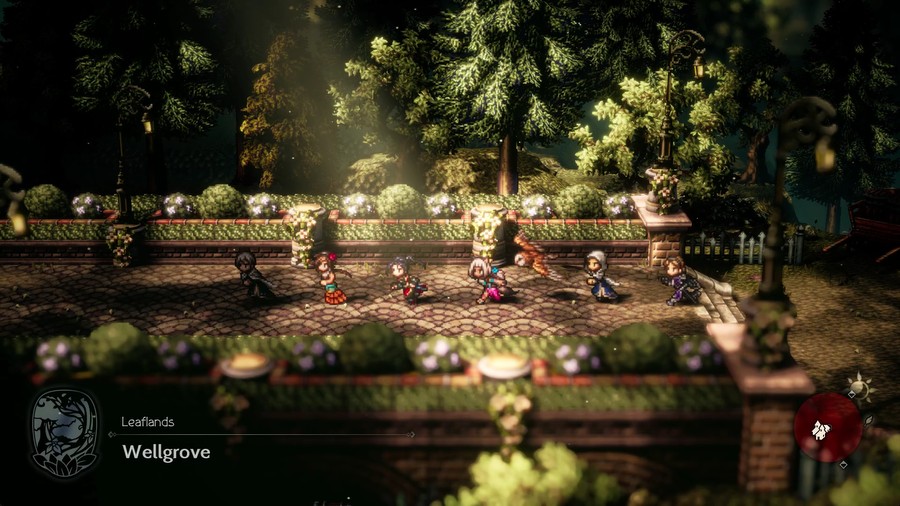
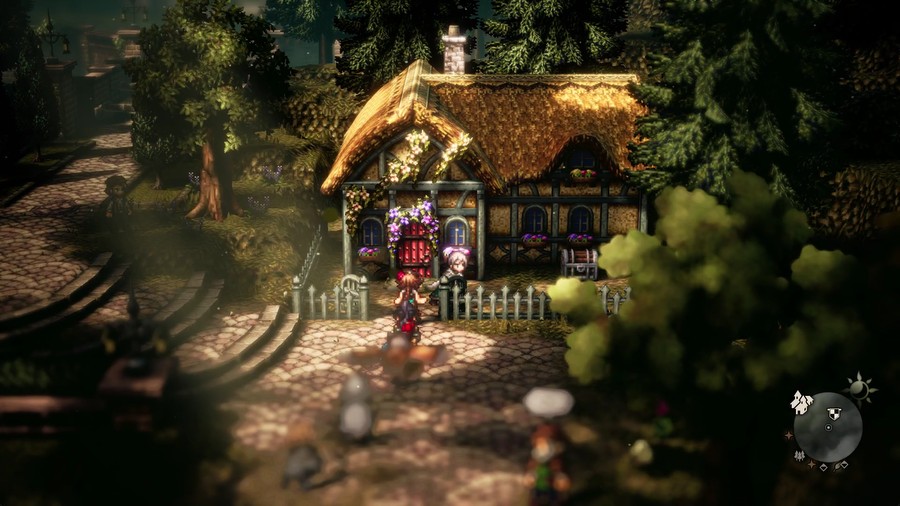
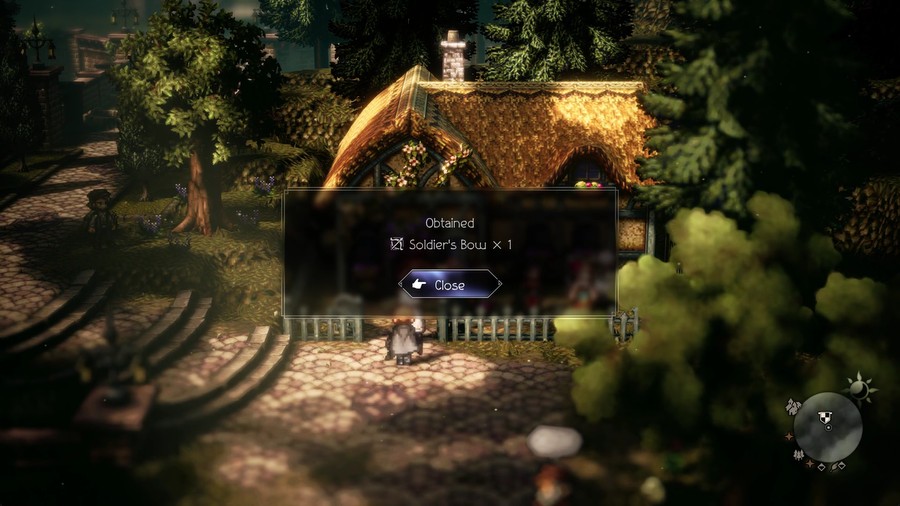

The Dancer Guild is buried away in the city of Wellgrove, as well as a handy new bow.

 Hermes was treated the same way. She came seeking my guidance, and so I gave it. And when she could dance on her own two feet, she left the nest.
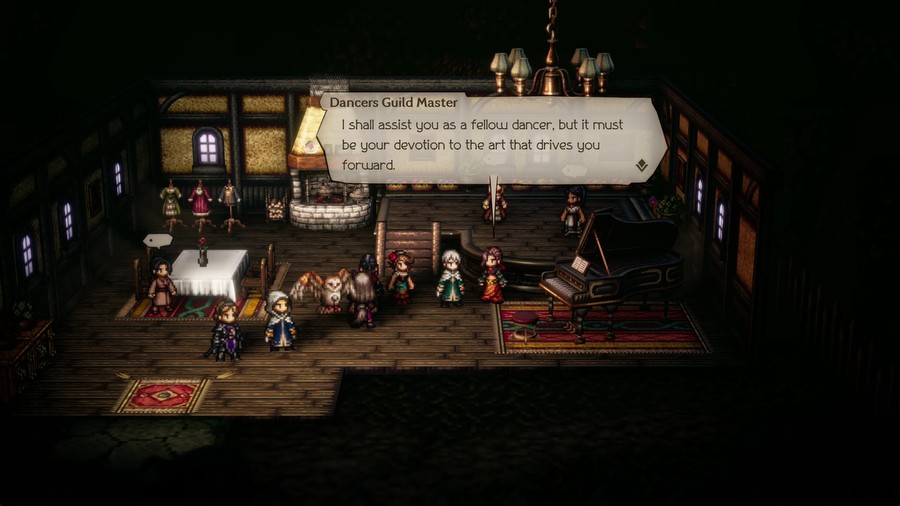

If you're wondering who the hell Hermes is, we'll meet her later on in our journies.
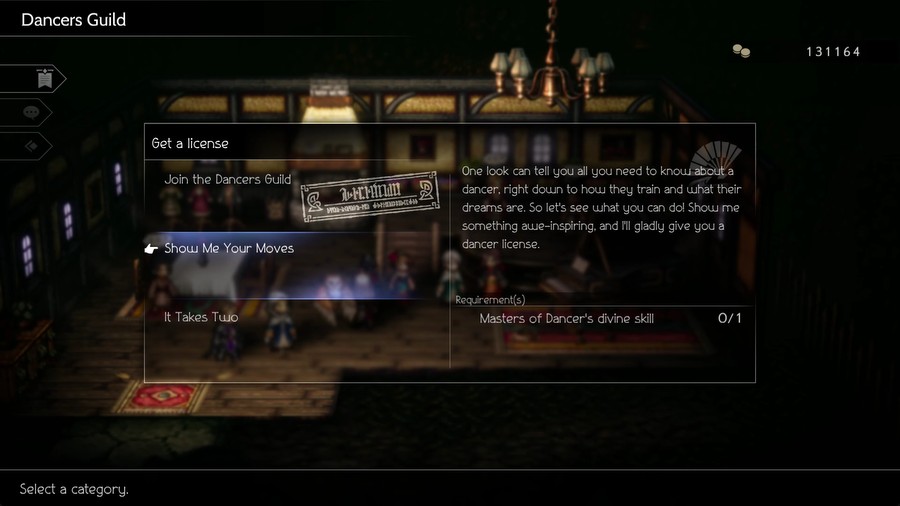
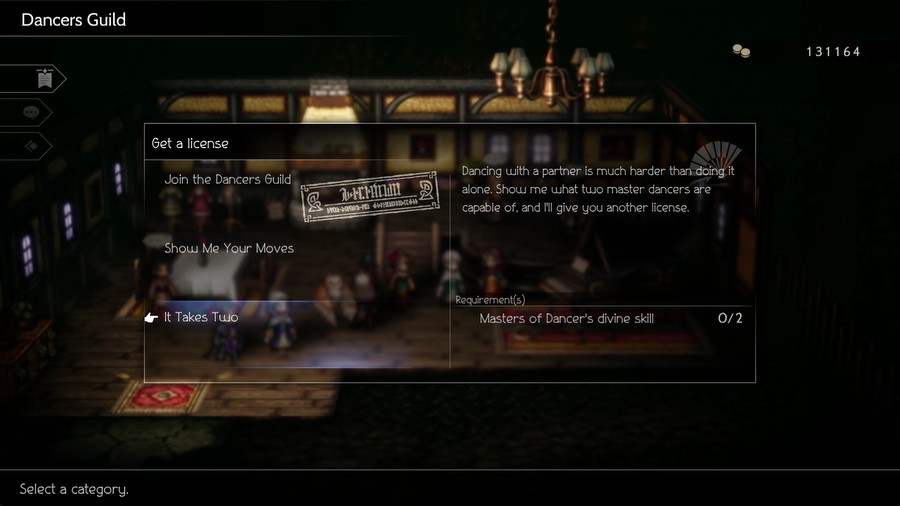
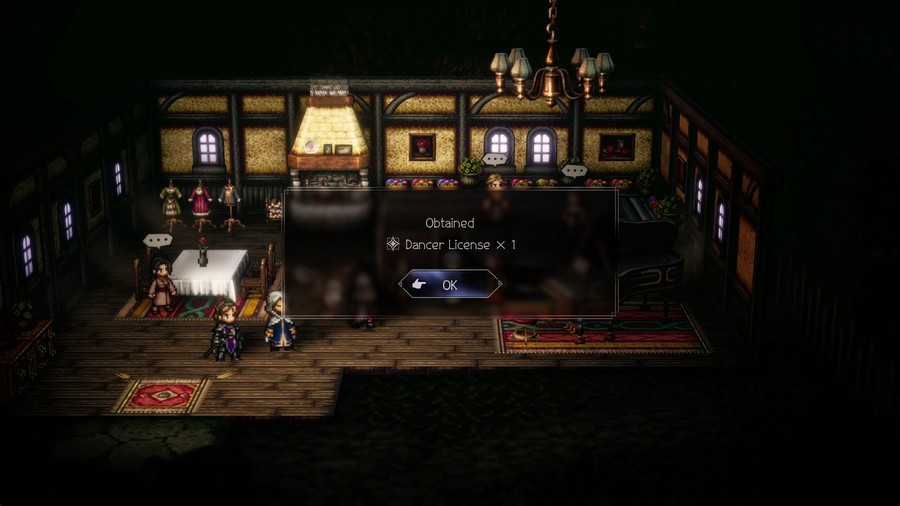
Getting the Dancer licenses is simple compared to some other jobs. Just master the job with one or two characters, and you get one or two more licenses.
Speaking of which...
Licenses
Complete the tasks I lay before you, and I shall give you another dancer license. It is proof that you are a student of my class. Equip it if you ever wish to use a dancer's skills. The number of licenses you obtain depends solely on your devotion to the art.Or for how many you're willing to give me.
Legendary arms
Skill is important to one's success. But so is luck. That vest has been passed down within a reputable family in Conning Creek for generations...
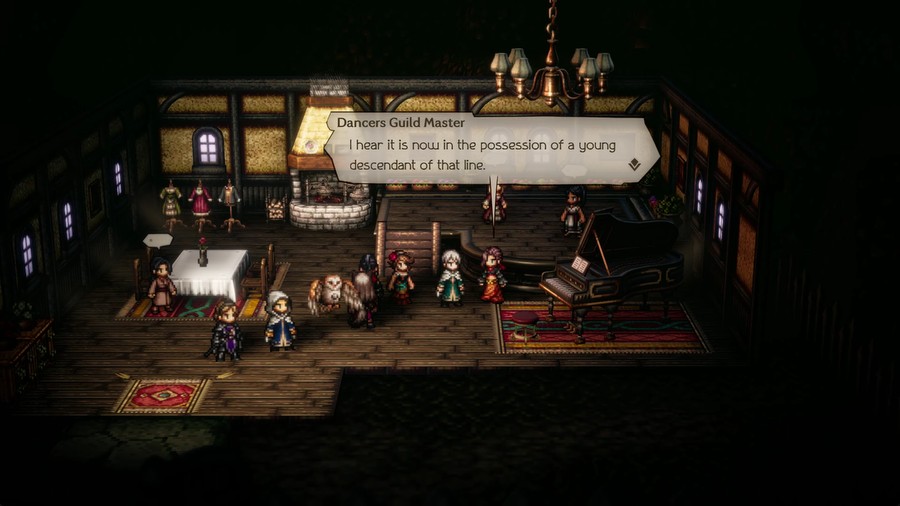 Unfortunately, she has been diagnosed wtih a grave illness... I wish there were some way to help her, as luck alone will not see her well...
This is actually its own side story that we'll be tackling in the far future.
EX skills
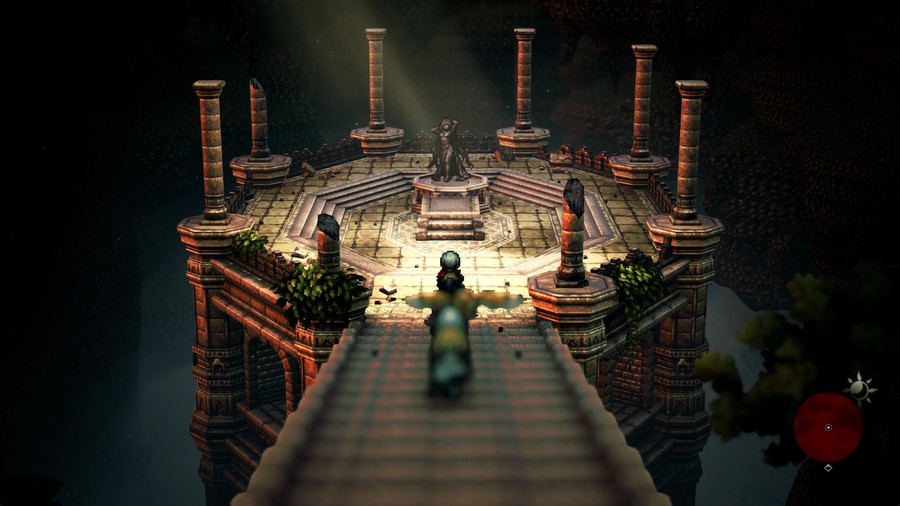
The Shrine of Ul'sterra is famous for honoring the goddess Sealticge... But I've heard there is another altar to the Lady of Grace hidden somewhere in the Leaflands.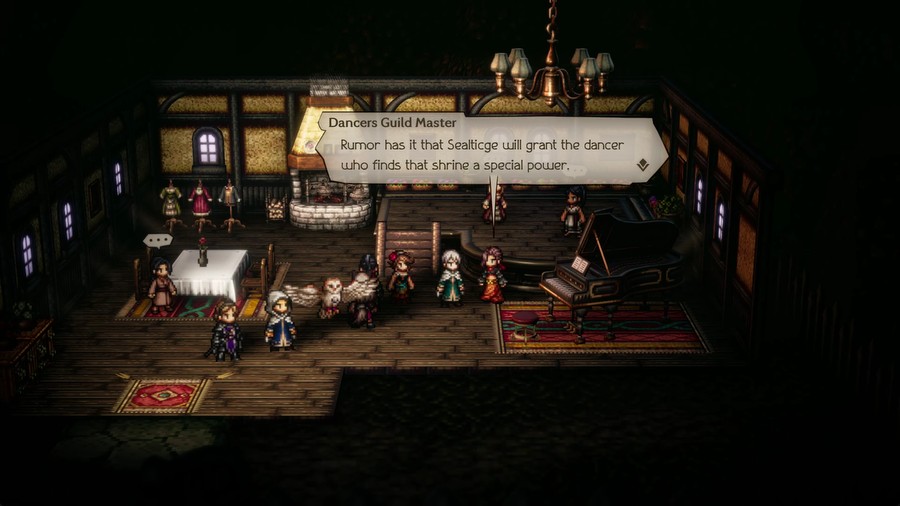 I searched high and low for it when I was young. I heard it could be found on the Northern Wellgrove Trail, but alas... My search was fruitless. Supposedly only the chosen dancer will be able to locate it.
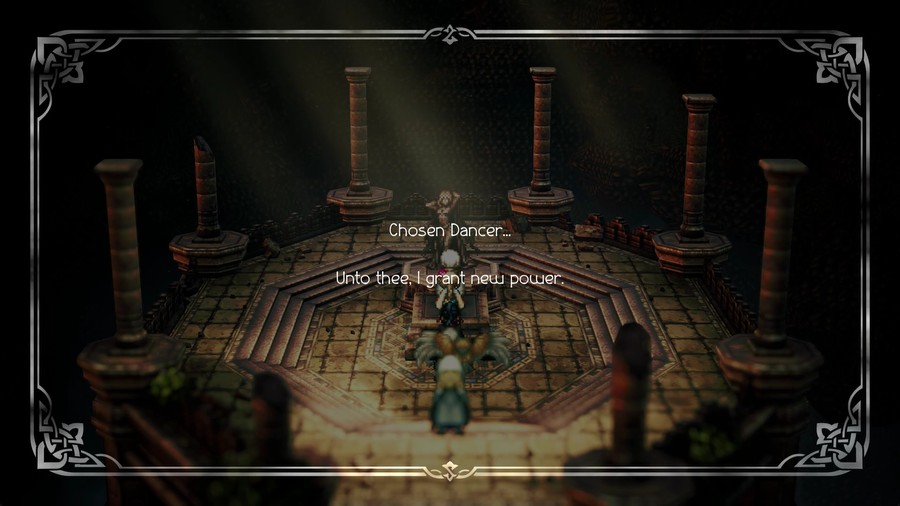
Our luck must be better than expected!
Oh yeah, and since I think I forgot to mention this last time, the guildmasters of the various jobs are the same gender as the characters in OT1 who had those jobs. Kind of a neat detail.
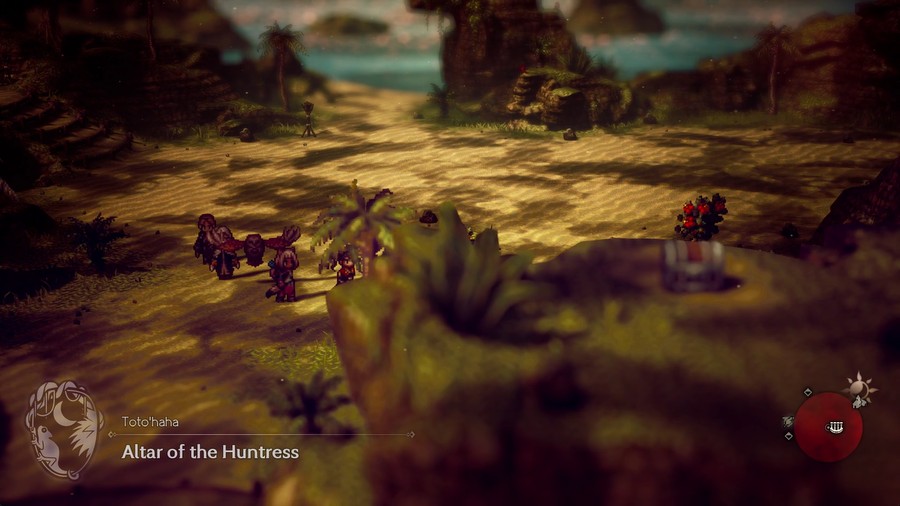
Toto'haha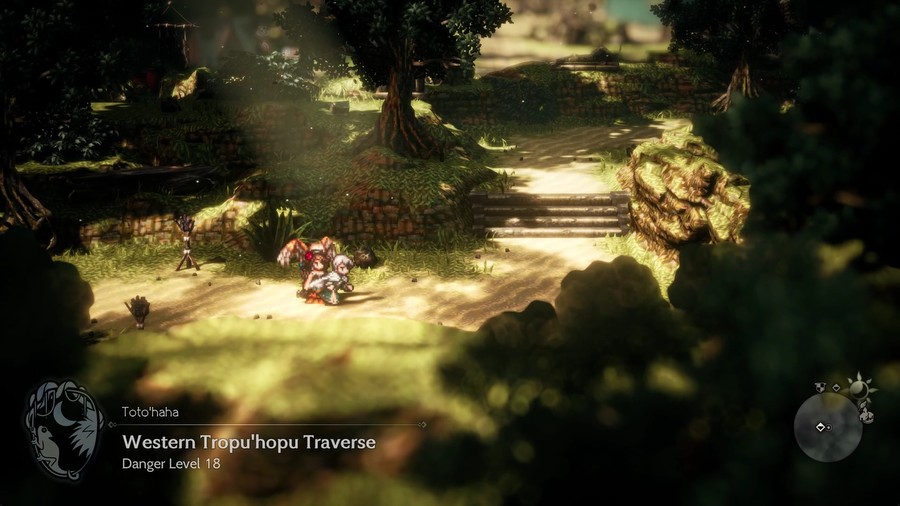
Next stop, Toto'haha!
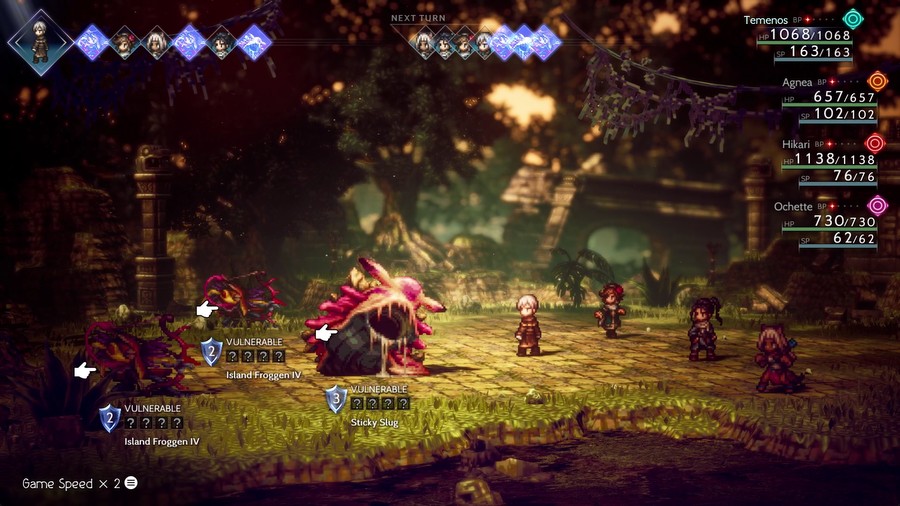
More prey.
A double bow attack isn't too bad an option to have!
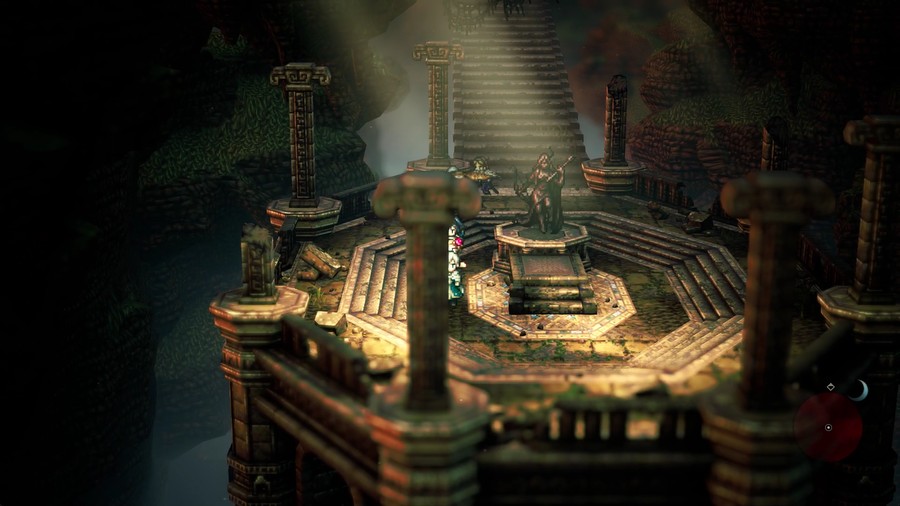
This next altar is hiding behind the background.
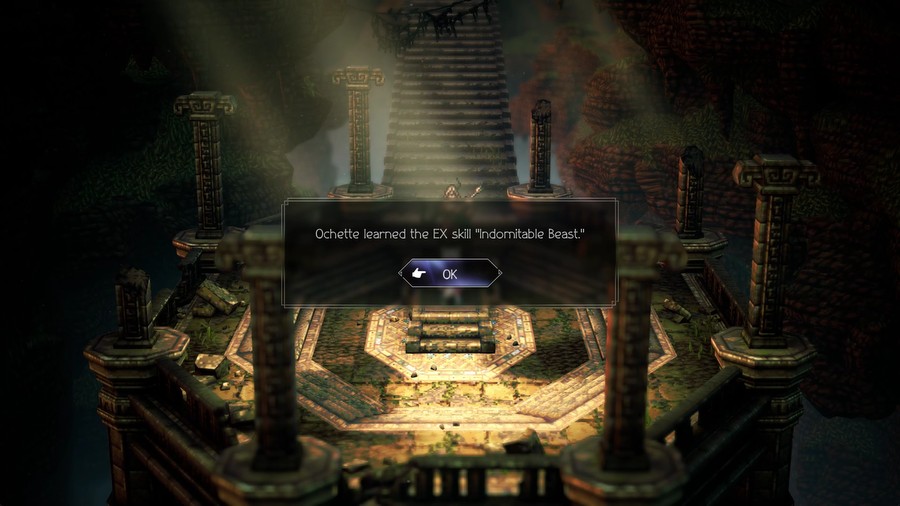
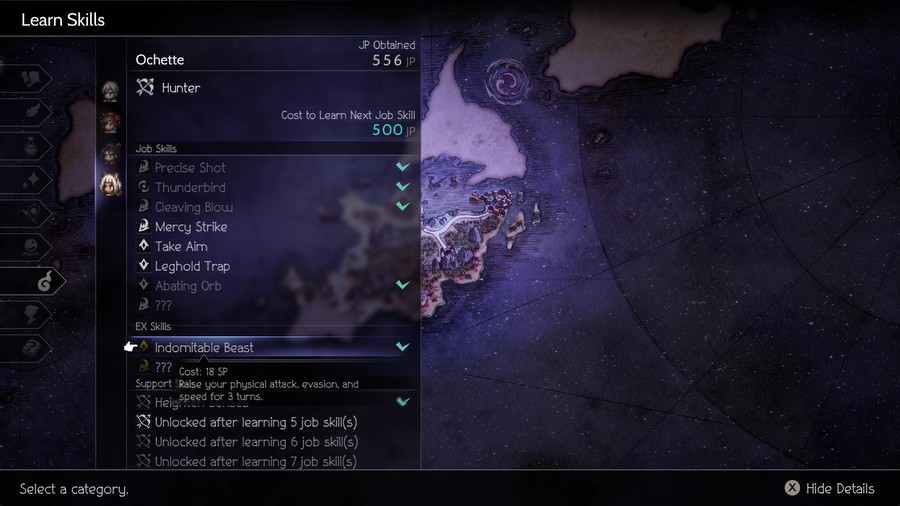
Indomitable Beast is simple, it just buffs Ochette's P.Atk, Evasion, and Speed for 3+2*BP turns. Straightforward, and as useful as it sounds.
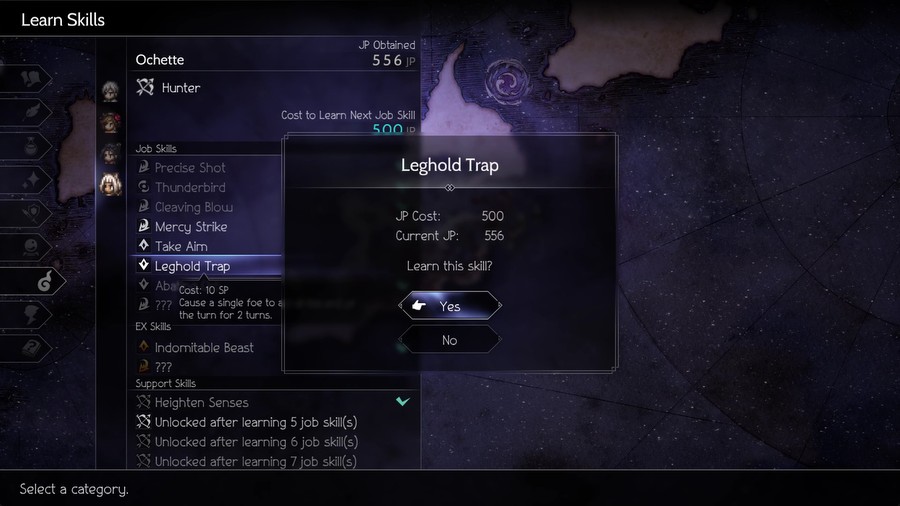
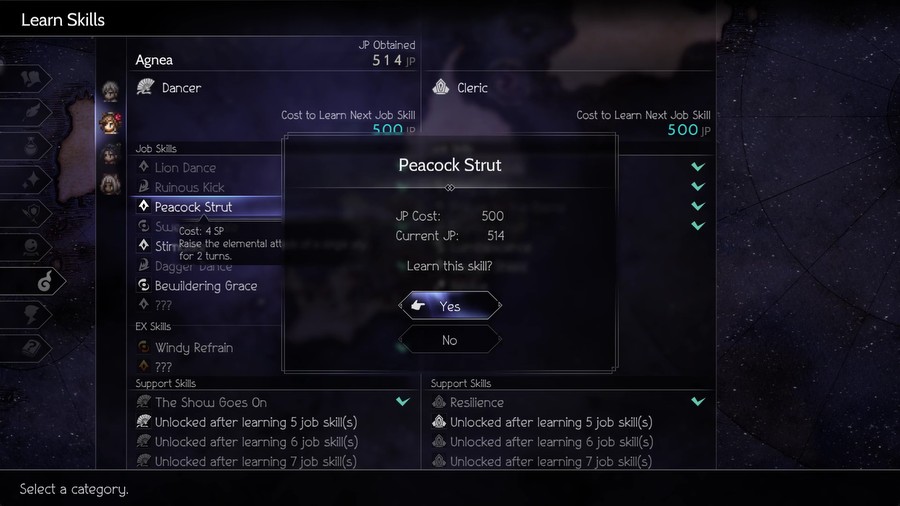
Exploring a bit into Toto'haha gets enough JP to finally grab two great skills, Leghold Trap (to make a foe act last) and Peacock Strut (to buff an ally's E.Atk).
Also, some random person is here.
OK, thanks.

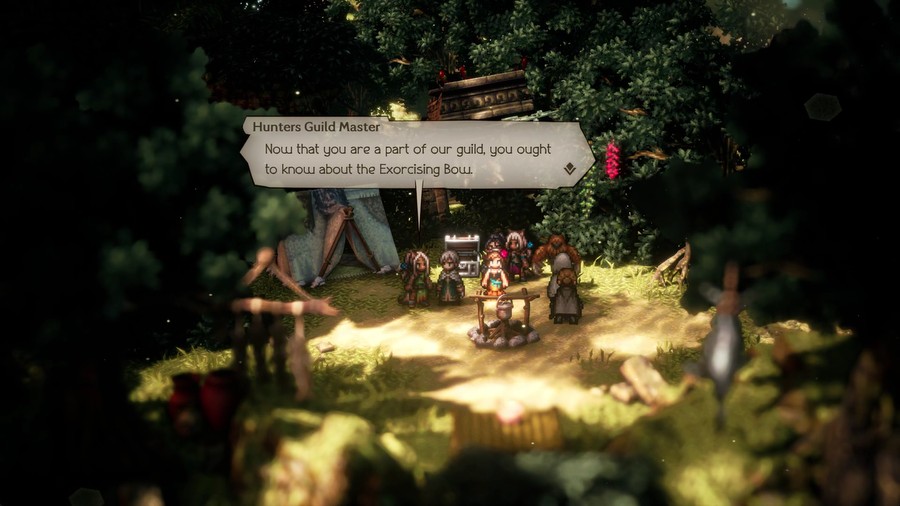
The Hunter Guild is just this random beastling hunter in the middle of nowhere.
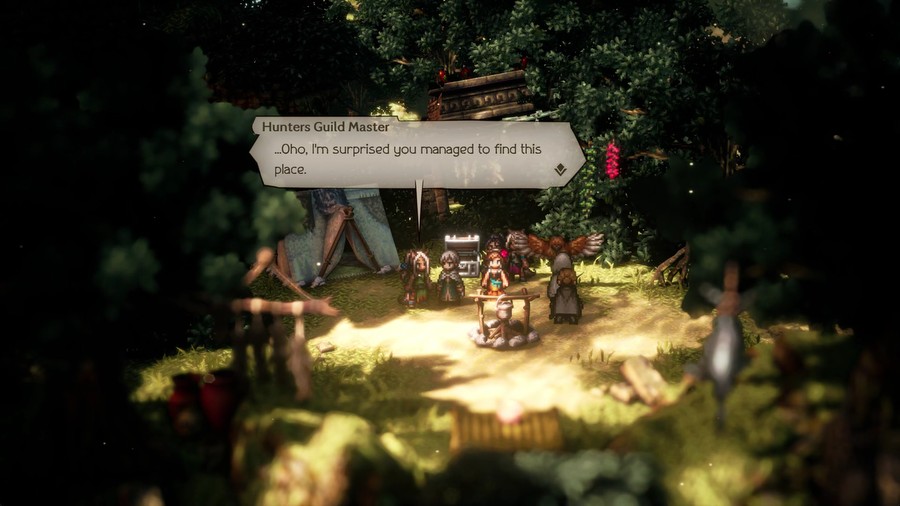
 This is the Hunters Guild, and I am its master. Hm? I seem too young to be a guild master?
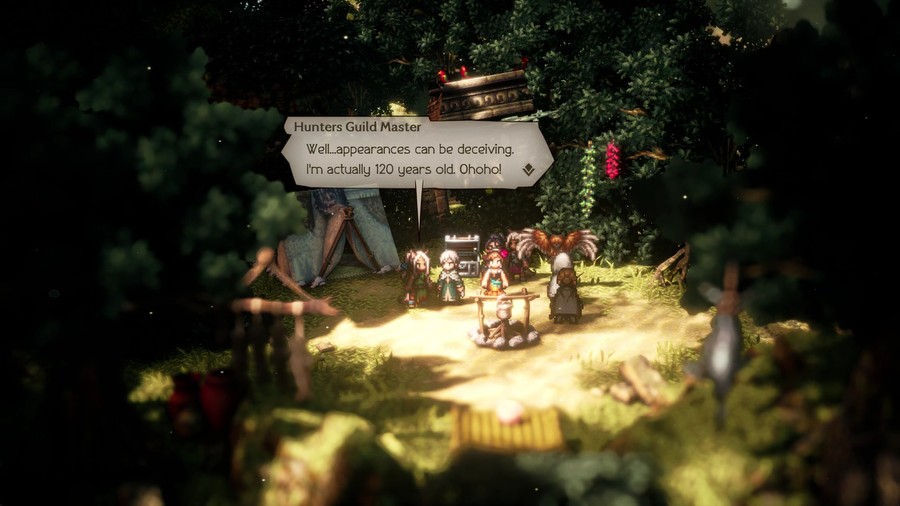 More importantly, if you've found this place, that means you have promise. I hereby recognize you as one of us. I look forward to seeing what you can do as a hunter.
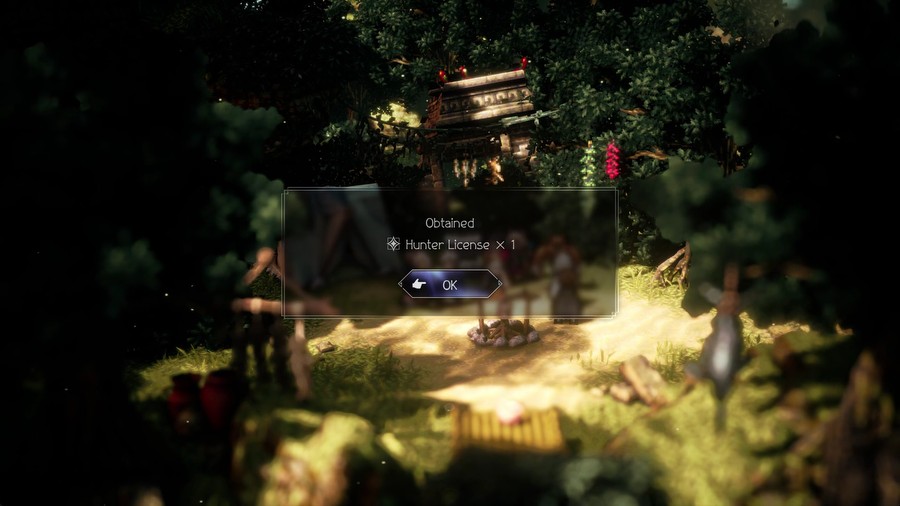

I think this hunter and Ochette are the only beastlings that have a solid grasp on human speak.

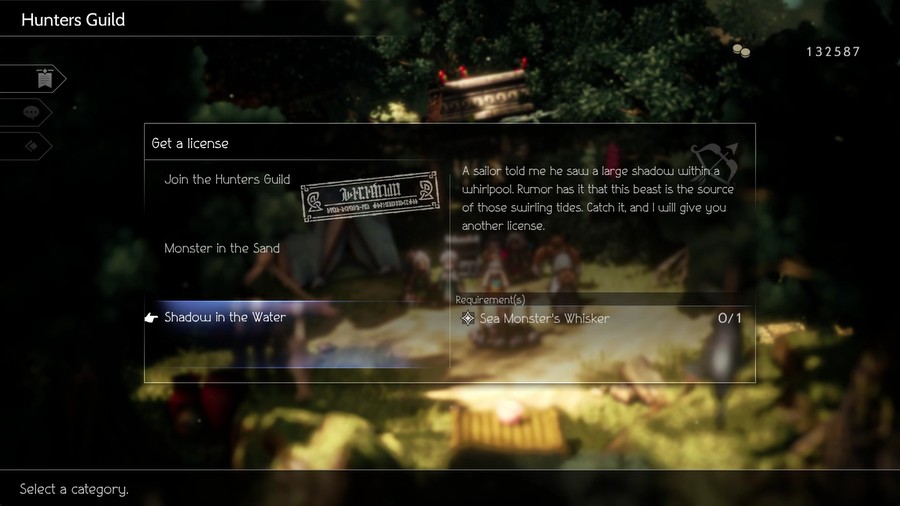
Unsurprisingly, getting more Hunter licenses requires hunting creatures.
Licenses
Those who join the guild receive a license as recognition of their membership. Equip it to gain access to a hunter's skills. If you wish to get your hands on more licenses, you must complete tasks set out by the guild.Legendary arms
 It was passed down in Timberain's royal family for generations. Only soldiers recognized by the king were permitted to use it. I myself have only laid eyes upon it once when I was young. I surmise any adept with the bow would like to give it a shot...
Timberain is the highest-tier city in the Leaflands, so it'll be awhile before we can visit there.
EX skills
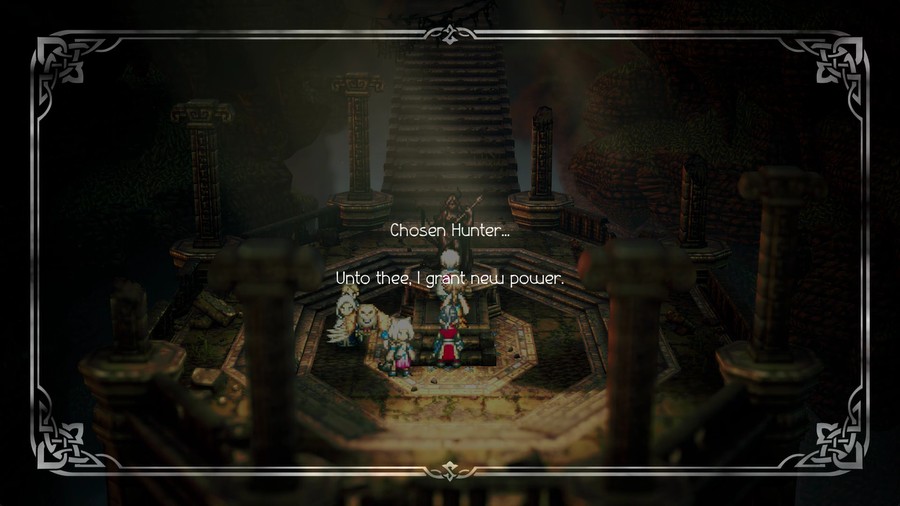
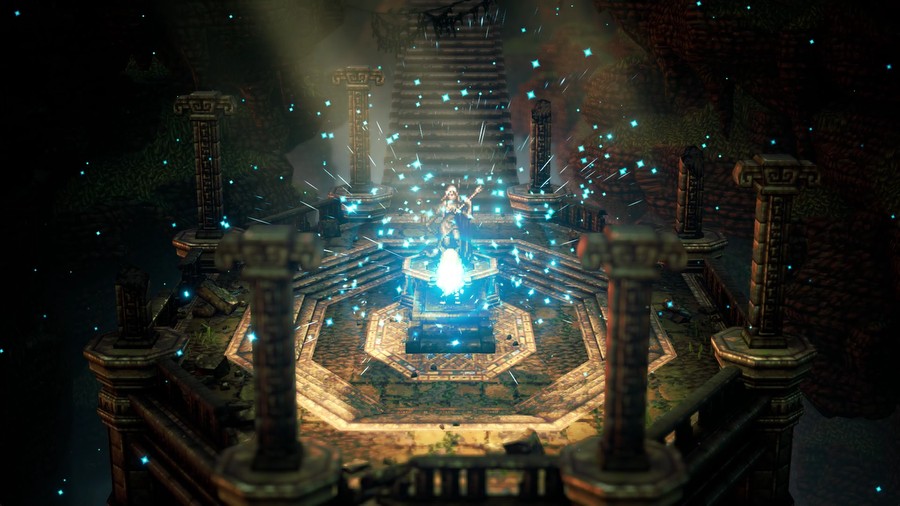
Somewhere on this island is an altar dedicated to the Huntress. Legends say that when the chosen hunter visits that altar...they will be granted a special power.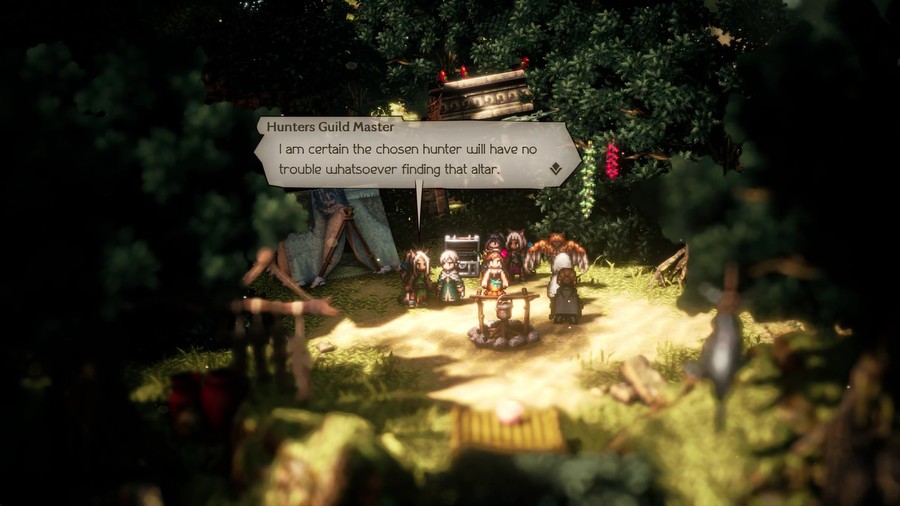
It's basically in plain sight, at least to our protagonists' point of view.
There's two ways we can approach getting the last job. We could try approaching west of Ryu, or head south from Wellgrove. I opt for the latter.
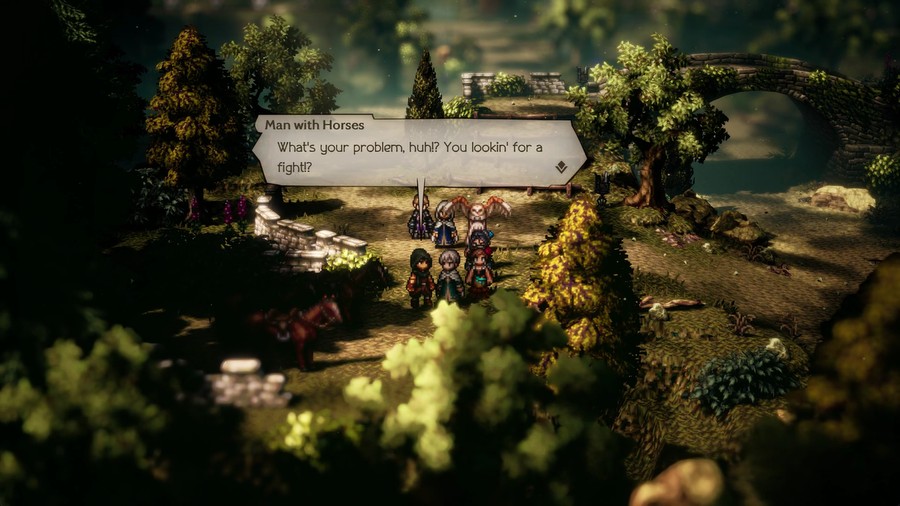
 I stole--er, bought these here things fair 'n' square! Touch 'em, 'n' I'll cut your hands off!
Even if this path has some rather unsavory types along the way...
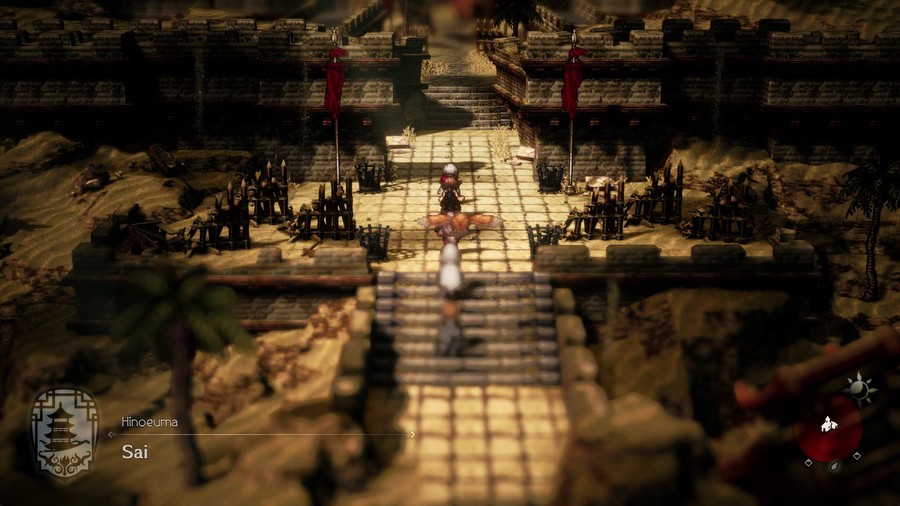
Hinoeuma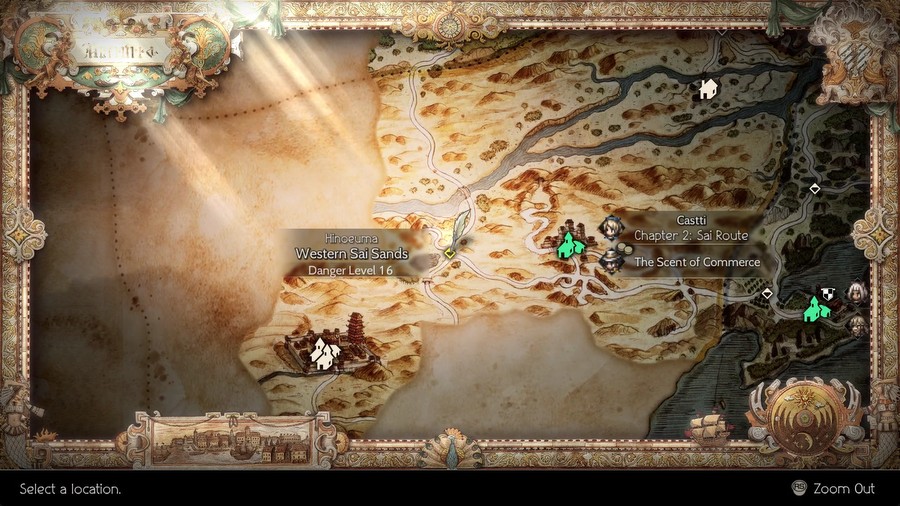
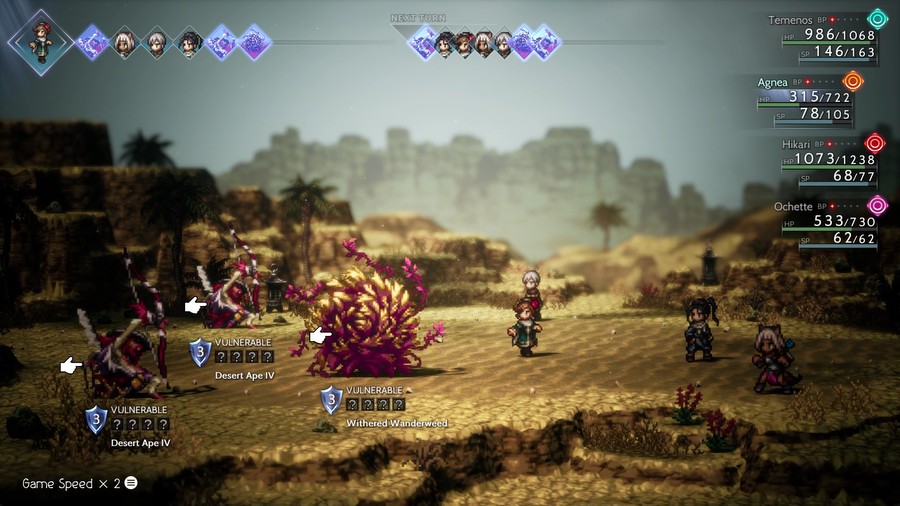
The sands surrounding the town of Sai are vast, and naturally, full of fearsome foes.
Fearsome for the other foes we'll meet, of course.
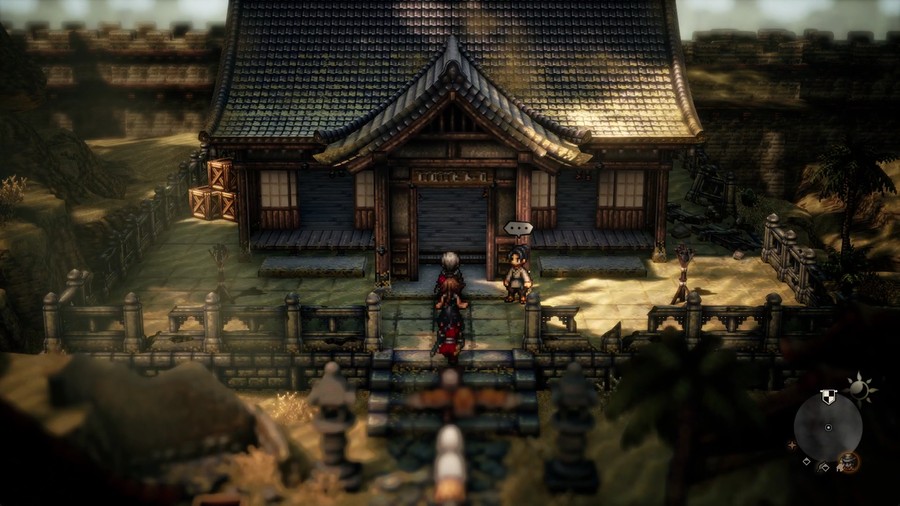
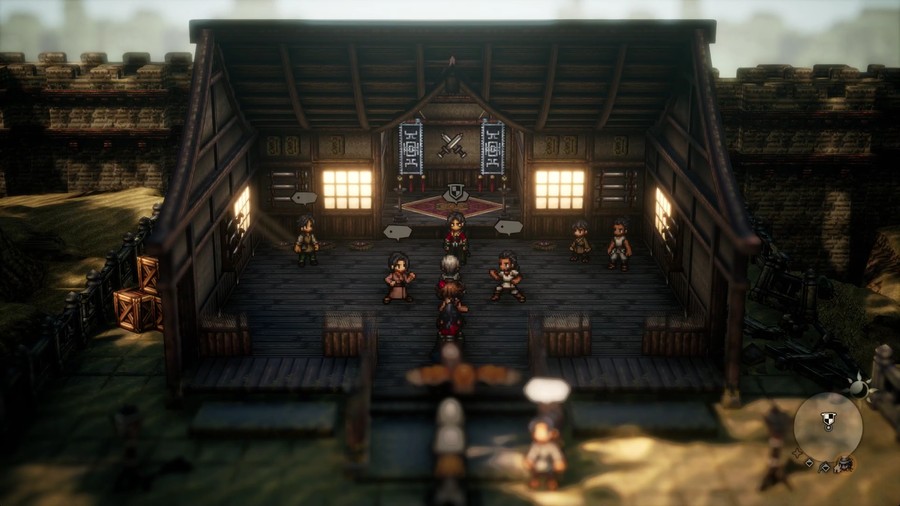
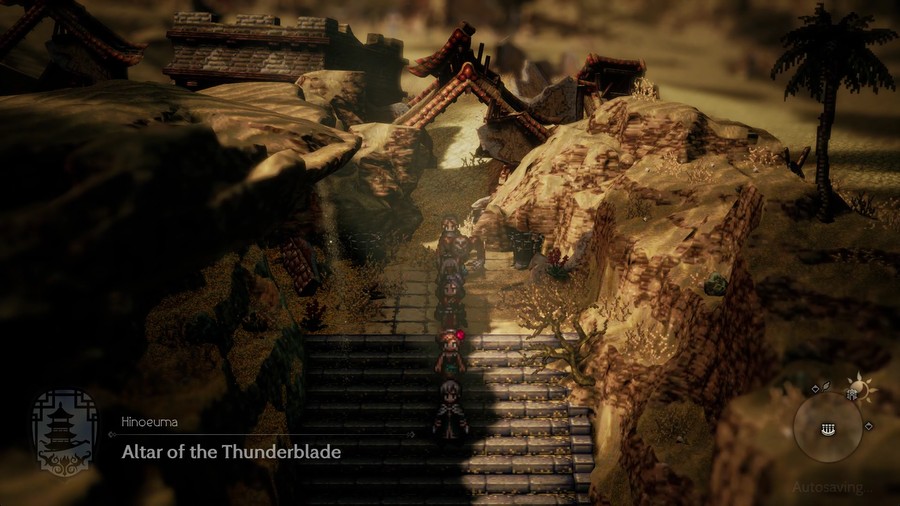
For once, we'll be getting our job before the EX skill. The Warrior Guild is in the northern-most part of Sai.
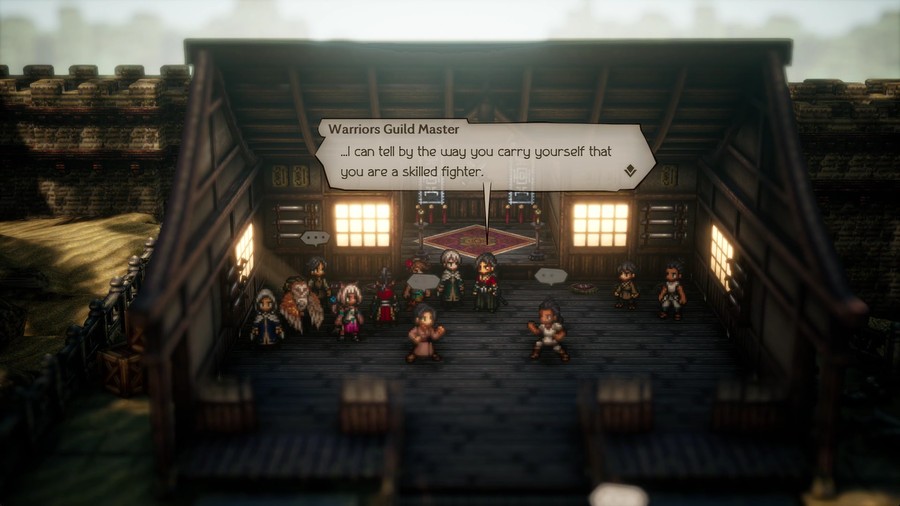
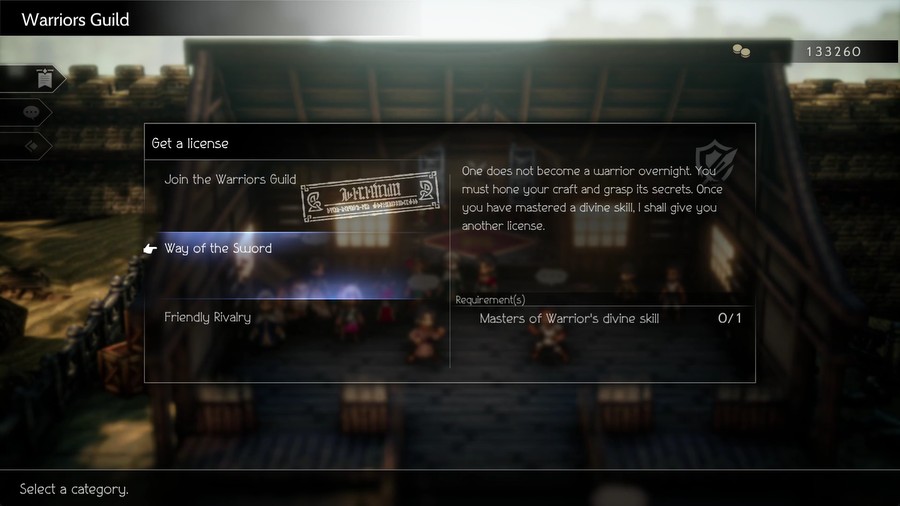
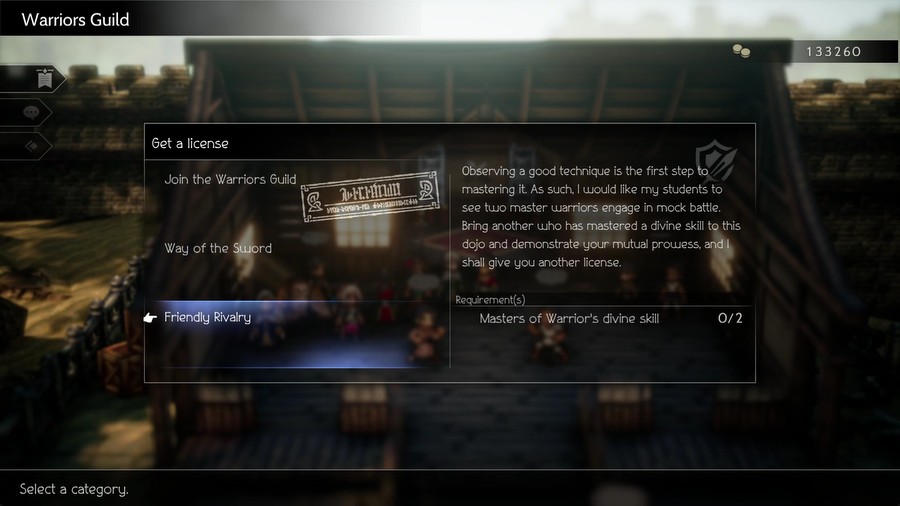
 But the path of a warrior is long and hard, and your journey has only just begun. Anyone who wishes to hone their swordsmanship is welcome at my dojo, regardless of their style. Let us train together, both in mind and body!
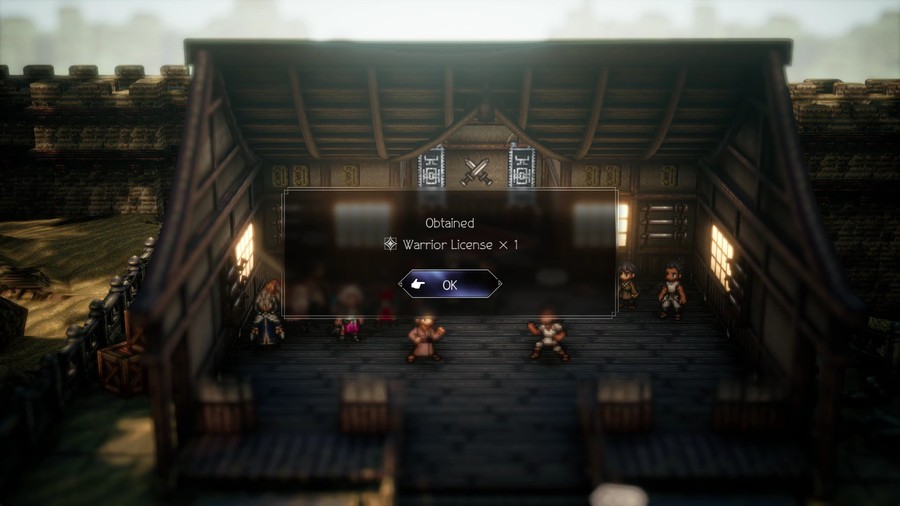

Finally, all eight jobs!
Getting the Warrior licenses is exactly the same as getting the Dancer licenses, just master the job with one or two characters.
Licenses
There are several tasks put forth for warriors in my dojo. Complete a task and you shall receive a new license. Equip it to use a warrior's skills in battle. Do not be afraid to step up to the challenge. Consider these tasks part of your training.Legendary arms
Have you heard tell of a certain notorious double-edged sword? It is a tremendously powerful weapon, but its might comes at a cost. Some even consider it cursed.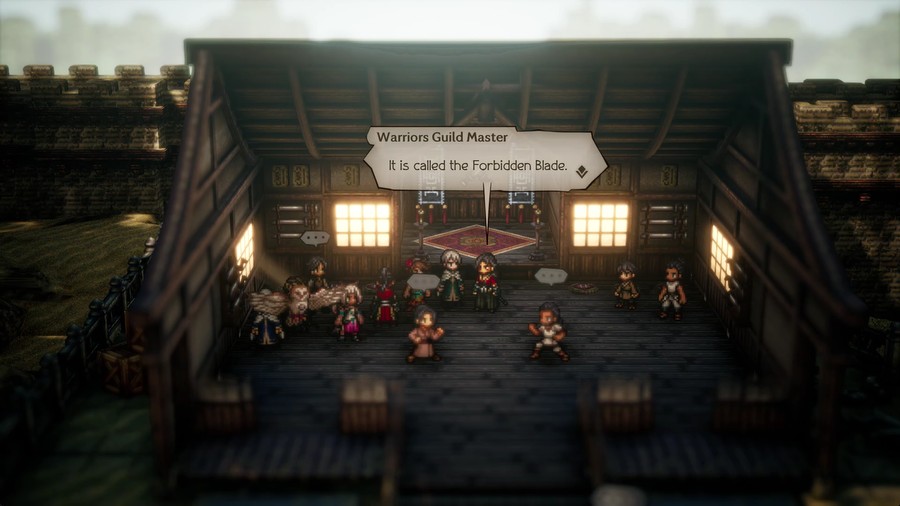 It changed hands countless times before finally being laid to rest in a cemetary in the Crestlands. Will you find the blade and learn to wield it? Or will you leave the cursed blade where it lies?
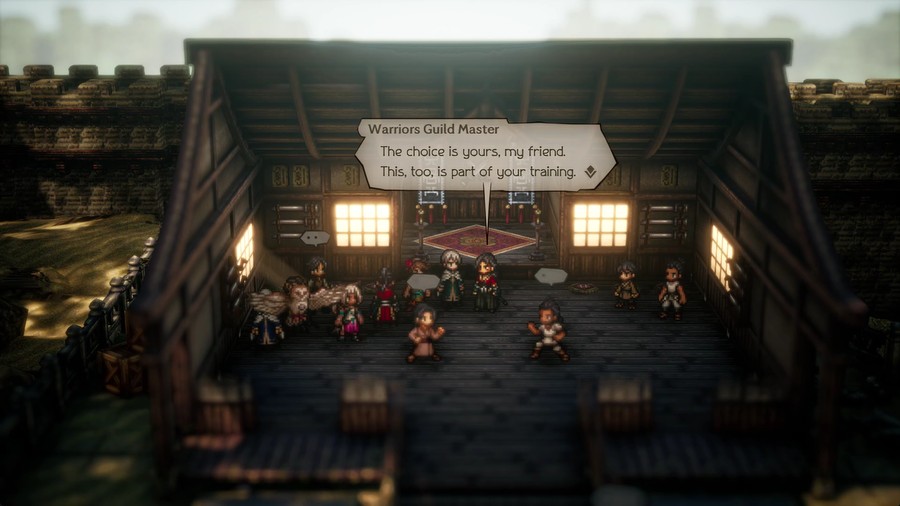
The choice for this LP is pretty obvious!
EX skills
...Allow me to tell you a legend passed down in this dojo. In this world, there are eight altars, each dedicated to one of the eight gods.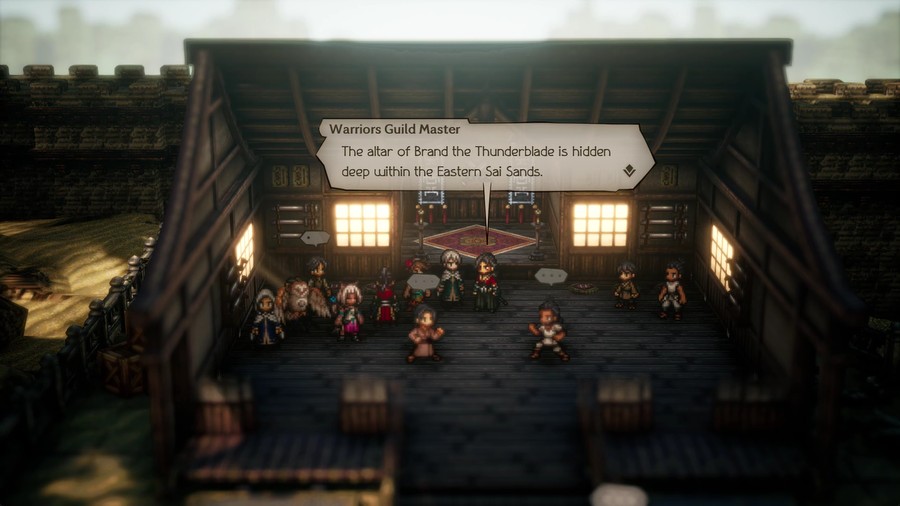 If a chosen warrior were to find the altar, they would obtain unparalleled skill.
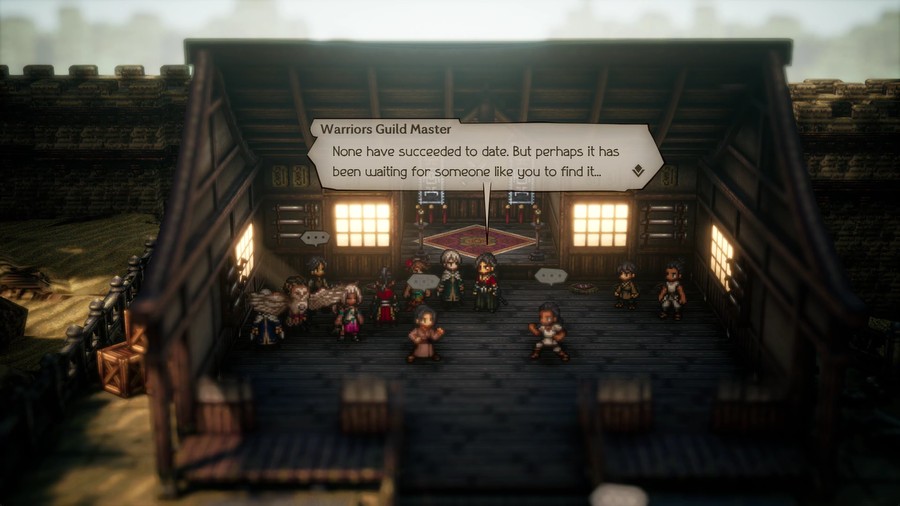
I kinda need to do this to finish this update off, so let's go for it!
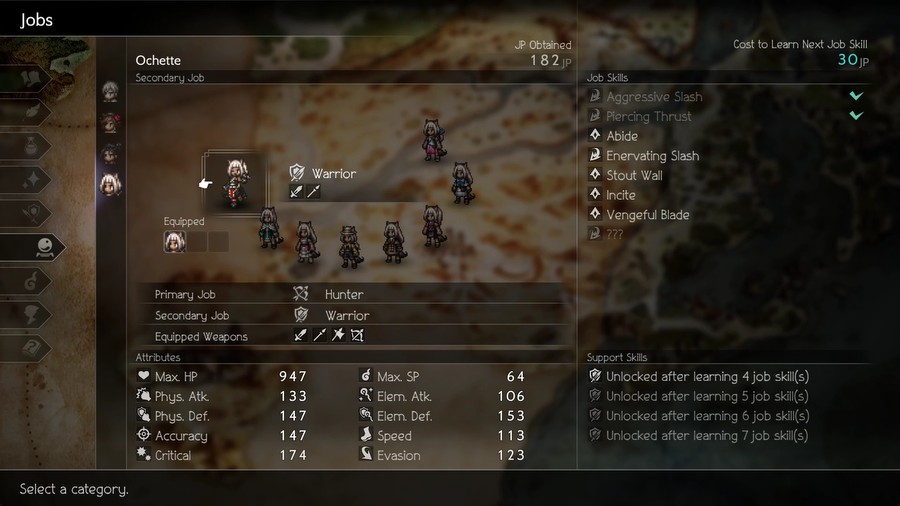
But first, Ochette makes for a great Warrior since she's already a P.Atk-focused character.
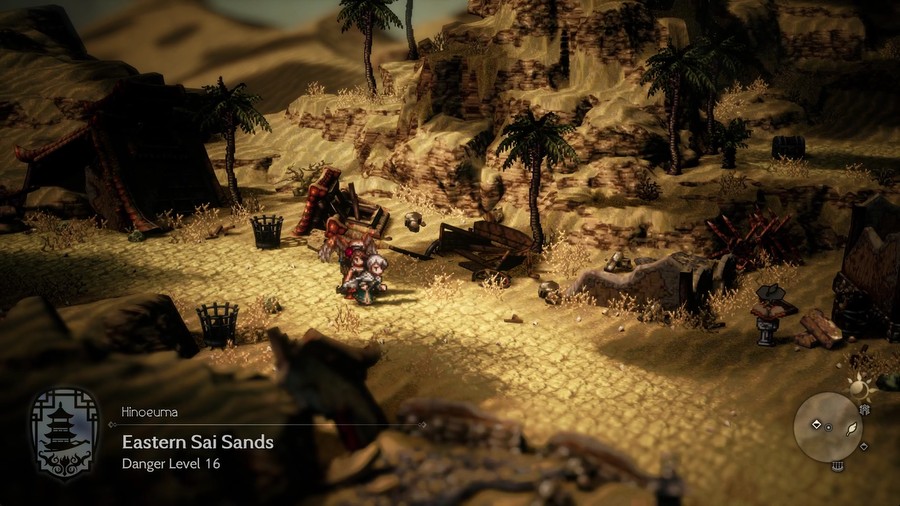
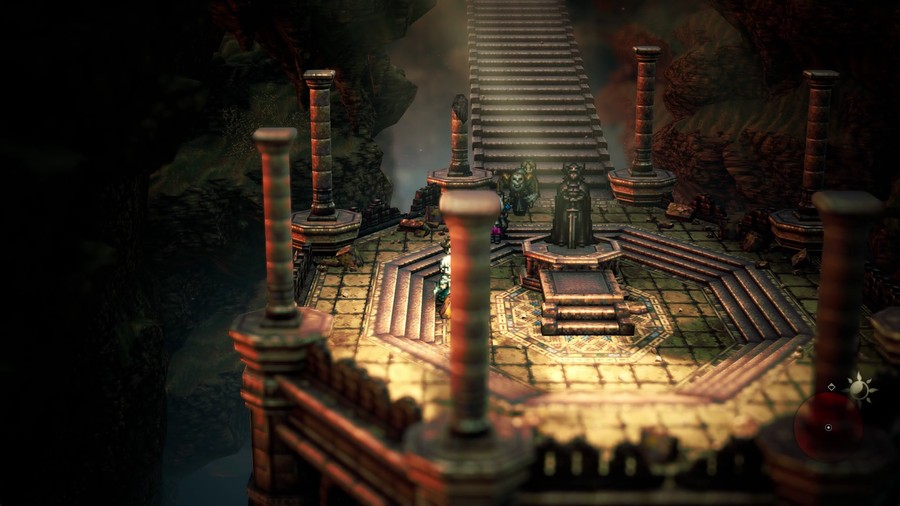
The final altar is hidden directly south from the western exit of the Eastern Sai Sands.
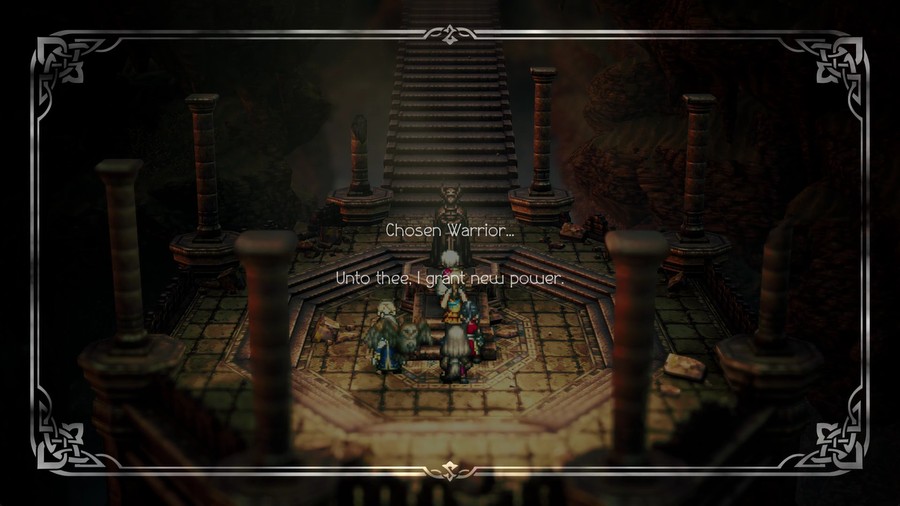

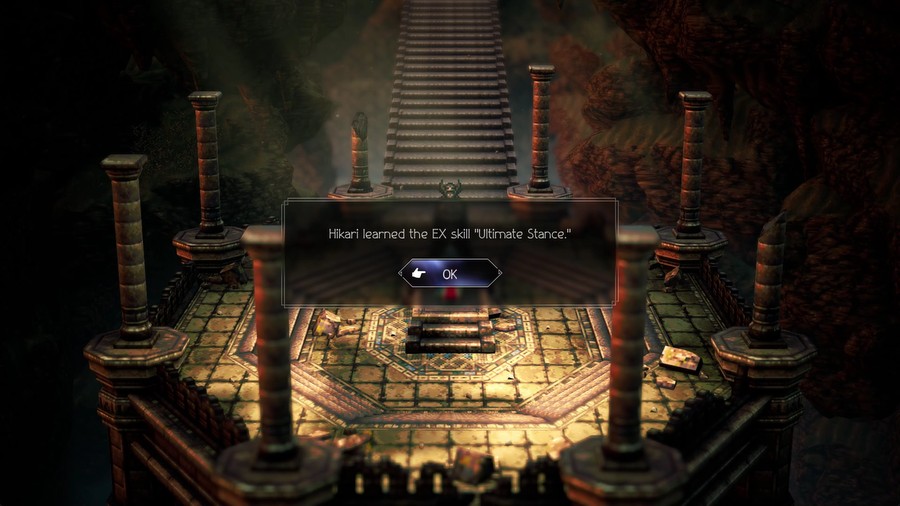
This one is bog-simple, as Hikari's attacks affect all foes for 3+2*BP turns. Keep in mind that generally you don't really use attacks to actually deal damage (with some late-game exceptions), but to break shields, and in some situations this could be a great way to break said shields if you don't have any good skills to work with instead. It's situational, but sometimes hitting the entire enemy party for four polearm weaknesses is what you need to take control of a battle, and in that case this skill shines.
So you may think we're done. We've got all eight jobs, and any bonus jobs will likely be in the end-game, as in OT1 the four bonus jobs were found in late-game areas.
The Brightlands
But what if I told you that OT2 also has four bonus jobs, but they are completely different from the bonus jobs in OT1? And in fact, not only are the jobs themselves different, but the ways you get them are different?
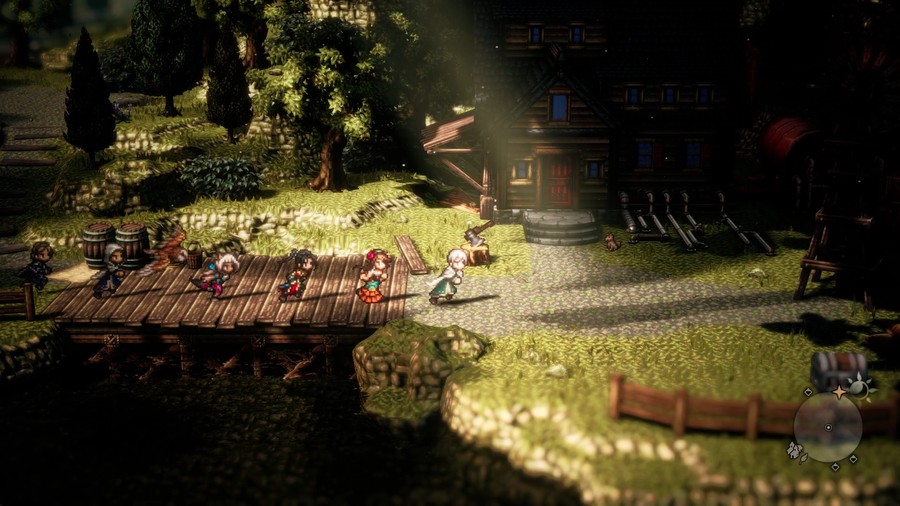
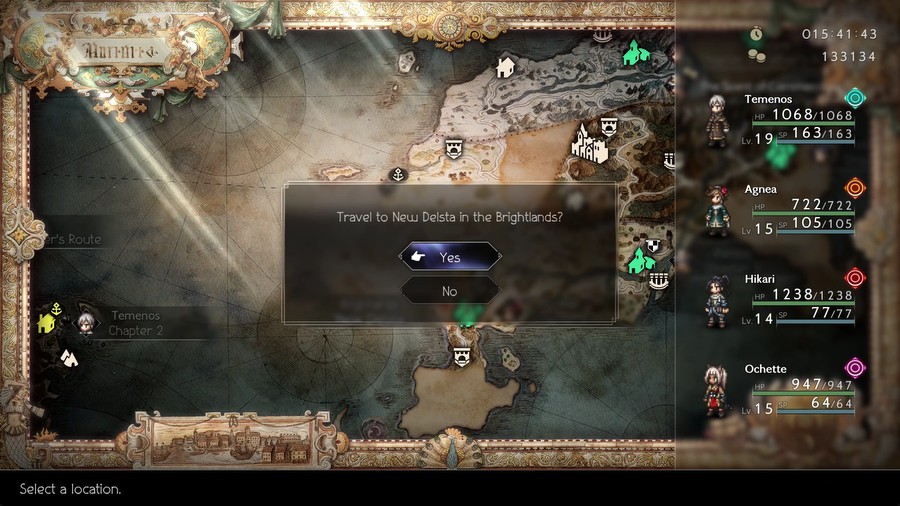
In fact, there's one bonus job you can get as soon as you beat your main character's first chapter! You just have to travel to New Delsta, then after leaving town you head to the northeast section of the screen.
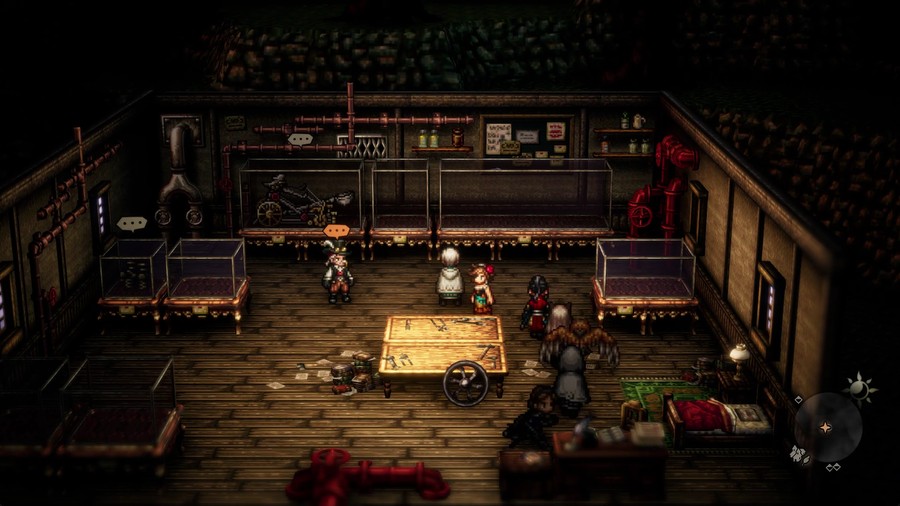
This is its own side story, which I will later give its own special update when I unlock everything it has, but for now, why not go ahead and grab it?
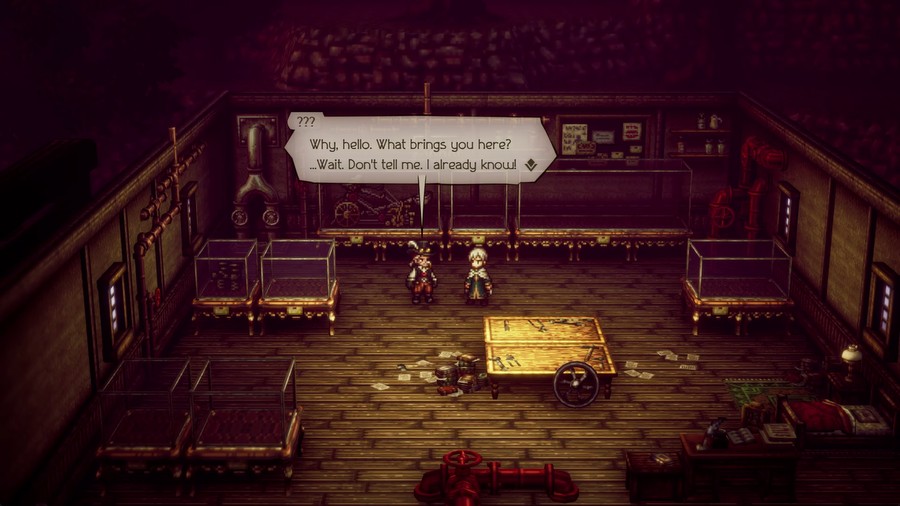
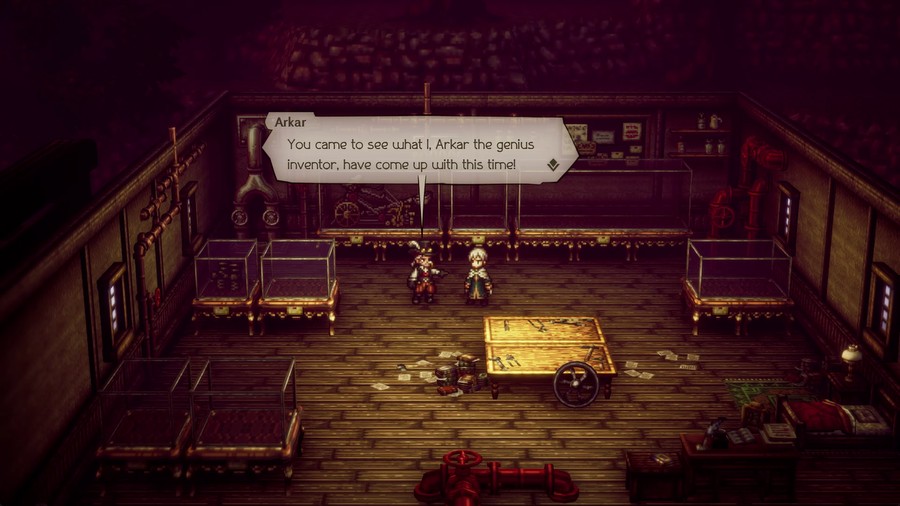
 Don't look so surprised! My eyes see all. Now I normally don't do this, but since you've shown such an interest in my inventions, I shall explain what they do!
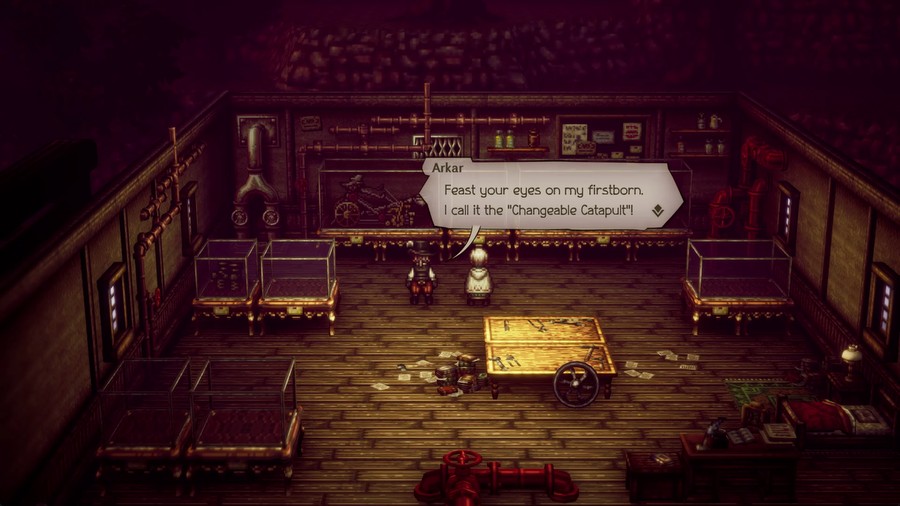 It is a highly advanced device capable of launching any object--of a certain size, that is! And what's more, one can decide exactly where said object will land simply by reconfiguring the firing mechanism.
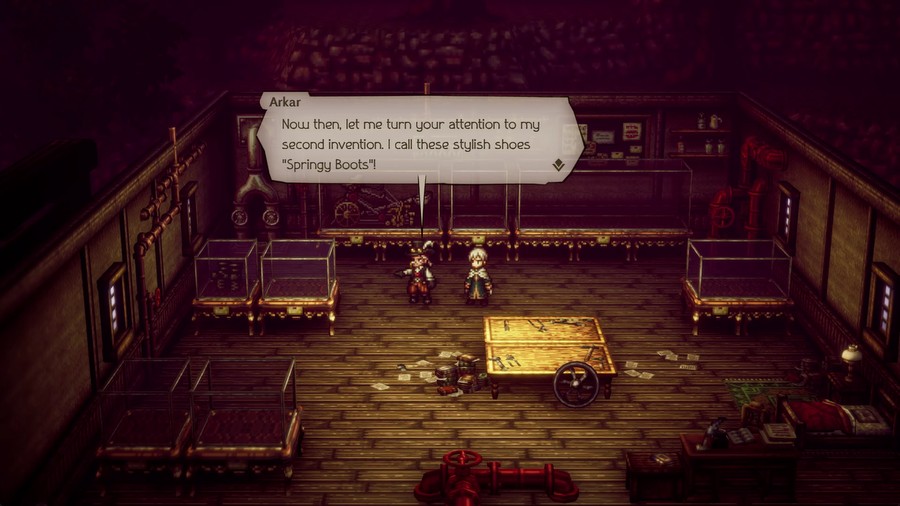 Not only are they beautiful, with a quality leather finish, they are also highly functional, with spring-boosted heels. These powerful springs give their wearer a boost in speed, allowing them to move exponentially faster than the average person!
 But you, my friend, are far from common. You appreciate my work! Which is why you have a responsibility--nay, a duty--to assist me.
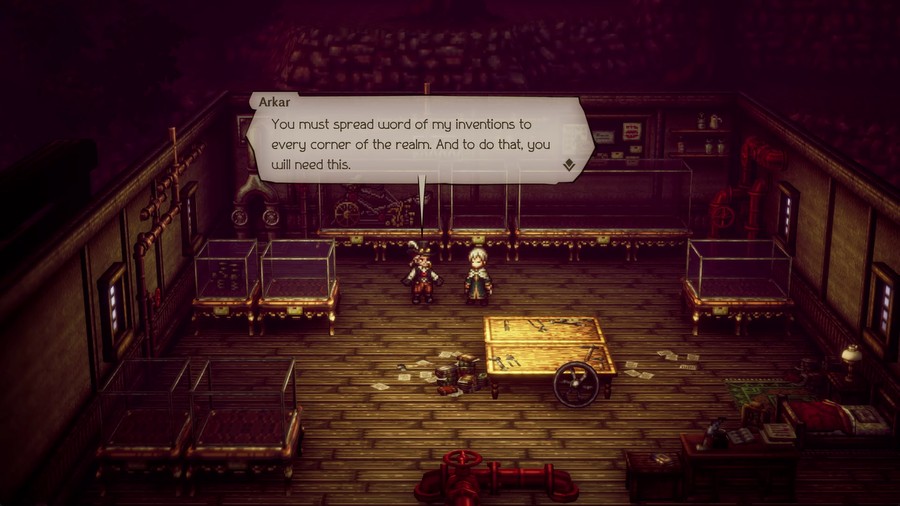
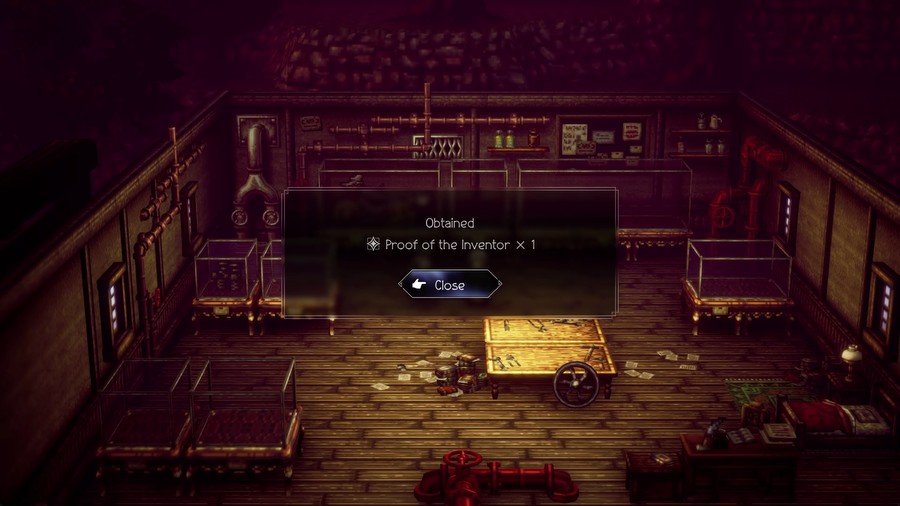

And with that, we have our ninth job.
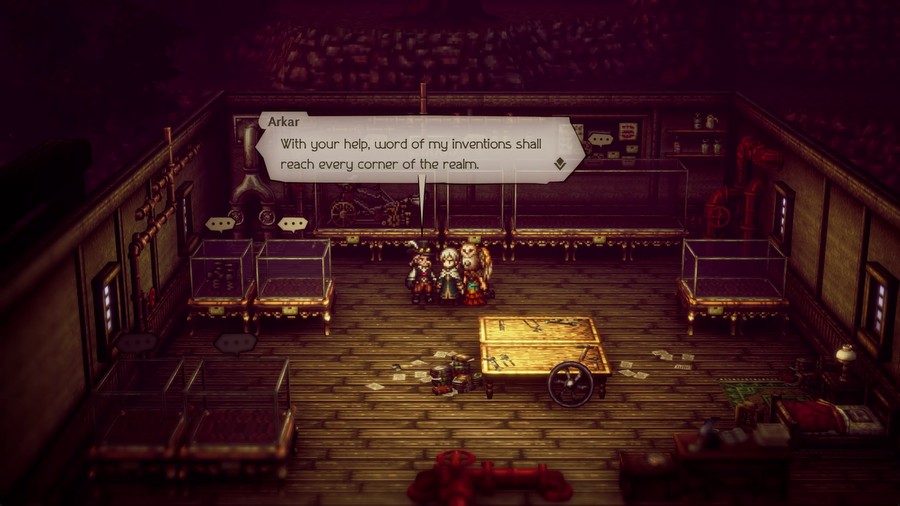
 And before you ask, allow me to put your mind at ease: this is merely the beginning. I have countless ideas, but simply lack the materials to bring them to life!
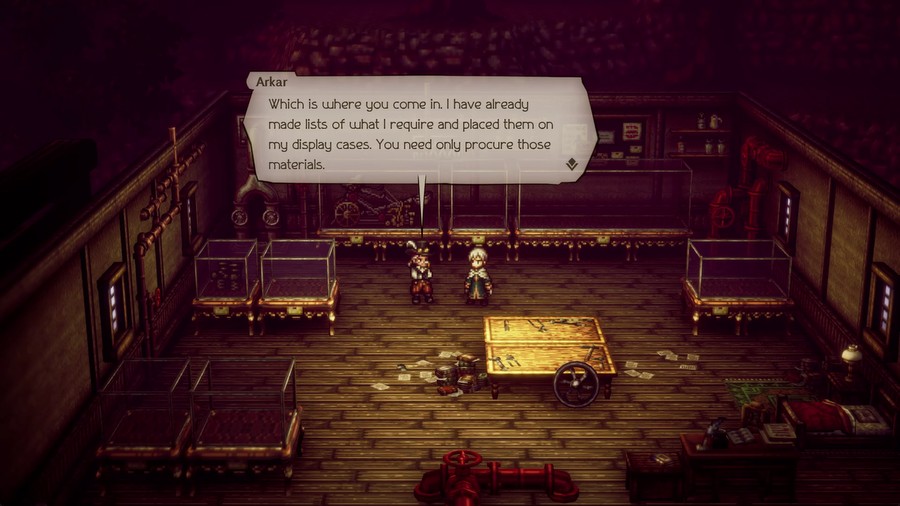 Now off you go, my lovely assistant! Use the fruits of my labor to your heart's content!
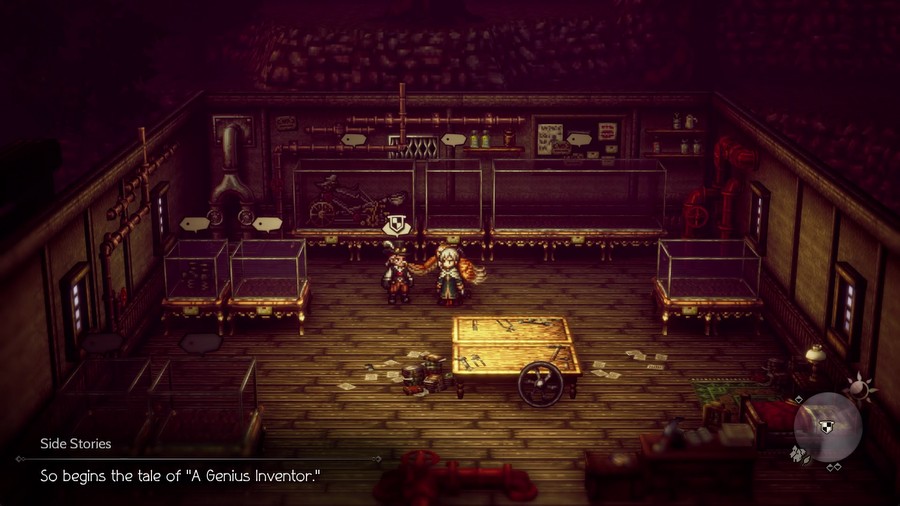
Unlike the base jobs, you can only get one license of the four bonus jobs.
 But I shan't be idle in the meantime. Bring me the materials from the lists on my display cases and I shall create things beyond your imagining!
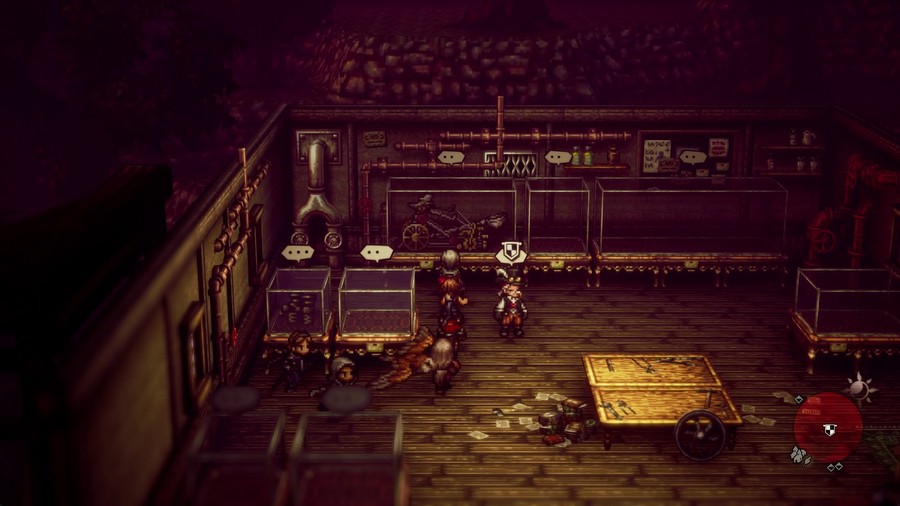
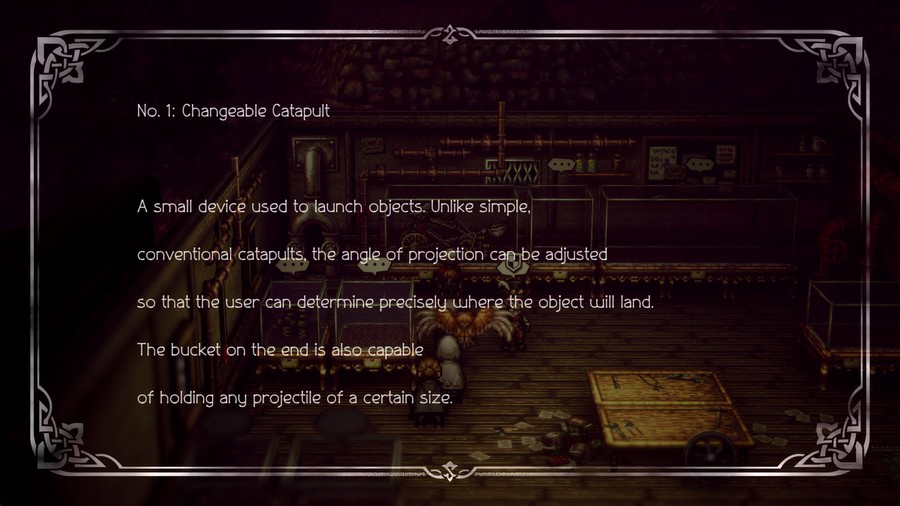
We start off with two skills in inventor. Changeable Catapult fires a chosen weapon type at all foes. Good for weaknesses, and can also cause some good damage.
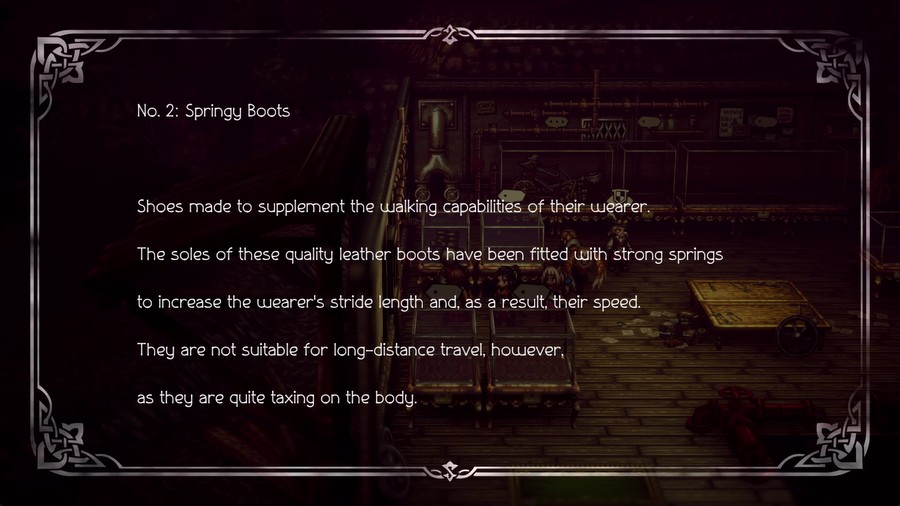
Springy Boots causes a chosen character to act first for 5+BP turns. With the proper planning and strategies, this can be handy.
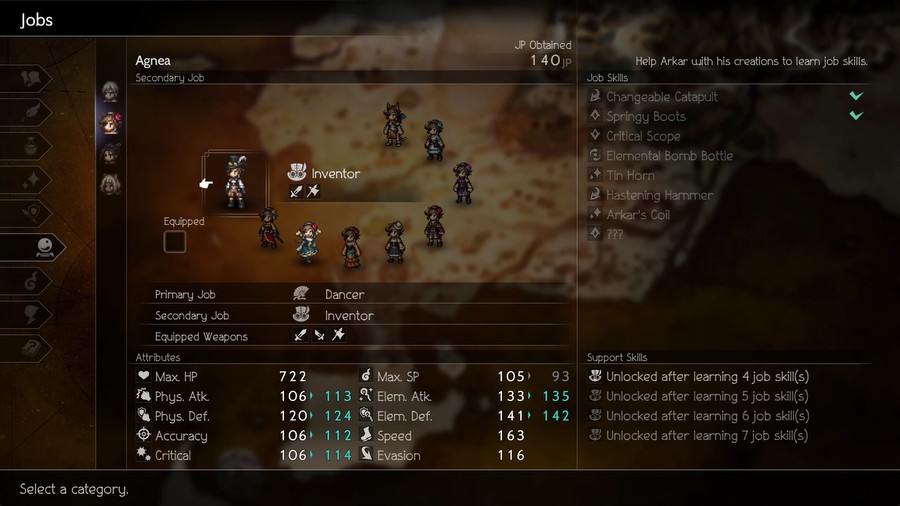
Inventor is unique in many ways. First off, you cannot spend JP to learn more Inventor Skills. Instead, we have to find materials and give them to Arkar to build new inventions, which unlocks that skill for everyone.
Also, Inventor skills do not cost SP. Instead, by default you can use each skill once per combat, but can also spend a turn to "rebuild" an invention. The number of turns required to rebuild an invention depends on the invention in question, with the Catapult requiring a single turn and the Boots requiring two. All inventions are automatically rebuilt after combat ends. Thus Inventor is great for random battles, but may require some strategic use in boss battles (though they have fantastic tools for those as well, so they're still worth using).
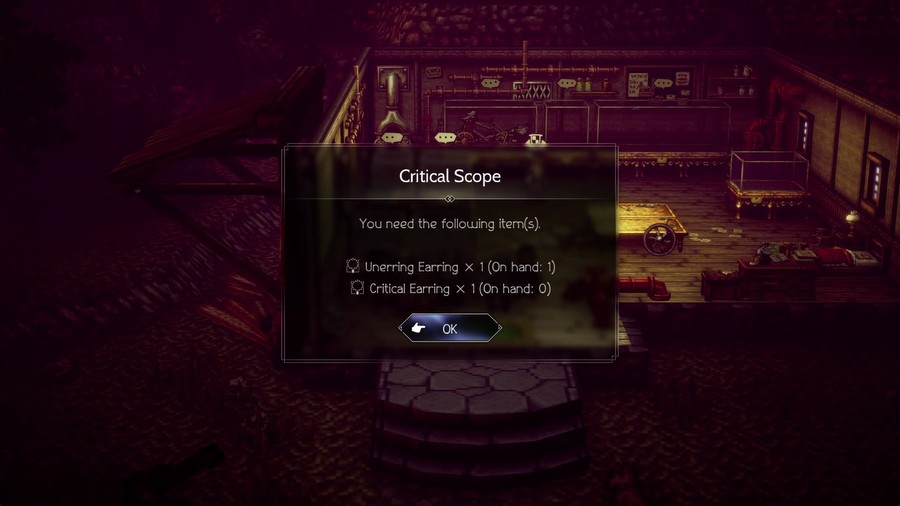
There are five more inventions we can build, each with specific item requirements. Once those five are built, then we'll be given the final invention, which is basically the equivalent of the Inventor's "Divine Skill".
Many of these skills requires specific items found in later towns, but this one we can get right now.
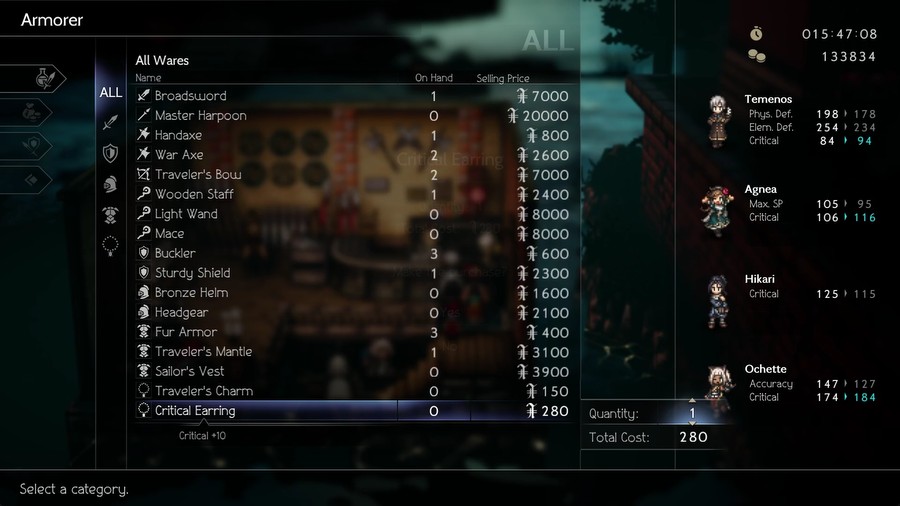
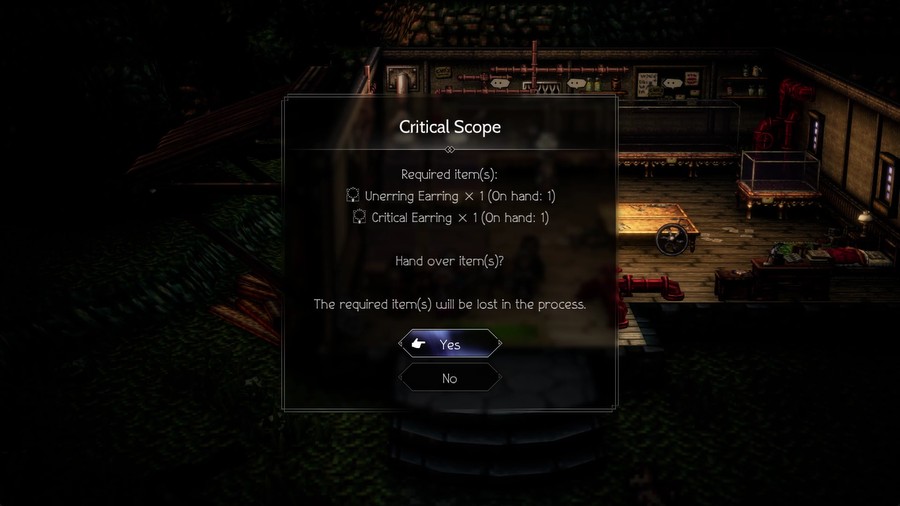
I had the Unearring Erring already, but I had to hunt around to find the Critical Earring. Canalbrine luckily had what I needed.
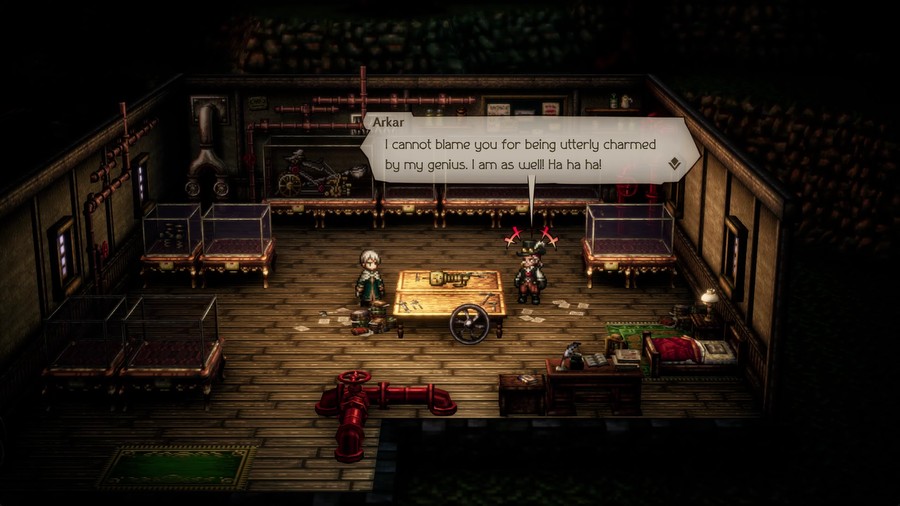
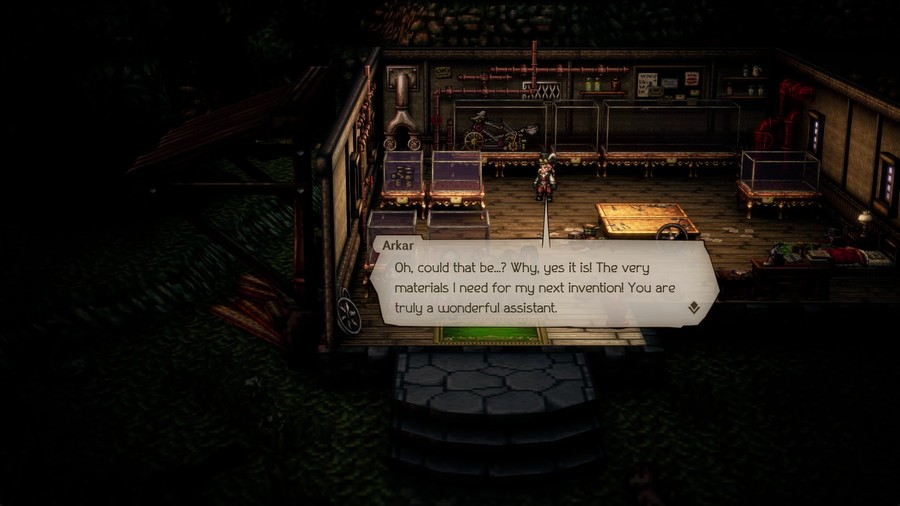 Now then, prepare yourself! You are about to witness the birth of an invention that shall change the world!
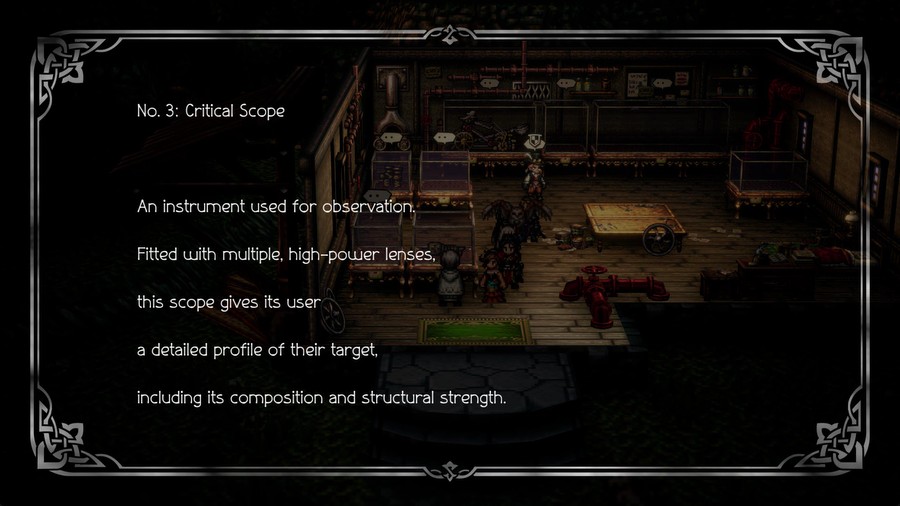
 By combining powerful lenses, I've creatured a scope that can easily take the measure of its target in great detail. Its magnificent magnification prowess also makes it possible to determine the composition and structural strength of the object in question.
 And now that you've seen the master at work, you know how to craft it yourself. May it aid you on your journey!
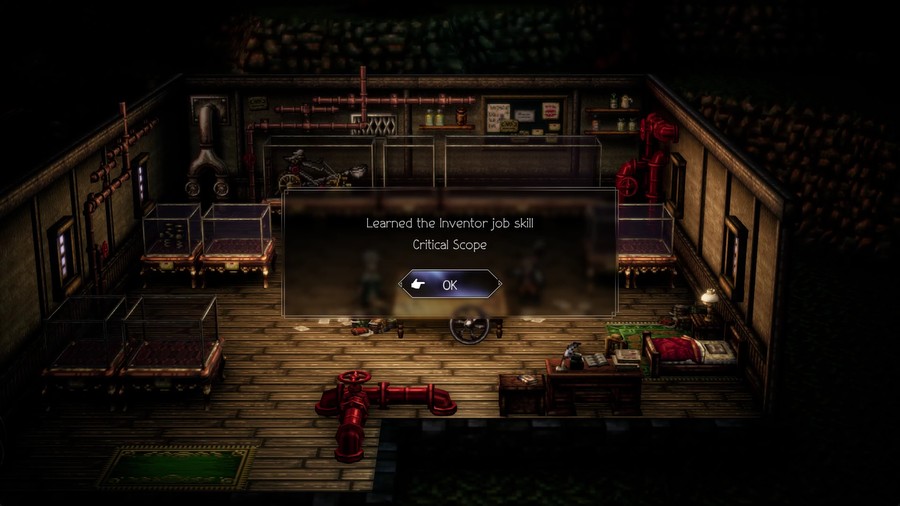
Critical Scope targets a single foe such that all damage dealt to it becomes critical damage for 4+BP turns. I haven't messed with it much, but it certainly has its uses.

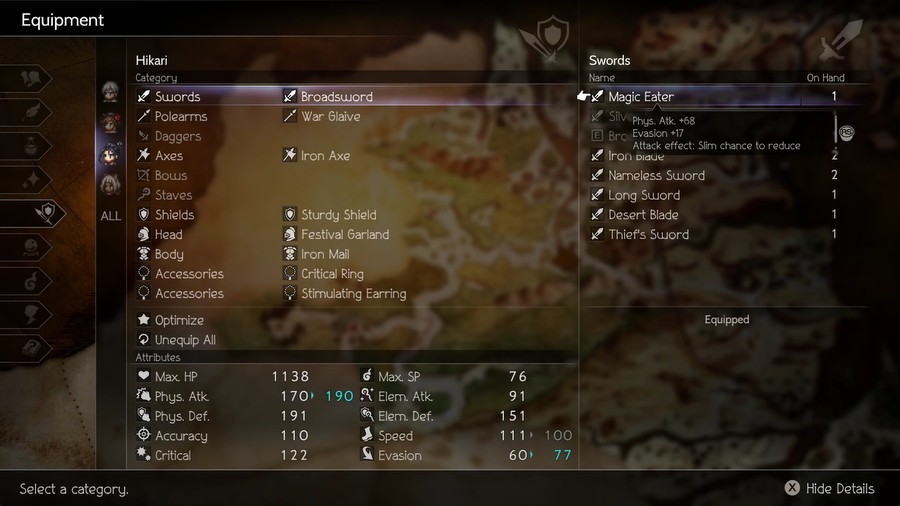
Before we finish, let's take one last look at our new toy.
One more invention, and we can also start unlocking the Inventor Support Skills! But that'll be for later.
Next time, eh, you'd figure I'd have a plan by now, but it's more I think I know what I'll do next. It'll likely be one of Throné's Chapter 2 paths, since it'll be simple and let me introduce some more things, but who knows.
Also, if you have any job suggestions for characters, let me know and I can try to implement them into the playthroughs!