
 Video: What I Believe In
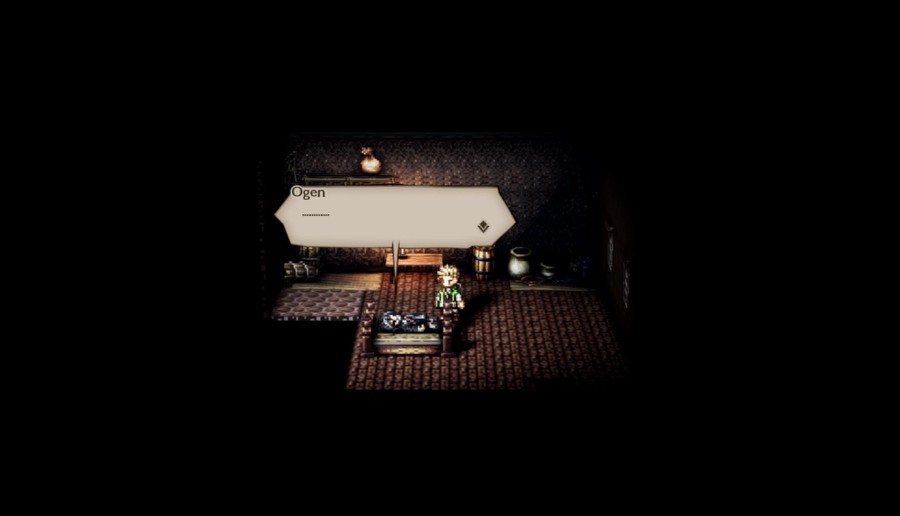
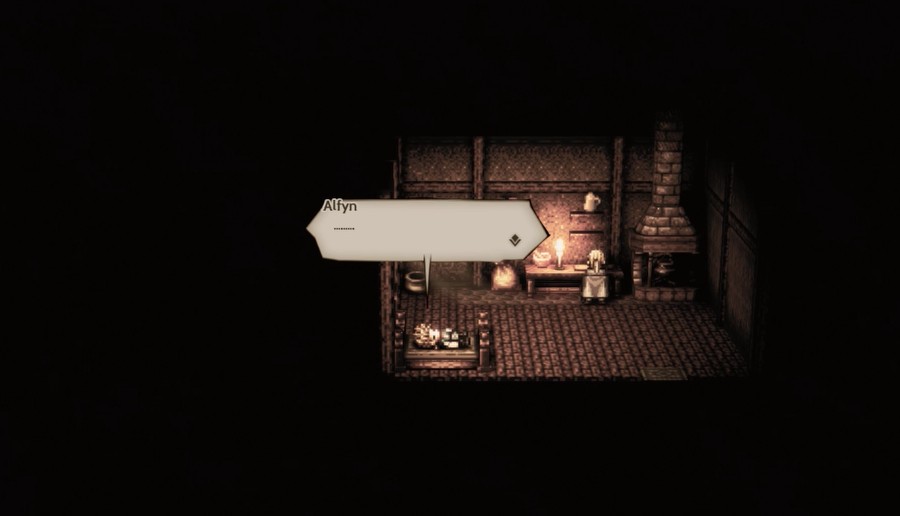
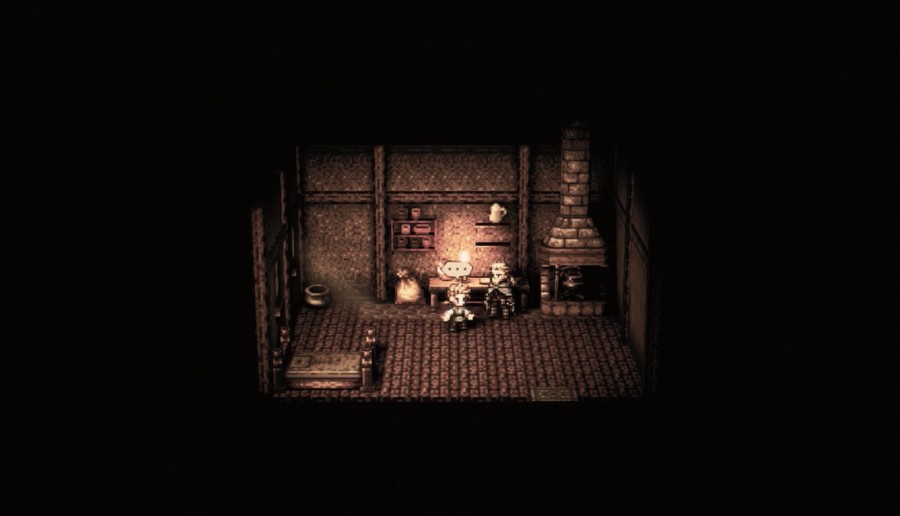
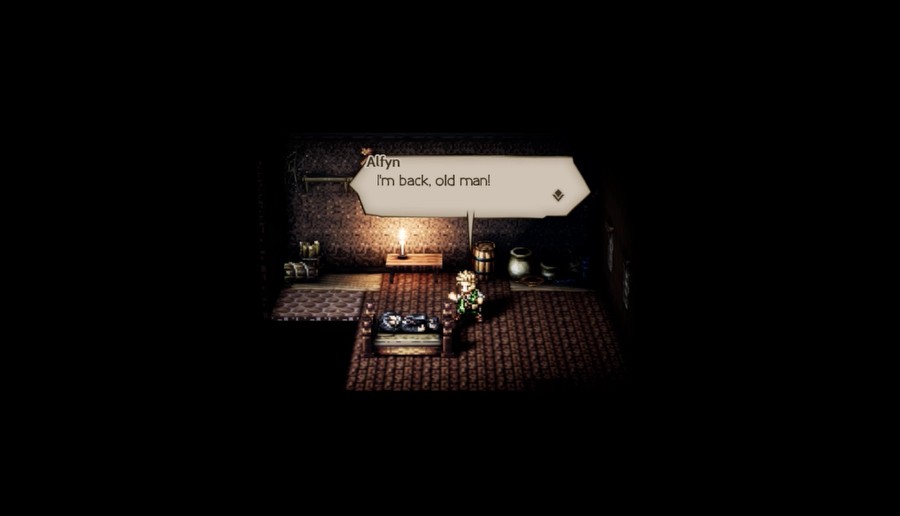
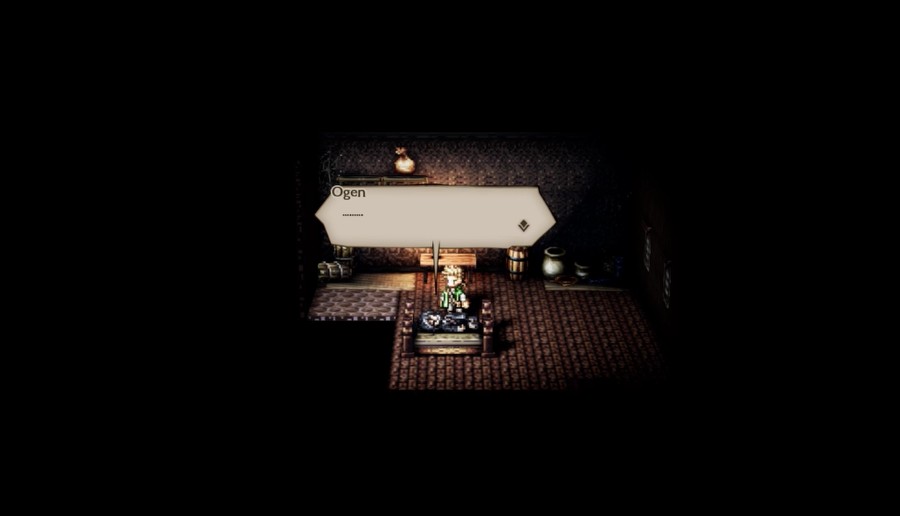
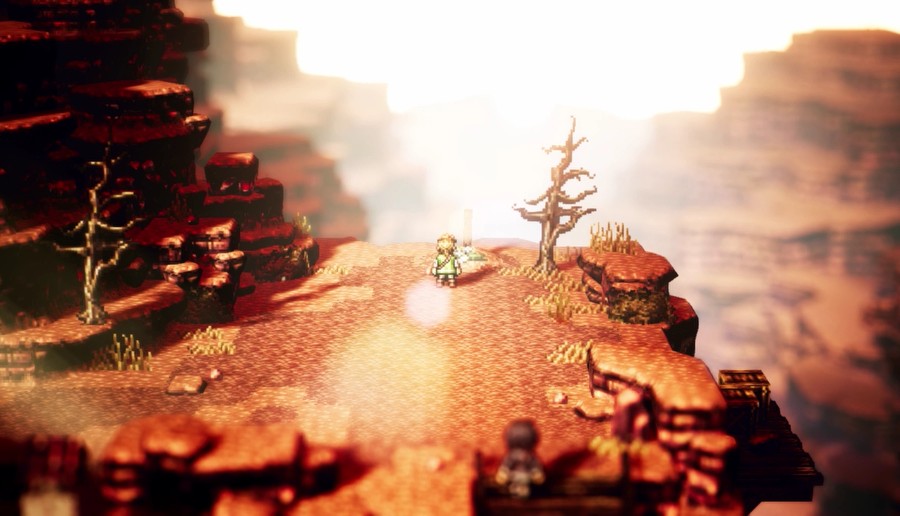
 Alfyn...How many times must I say it? Just...leave me here and go on your way.
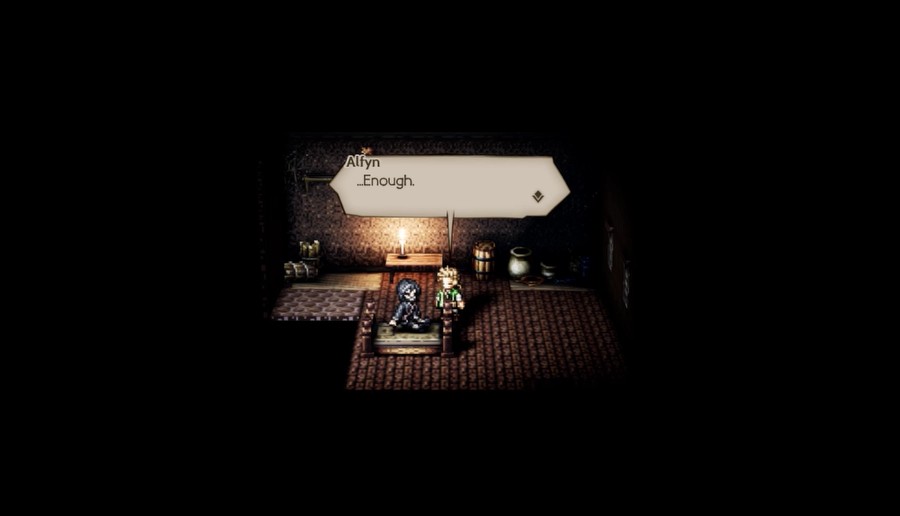 ...?
...? Music: Determination
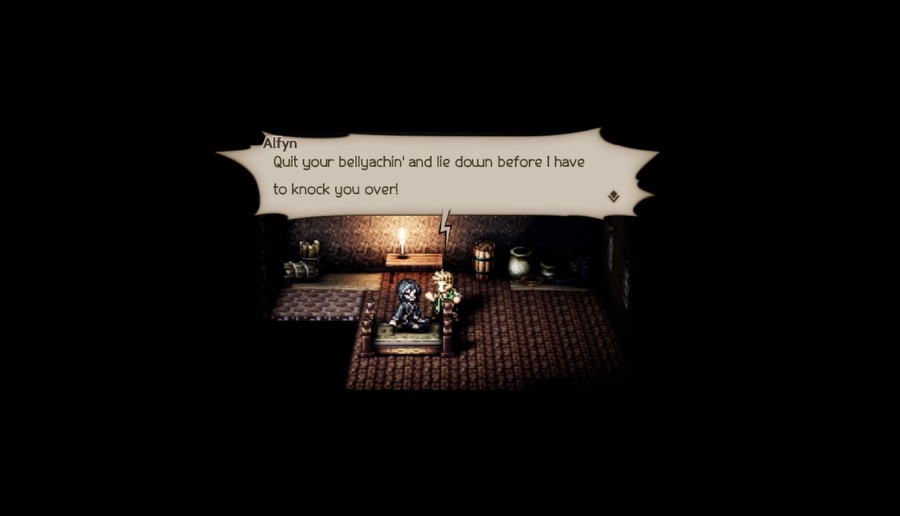
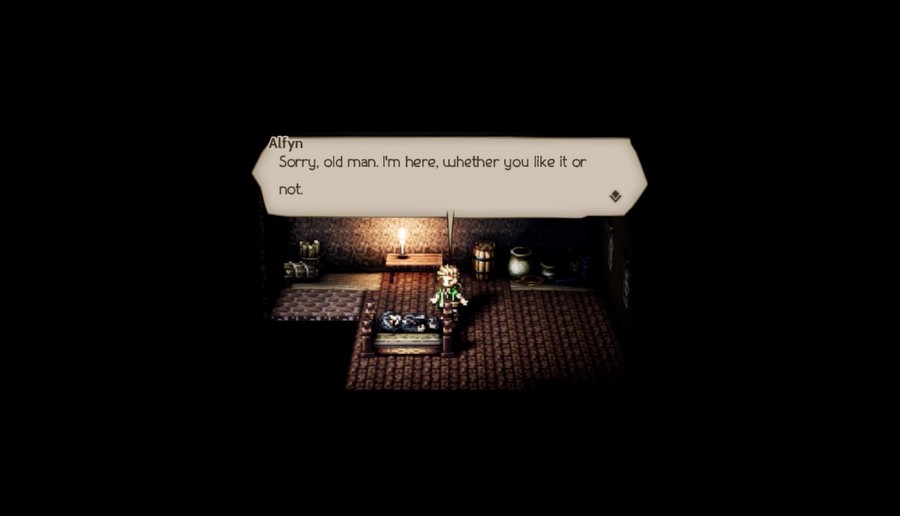
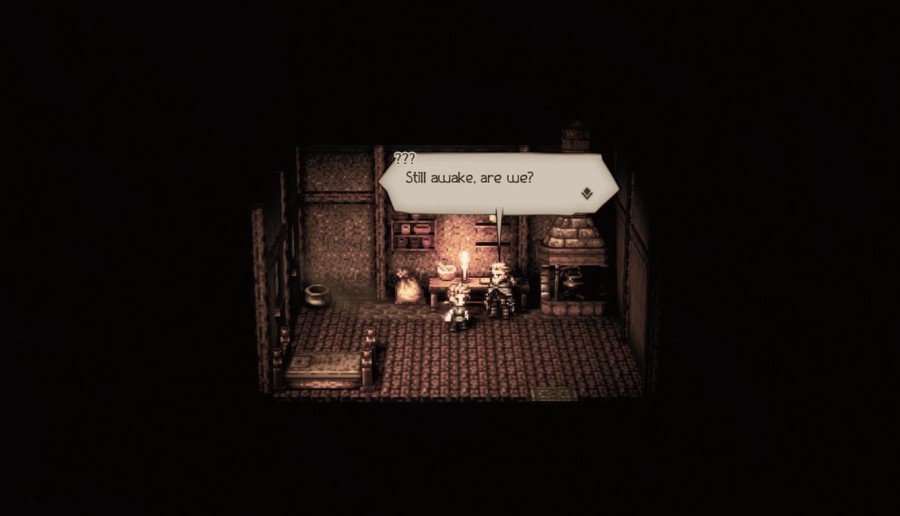
 Wha--!? What in the gods' name are you--
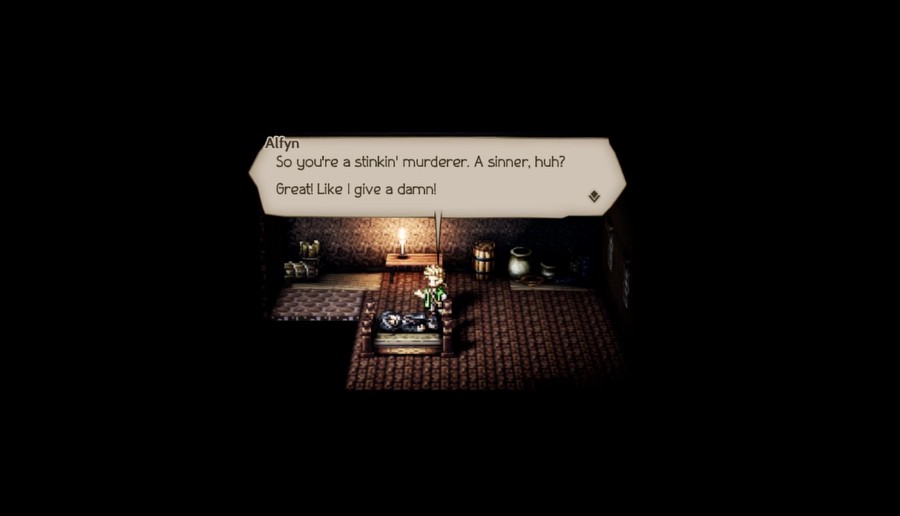
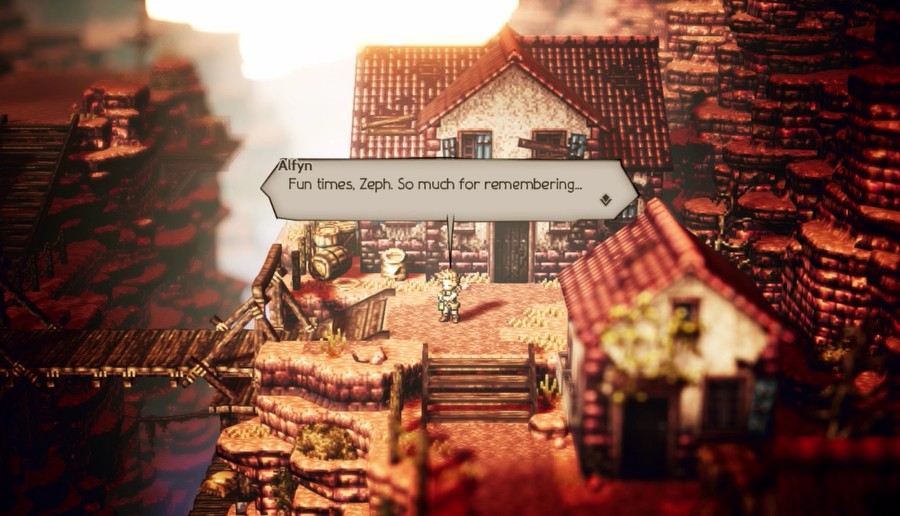
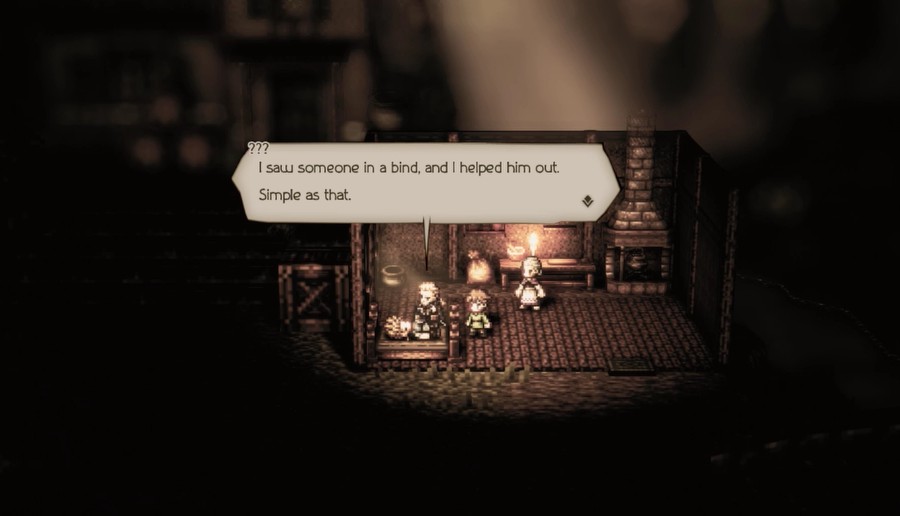
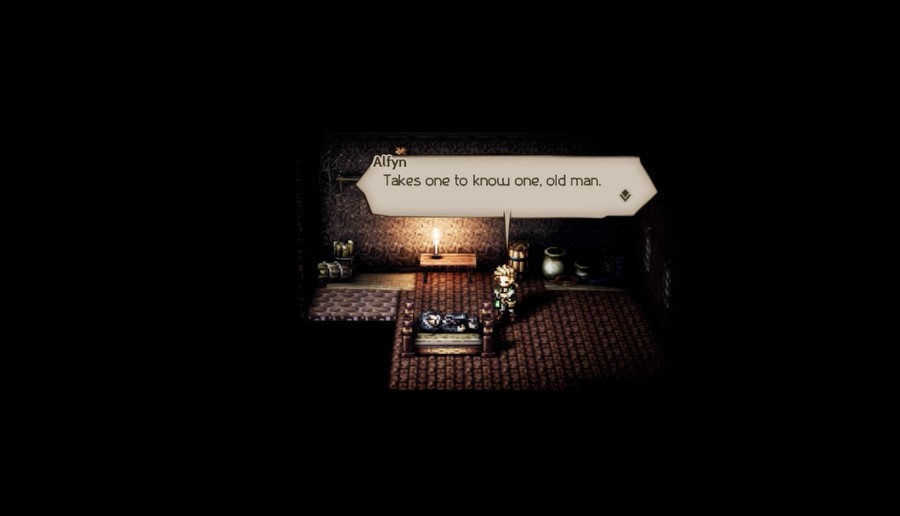
 It ain't my job to choose who lives and who dies! I ain't no god! If it's in my power to help a body, I'll be damned if that ain't what I'm gonna do!
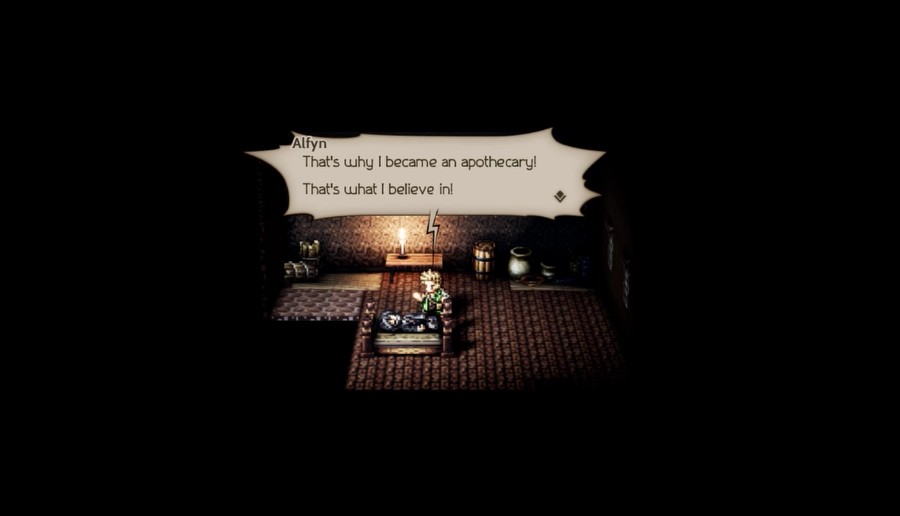 .........
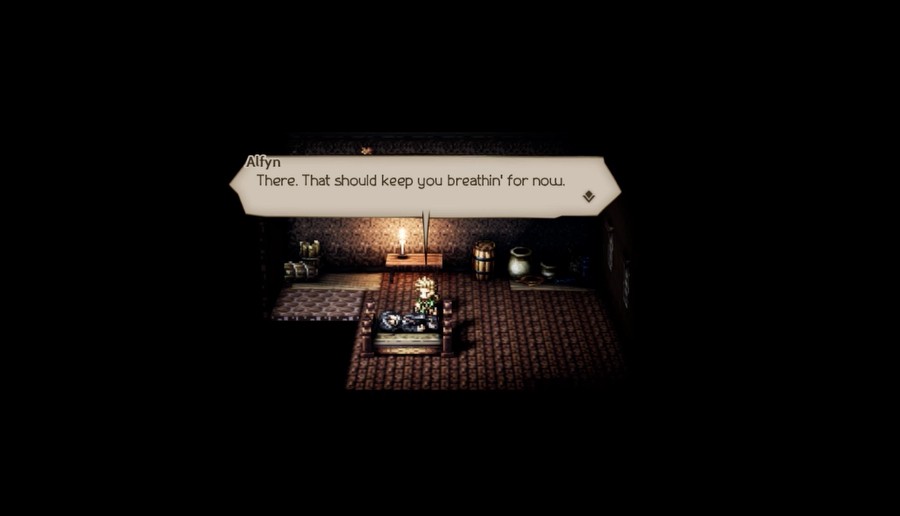 ...And just what do you plan to do next? Ain't it obvious? I'm gonna fix you.
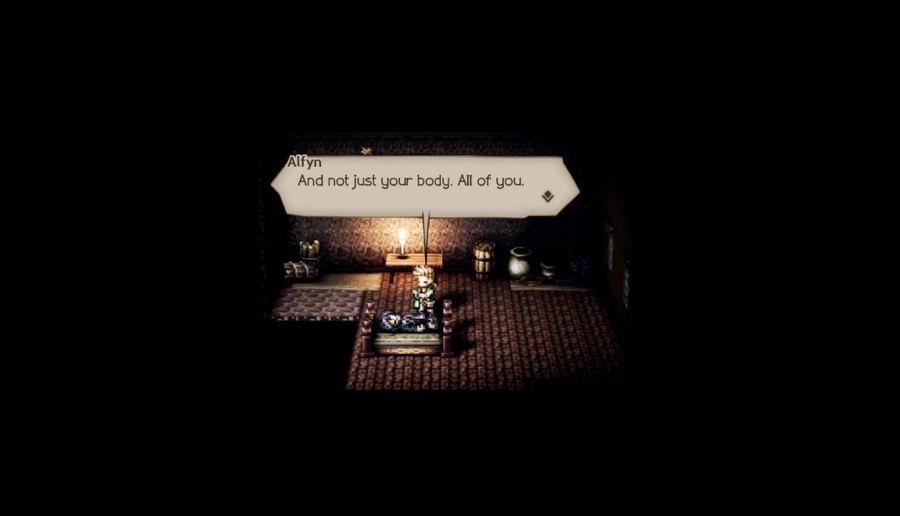 ......... I'm gonna whip up an elixir that'll have you feeling like a new man. Just you wait, Ogen...
 ...Don't make me laugh.
 Well, I dashed out of there like a man on a mission...
 I ain't never seen the like of those symptoms...
 Come to think of it...
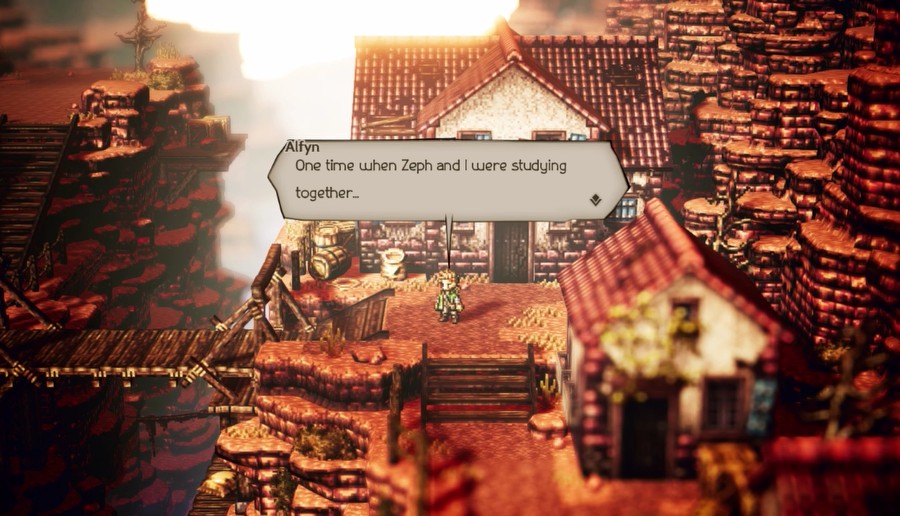

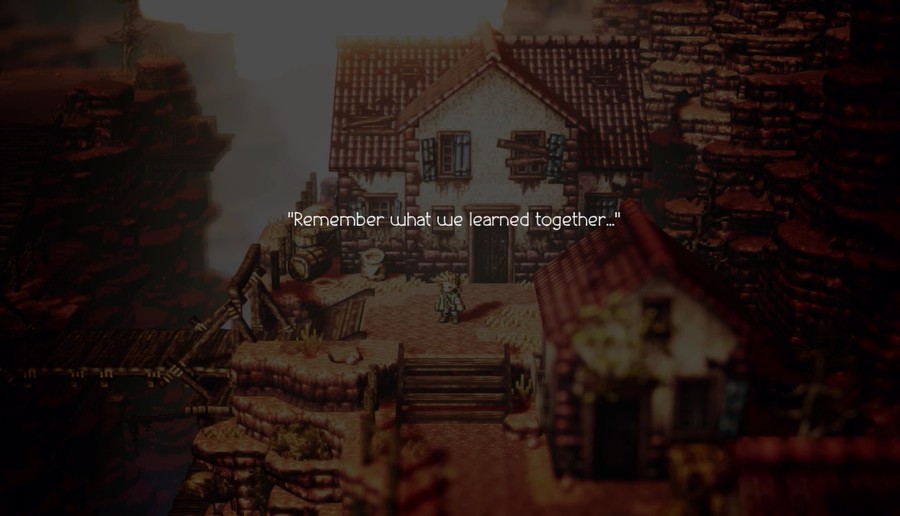
 Remember when we were small, and you got real sick? We feared you were going to die...
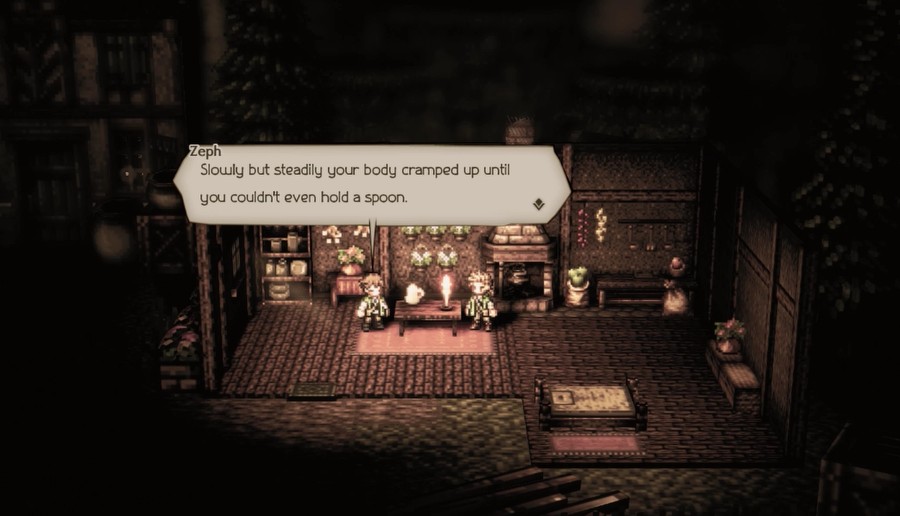 And those terrible purple blotches... I could hardly bear to look at you. I've been trying to replicate the elixir that cured you, but to no avail... That traveler who saved you was really something else.
 .........
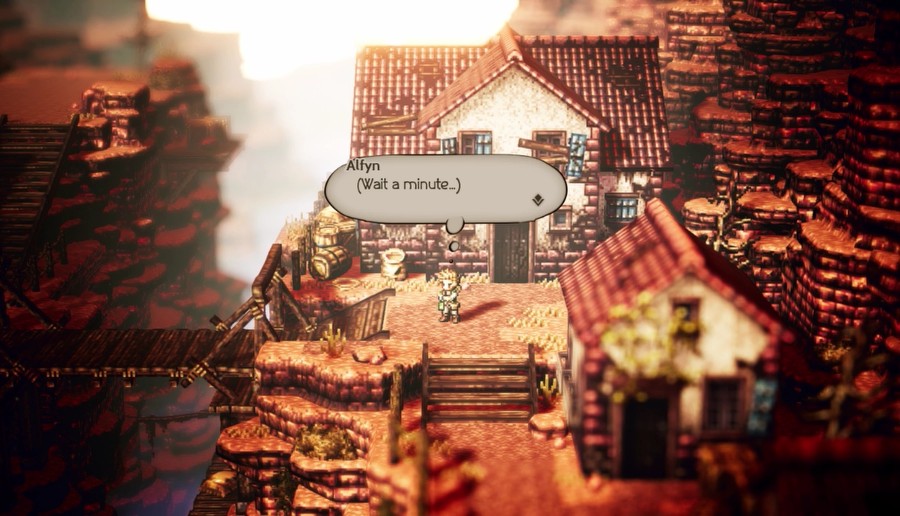 (Couldn't hold a spoon...? Hasn't Ogen been dropping his tools? And purple blotches...)
 ...Naw, it couldn't be. It's too much of a coincidence--or is it?
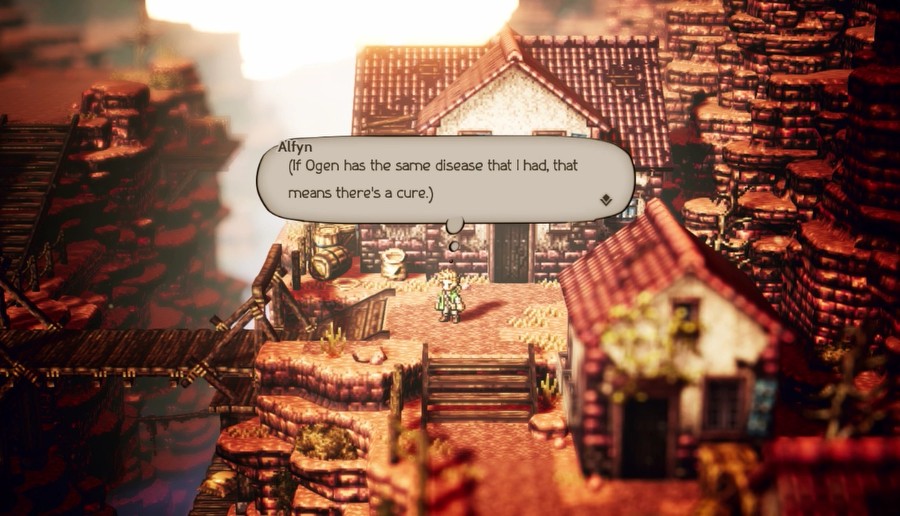 (The same cure that saved my life!)
 (How did he make the medicine?)
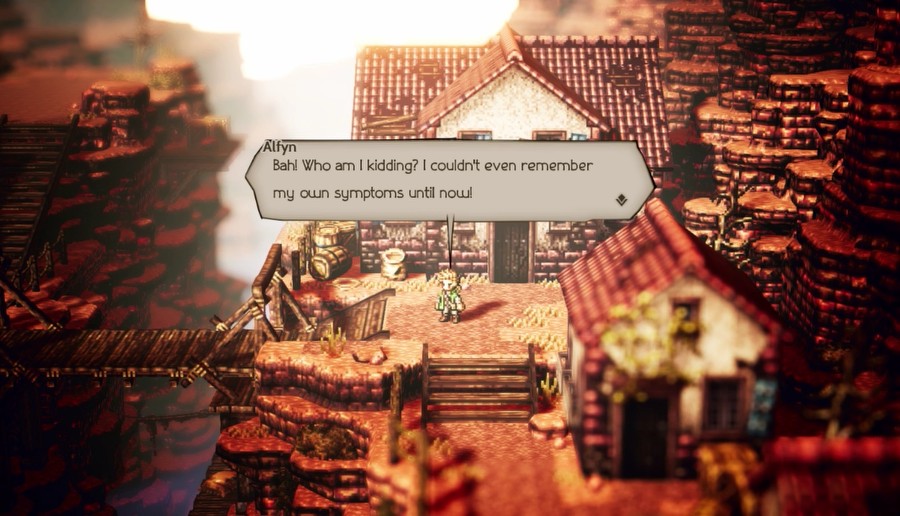 (Damn it all! It must be in here somewhere! Think...!)
 Music: Enveloped in Kindness
 You're a lucky boy, Alfyn. The disease had all but taken over. You had a day or two, at best. That I just happened to come along when I did, with this potion in hand...
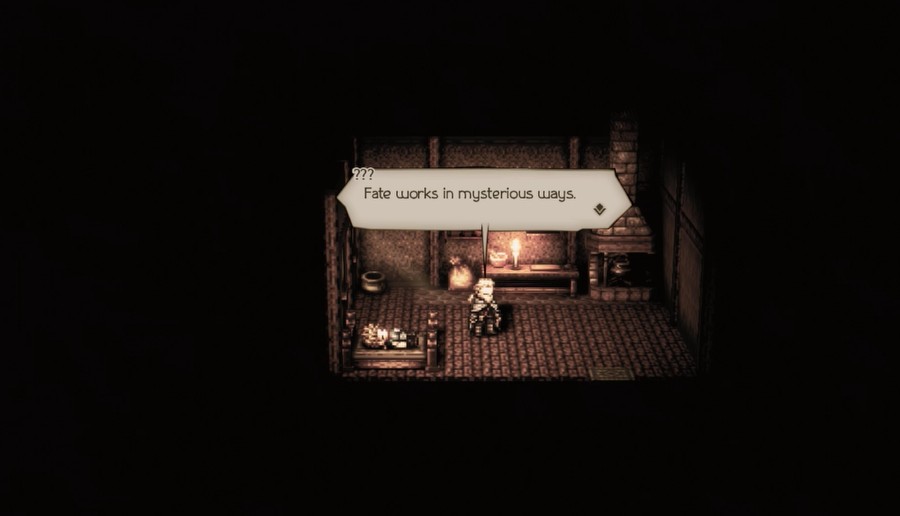 How long did I labor to brew this elixir? And from ingredients that I may never see again...
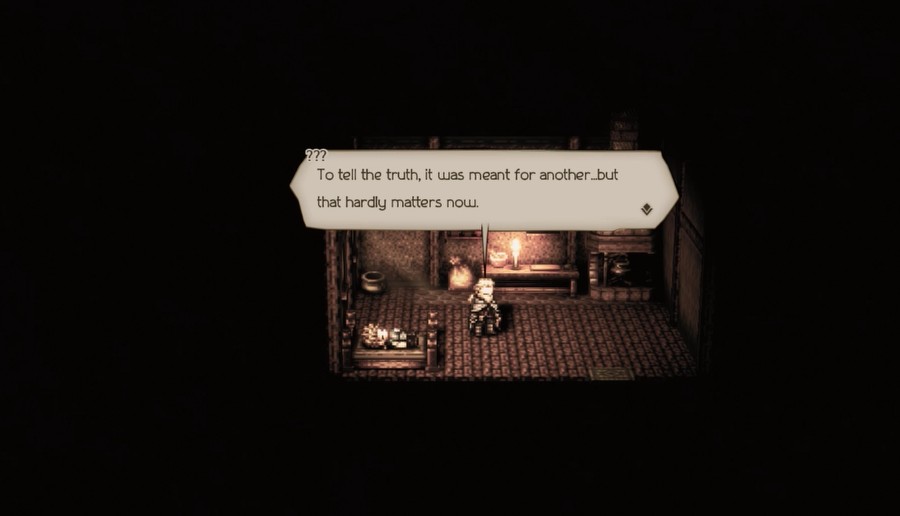 If it saves your life, it will have more than served its purpose.
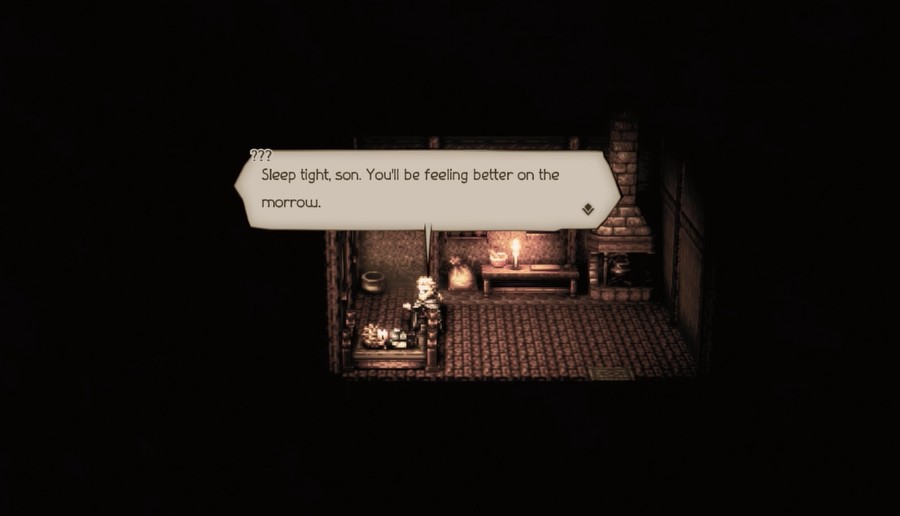
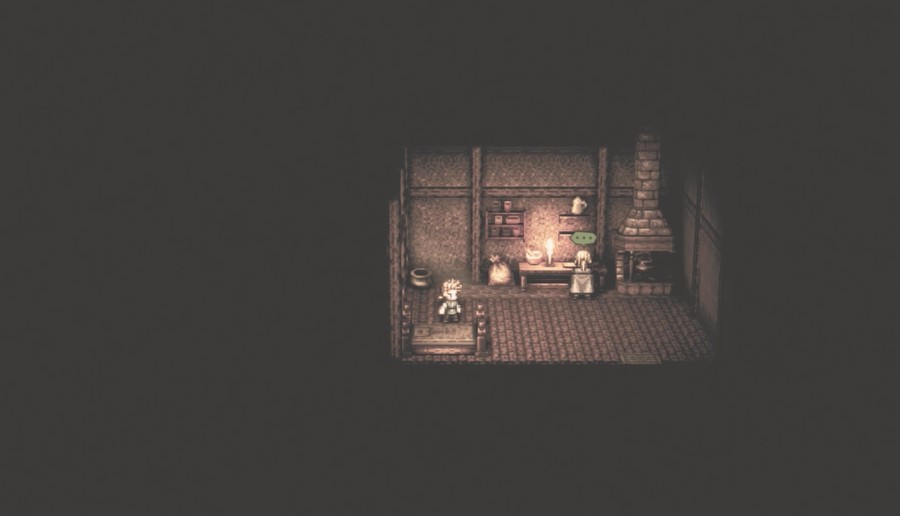
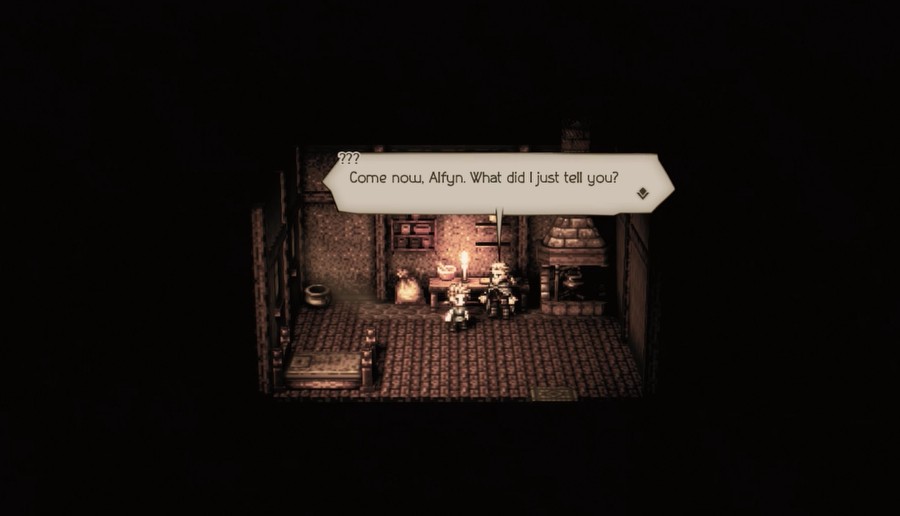
We gain control of young Alfyn during this flashback. When we try to talk to this mysterious man...
 Rest is the best medicine, you know.
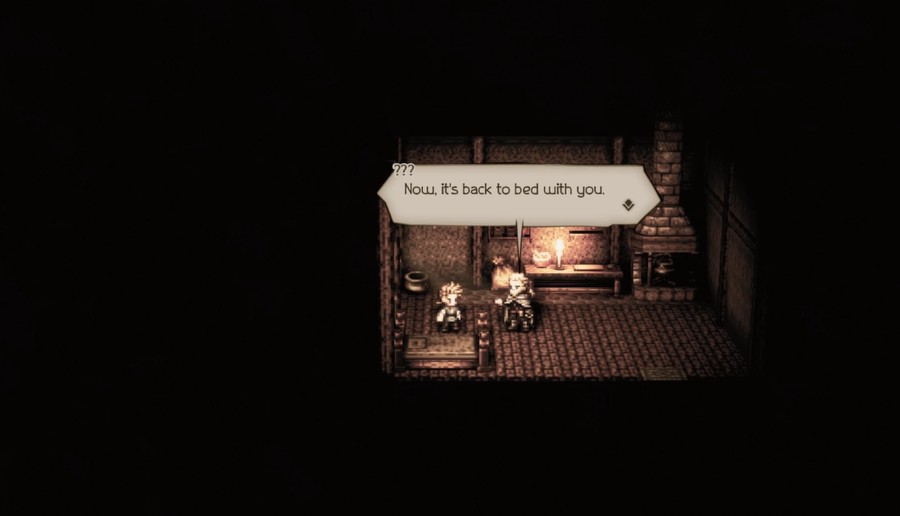
At which point, it starts all over.
Even at a young age, Alfyn had an inquisitive nature. Which is definitely a good thing in this case...
...as it turns out Alfyn really did know the cure to this malady all along.
 Hm? What's in the potion, you ask?
 Very well! Who am I to refuse such an inquisitive young mind?
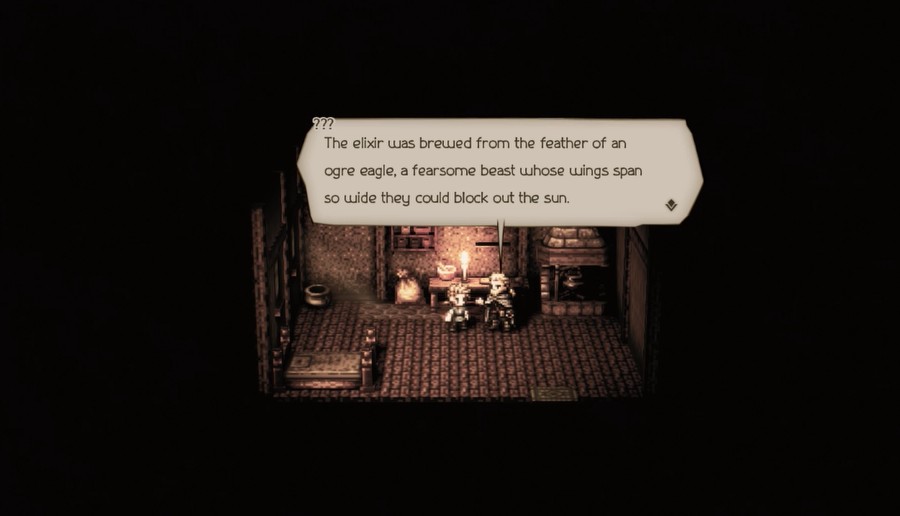 They terrorize the skies above the Forest of Rubeh, not far from Orewell.
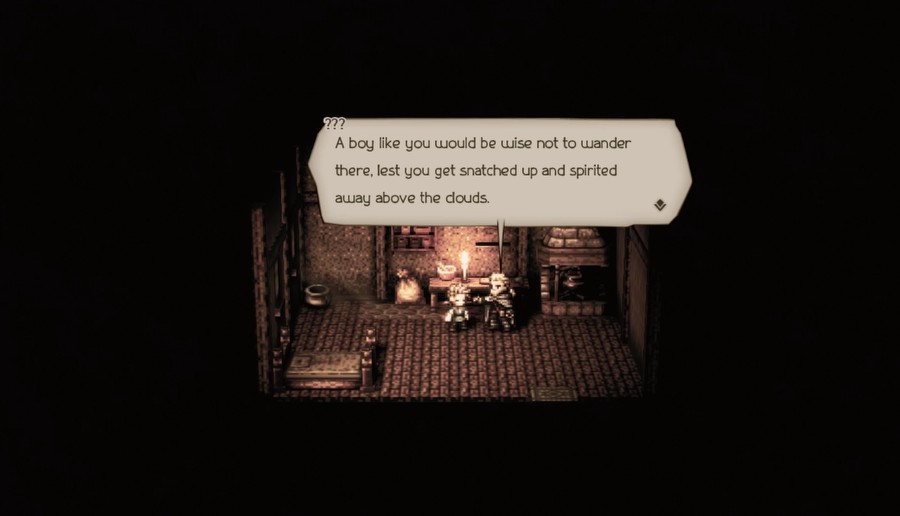
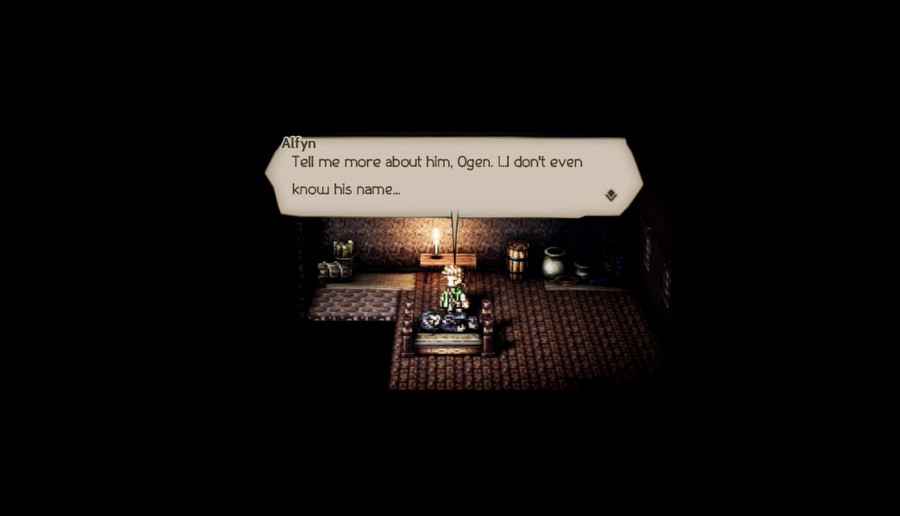
 Damned if I know how, but I remember now! All I need is the feather of an ogre eagle! And the Flame take me if the Forest of Rubeh ain't just outside of town! You've saved my life again, stranger.
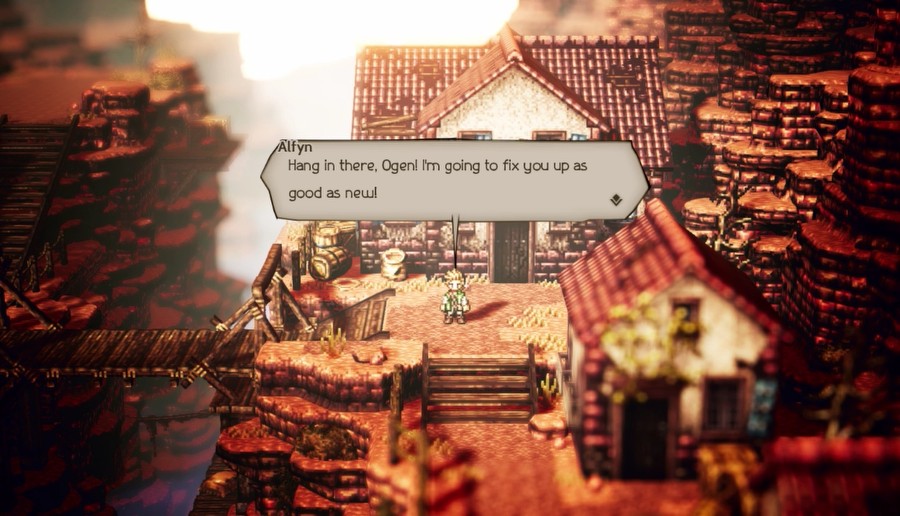
Alfyn now knows what he needs to cure Ogen, and it conveniently resides within a nearby [s]dungeon[/s] forest, against a beast that I'll hazard a guess will be our final boss for this tale.
Before we head out and prepare, we do have one final banter to take care of.
Music: Orewell, Beneath the Crags 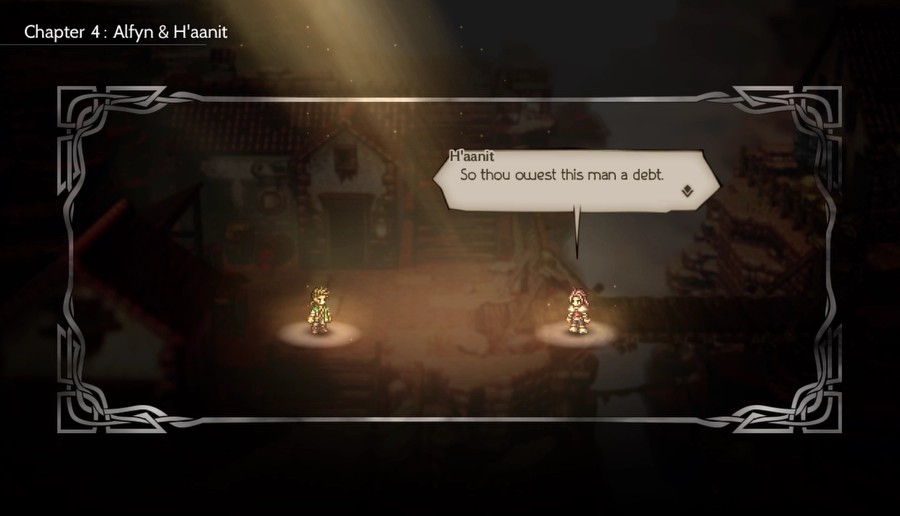 Yeah. He's the whole reason I became an apothecary.
 I see... So he is like a master to thee. You have a master, too, right? What's he to you? Well... He raisede me like a father. And he is the hunter I strive to ben. Ah, a role model. Yeah. That's how I think about my "master" too.
 Better!? I...I hadde not imaginede such a thing even possible. Why not? If you're trying to be as good as someone, you might as well strive to be better. Then you can stand in front of them, all proud like, and tell him...
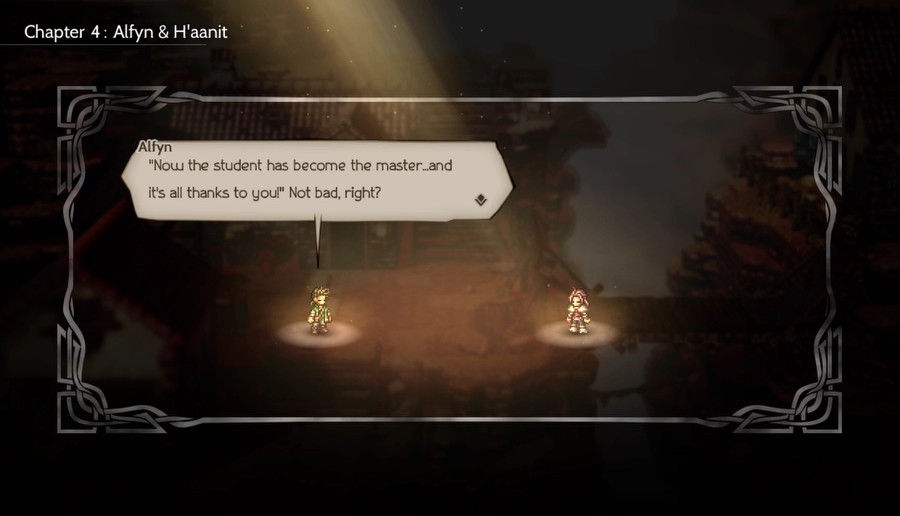 Indeed. Thou speakest wisdom. So let us striven together.
Alfyn and H'aanit both have people to look up to that defined their chosen paths, even if Alfyn's is a bit of a mystery. It makes sense they keep each other focused on their chosen paths as they strive to live up to the masters they idolize.
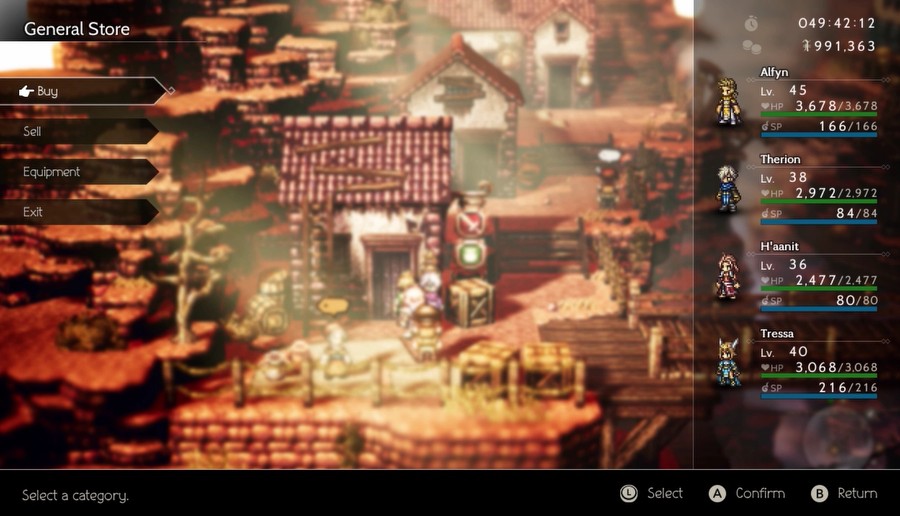
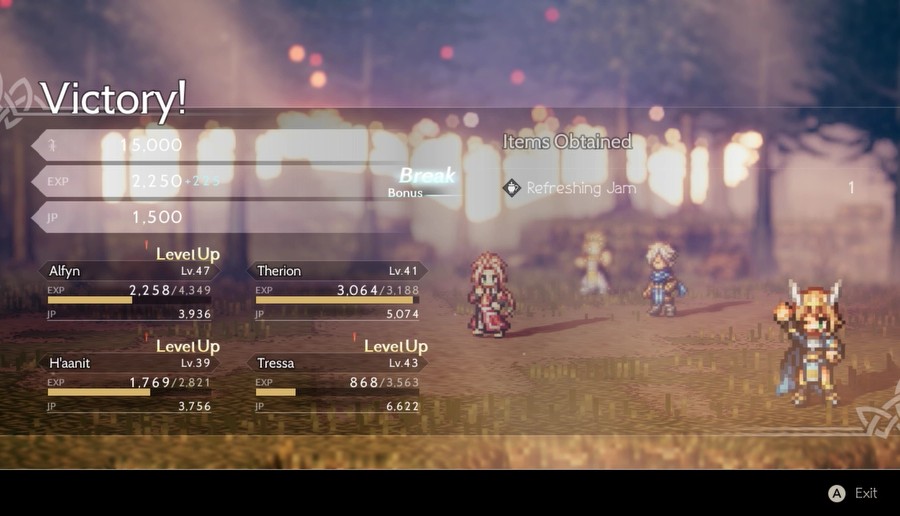
Here's my team. Basically my plan is to continue using my lowest-level characters until everyone finally hits L50ish, which is where Cyrus is. So I'll probably rest Alfyn for awhile after I finish his quest here.
Alfyn's a Starseer because he's good support, and the rest I stick to physical jobs. I like H'aanit as Warmaster more than Olberic because Olberic has good enough damage options from his base Warrior class, while H'aanit benefits significantly more from the physical options she gets from Warmaster.
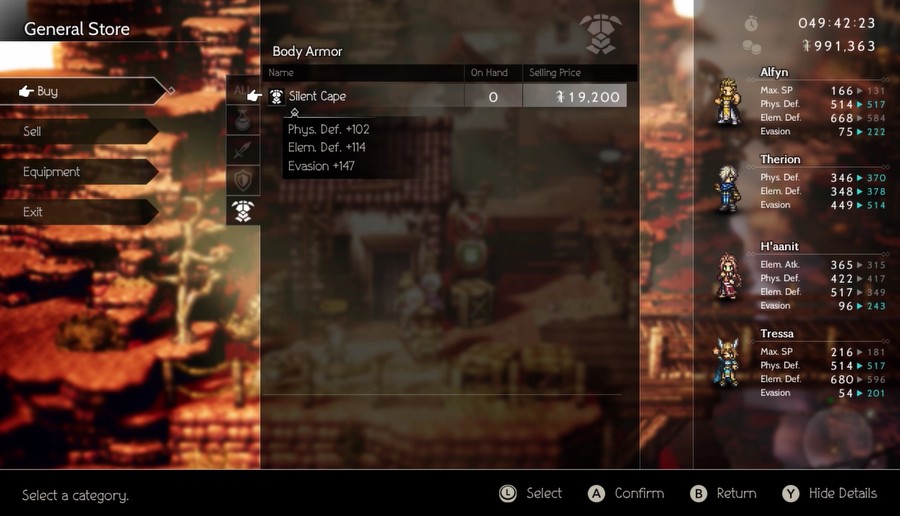
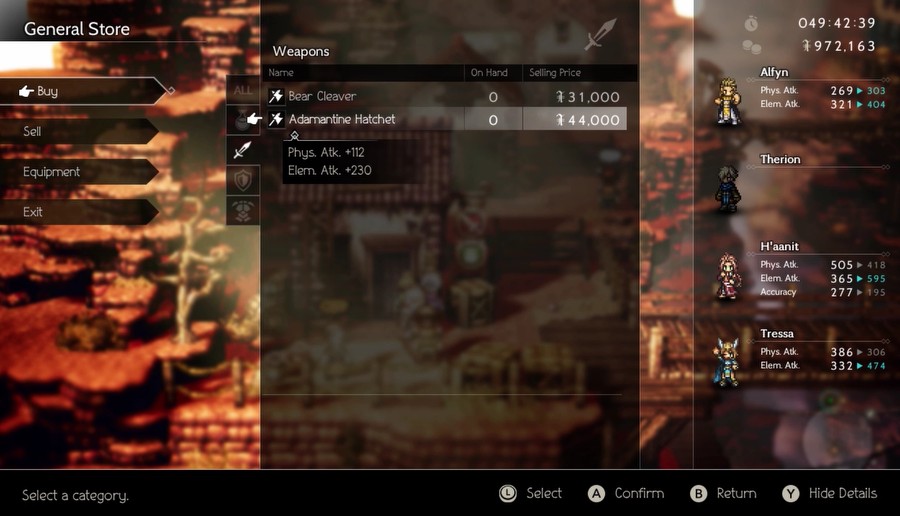
I actually buy a couple upgrades here. I generally like having one evasion tank, which suits Therion particularly well, and the Silent Cape is a nice option that, while a bit weaker than my other armors, offers a large Evasion stat. And ElemAtk weapons are more relevant now that I have Runelord, so this is a nice upgrade from my current ElemAtk-focused axe.
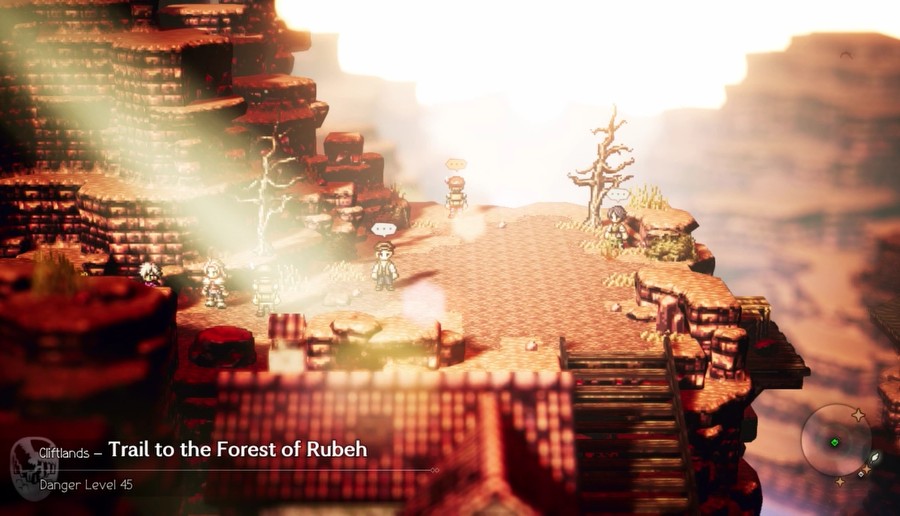
The path to the next dungeon goes through the northern end of town.
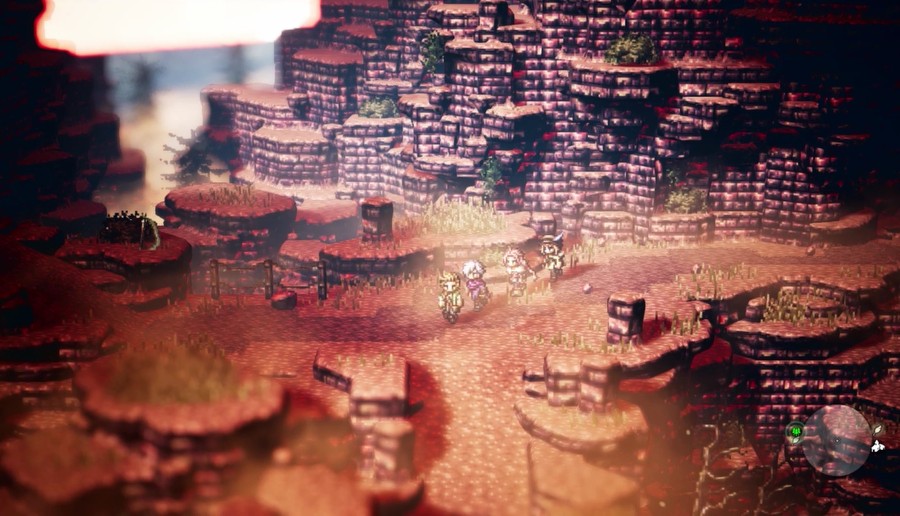

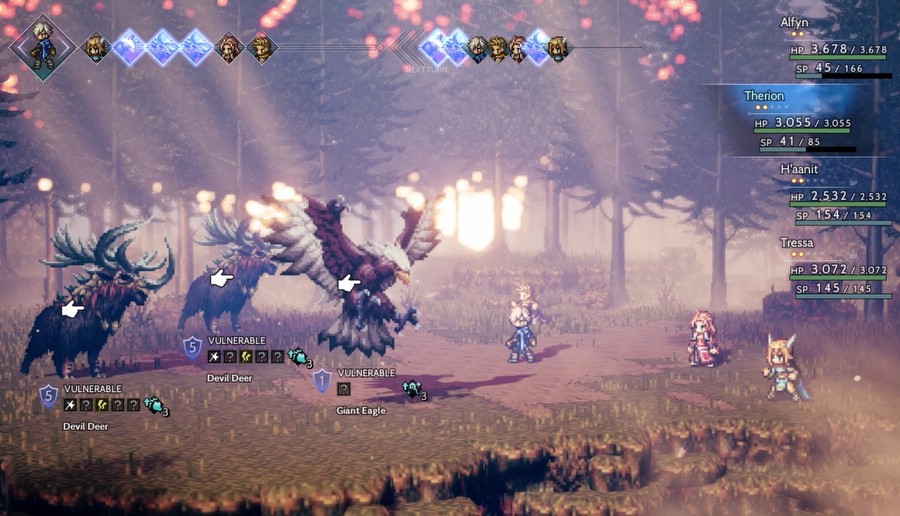
Just your standard "generic path to actual dungeon" path, complete with freaky enemies.
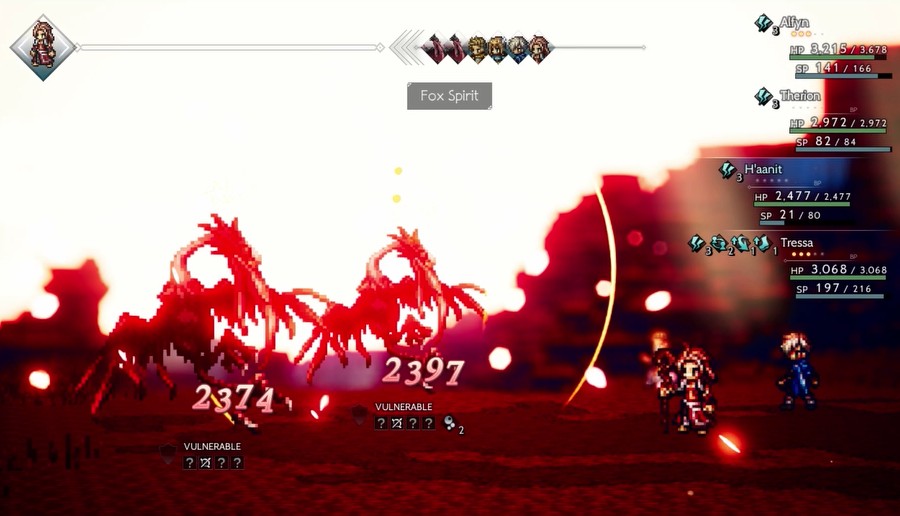
Fun fact, H'aanit is the only one who can equip staves in my current party, so she gets the 300ElemAtk Wizard's Rod. Which means Fox Spirit, which hits all enemies with a staff, is particularly wonderful when paired with a rune.
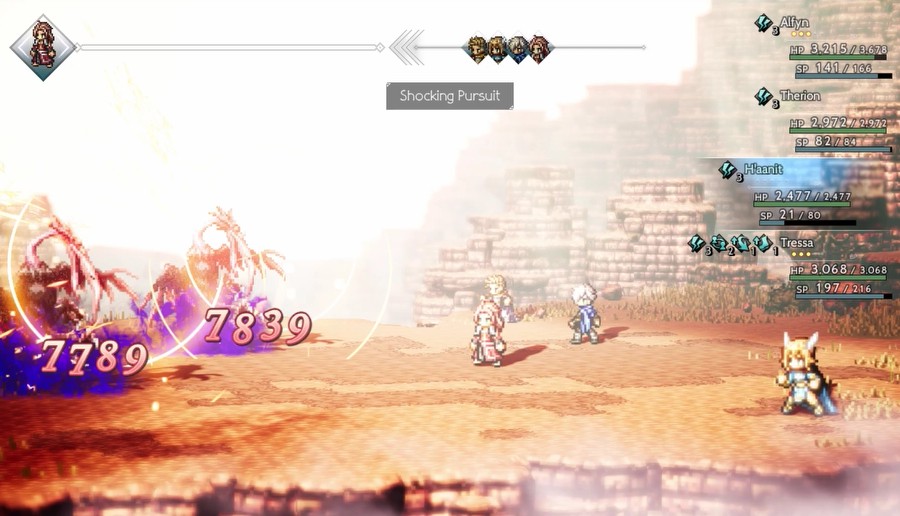
More freaky foes. I don't want to know how that rhino got so bloody.
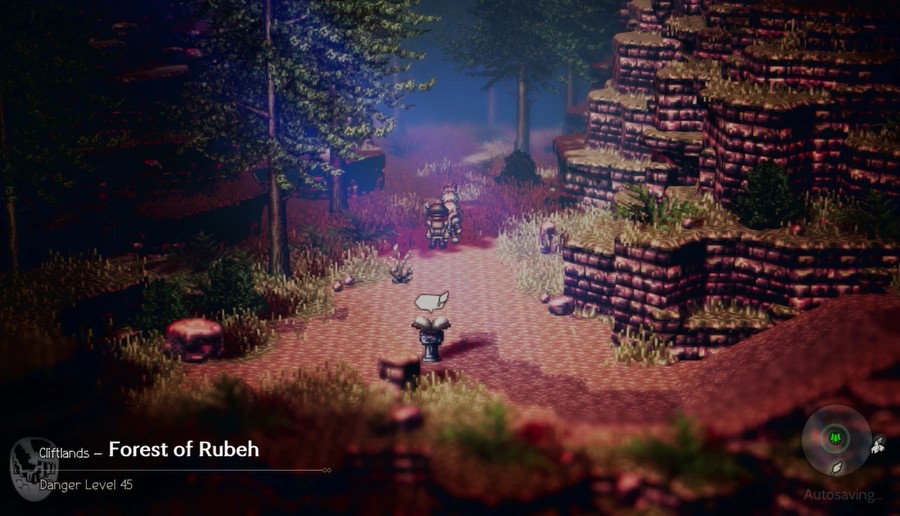
OK, path over. Actual dungeon time.
Music: The Trees Have Eyes 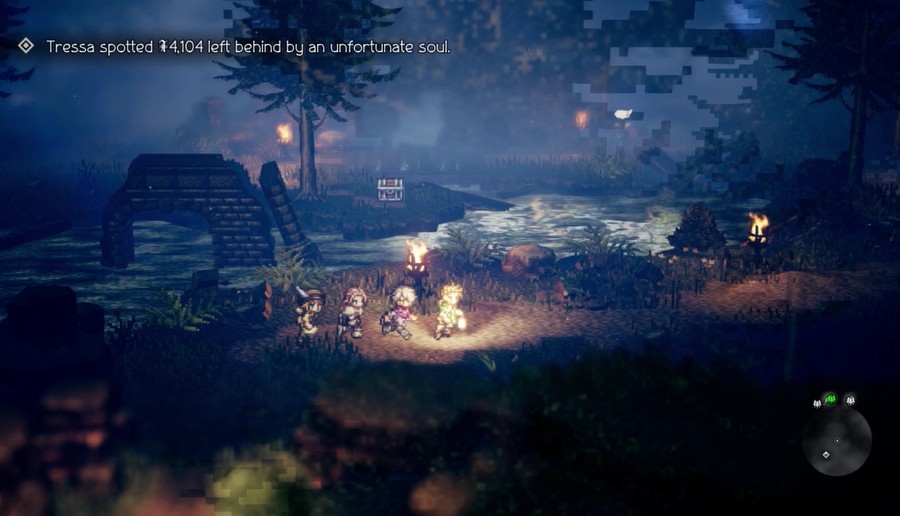
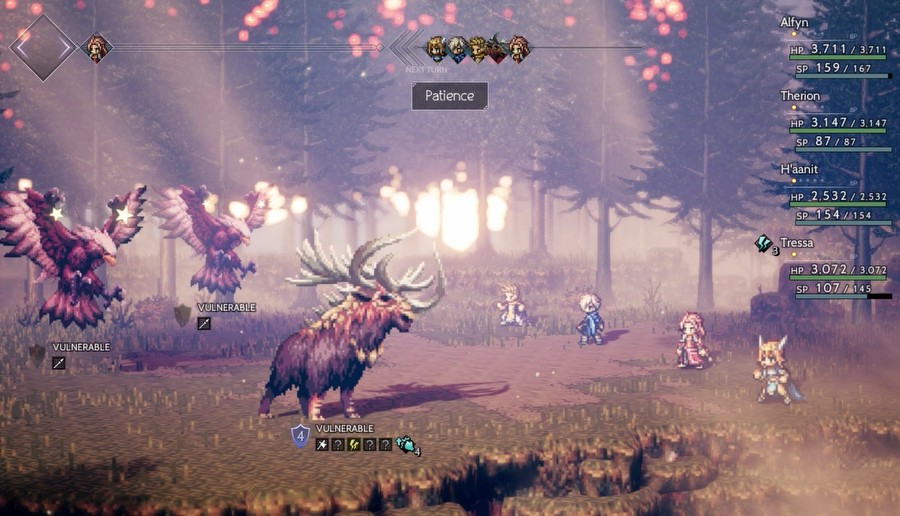
The Forest of Rubeh is your standard forest, but with a minor difference.
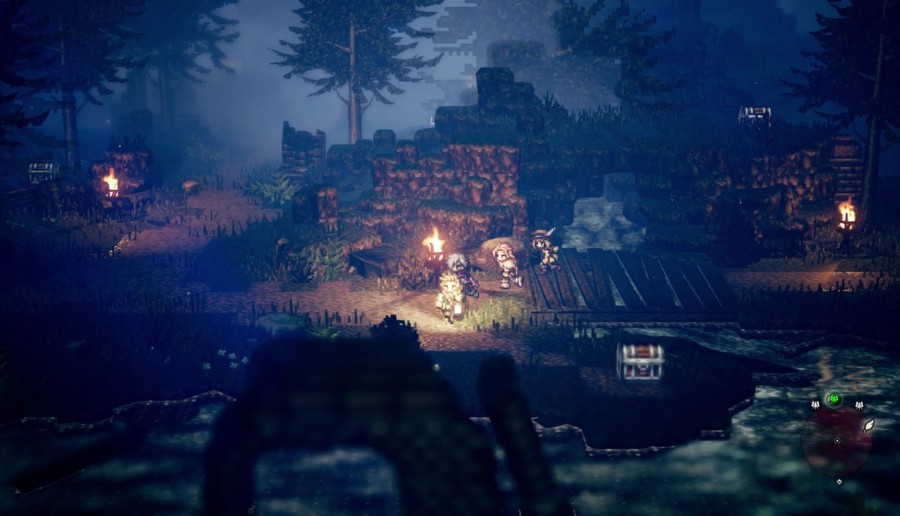
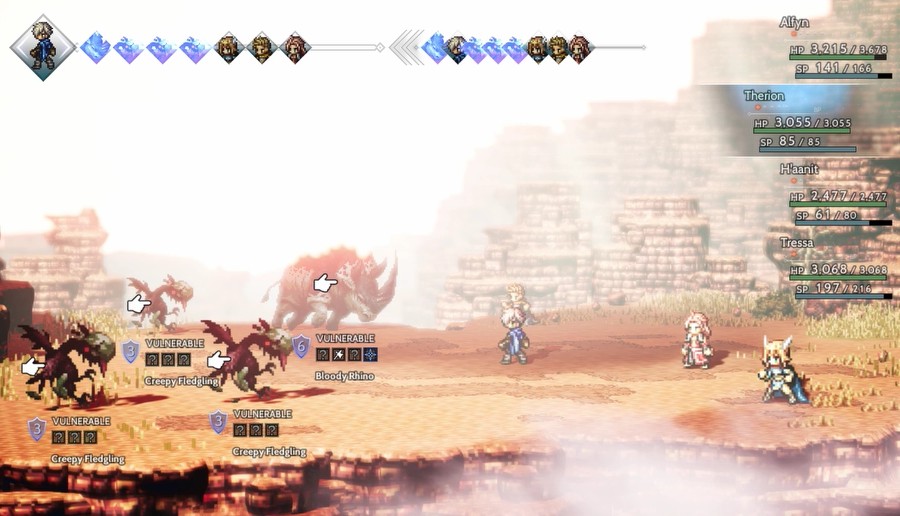
There are a lot of treasure chests in this dungeon, a whopping eighteen in fact. Granted, most are not worth it...
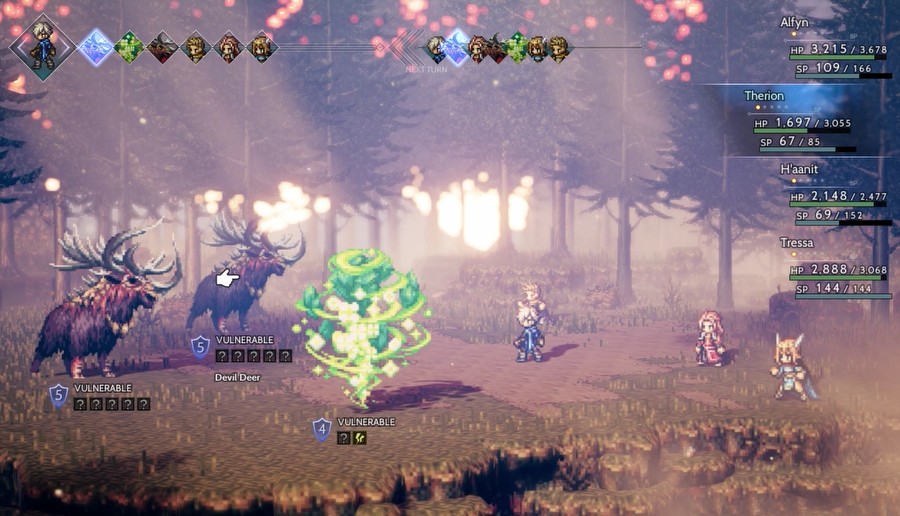
It's mostly wind elementals and various wildlife.
Though those deer can hurt if you leave them alive long enough.
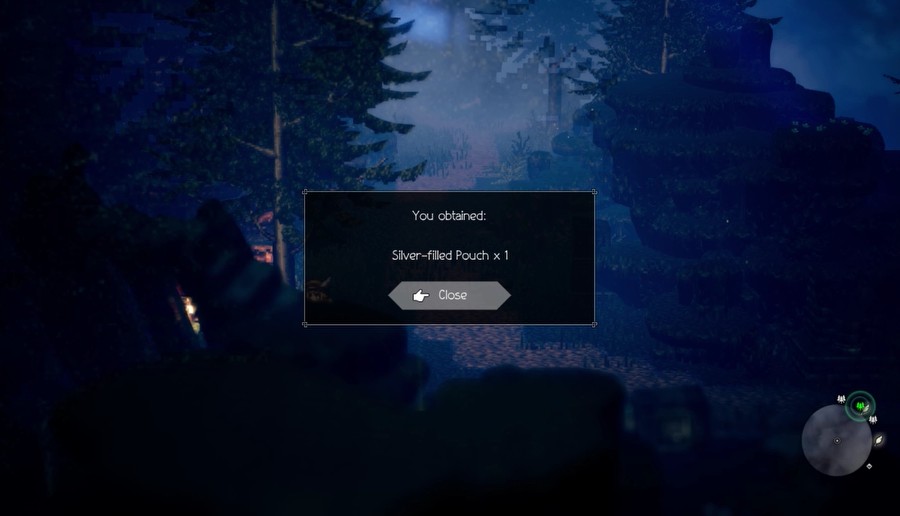
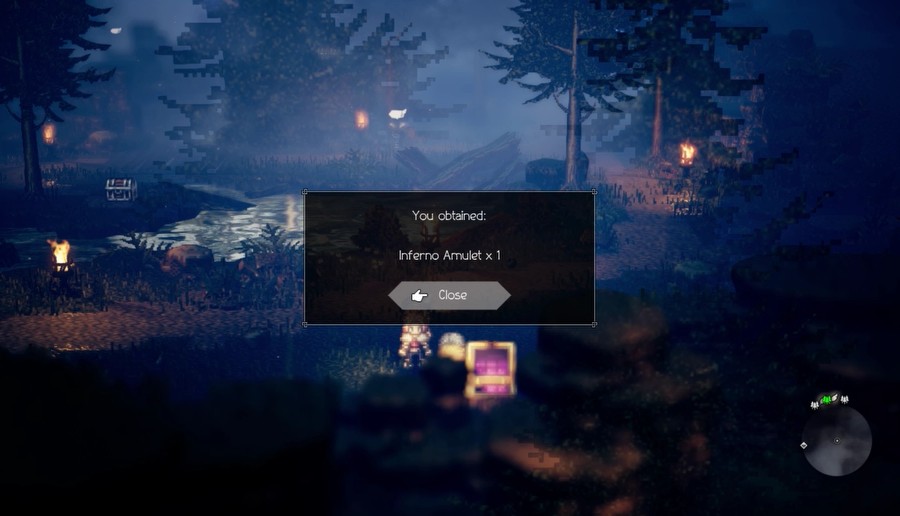
There's one chest that's particularly well-hidden. This is worth eight thousand leaves, which...not that great now that I'm a millionaire.
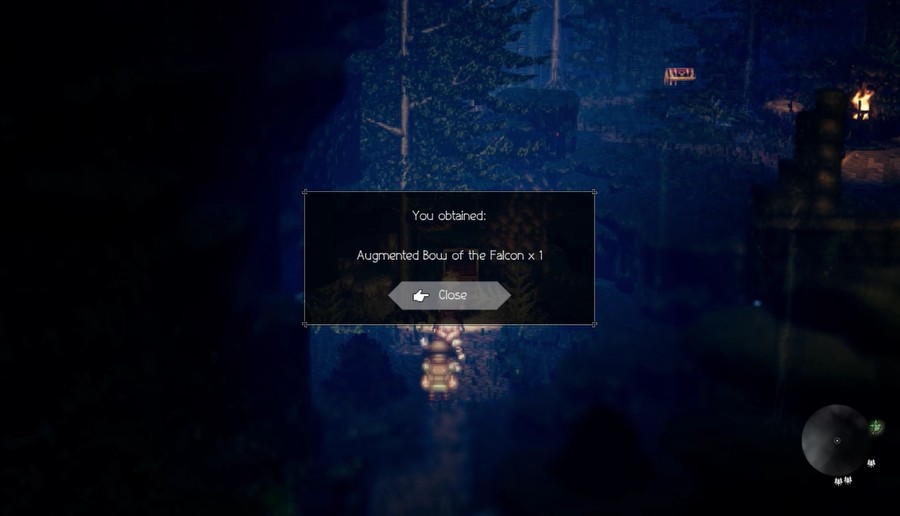

This is unfortunate, really. This is actually a very nice bow, it's just that the TBow of Shadows and the Rune Bow both outshine it. If this were, say, a sword then it'd be fantastic, but as a bow it's in heavy competition.
Have I mentioned how much I miss Cyrus revealing weaknesses? Without his talent or the Scholar's Analyze, I'm stuck finding weaknesses the old-fashioned way. Which is tough when the foe has only a single weakness...
I also unlocked the final Hunter passive for H'aanit, which is a 25% chance of having an extra turn at the end of a round. Even the randoms have enough rounds now that this pops up a nontrivial amount of times. This may possibly be the best Support Skill in the game, and for the post-game I want to have it on as many characters as possible.
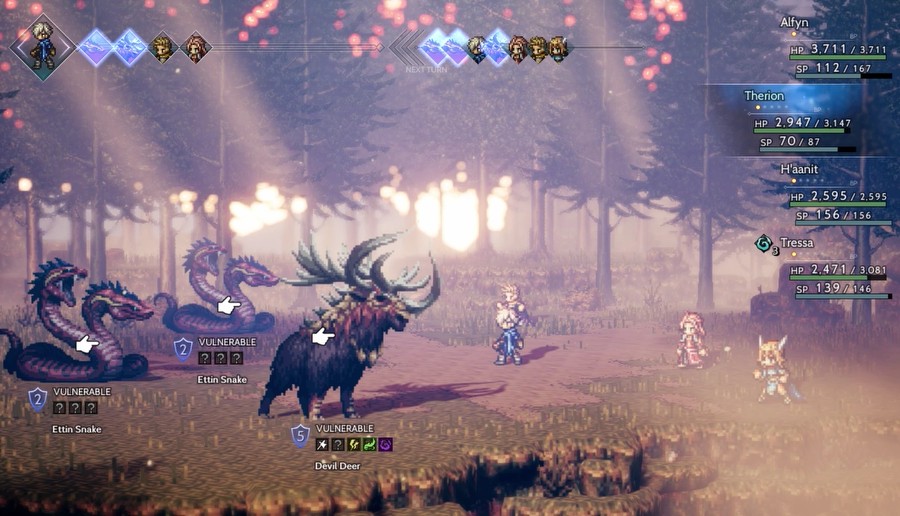
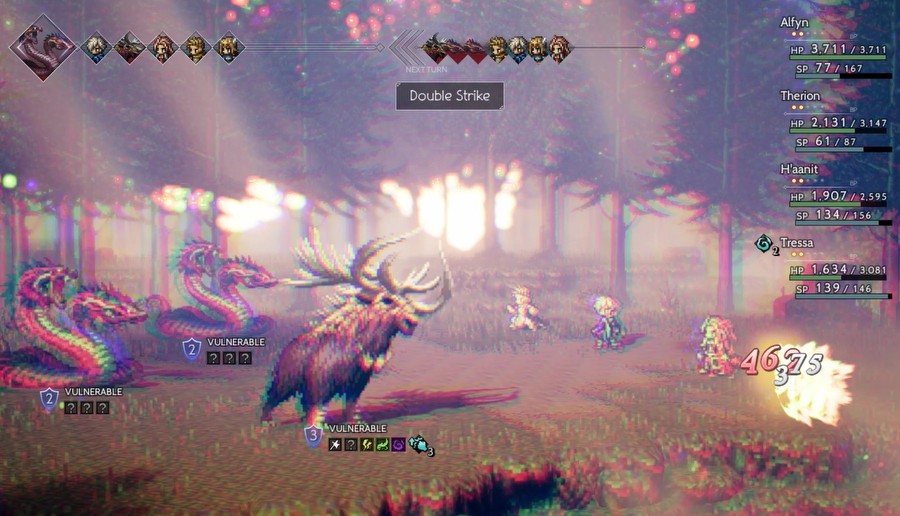
The final foe I encounter in this area is the Ettin Snake, which other than a double-hit isn't too threatening.
This is the Thief's Divine Skill, a target-all dagger technique that adds damage based on the user's speed. I did eventually buy the Viper Dagger with its high PhysAtk and its huge speed boost, and it pairs beautifully with this skill.
Also I decided I'm not going to use Surpassing Power until the post-game, as most of these poor Chapter 4 bosses aren't even gonna break 100k HP. Gotta keep things somewhat fair, right?
...Nah.
Good PhysDef, no ElemDef or secondary bonus. You know how I feel about gear that only boosts PhysDef by now.
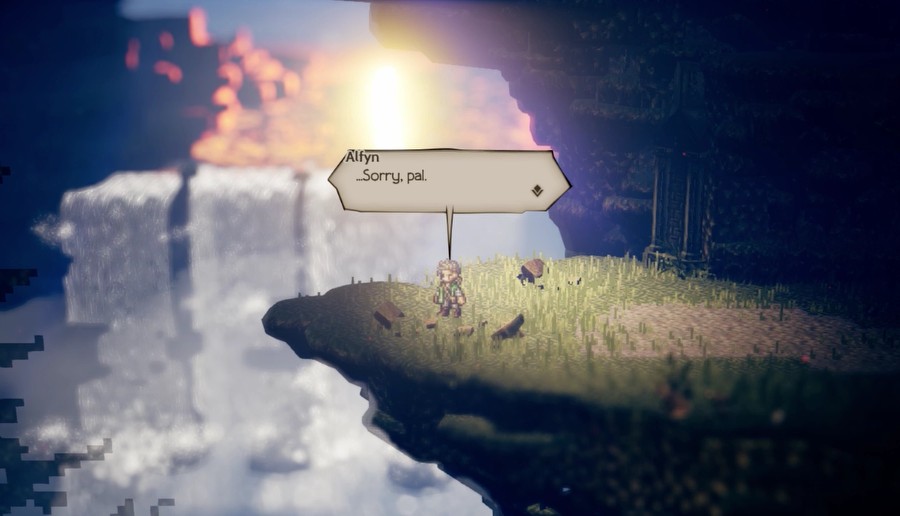
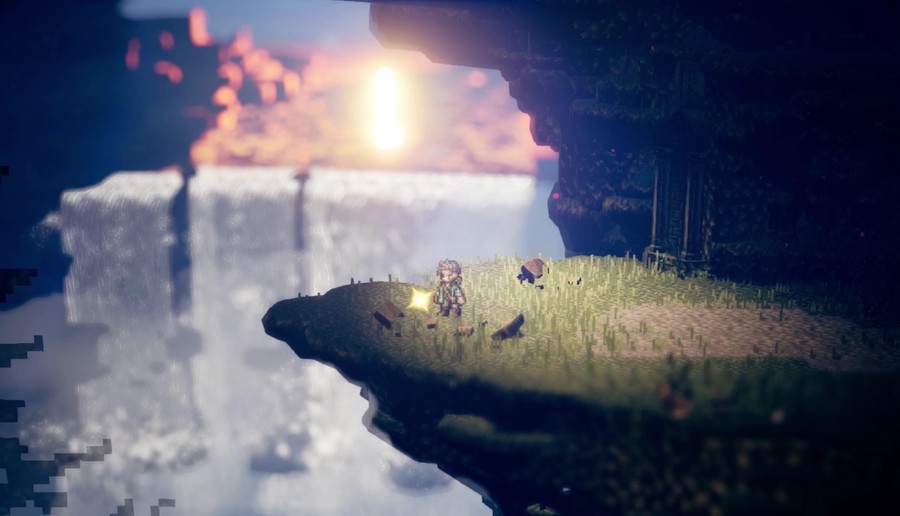
Eventually we reach what looks to be a dead end, but since the quest marker guided us here...
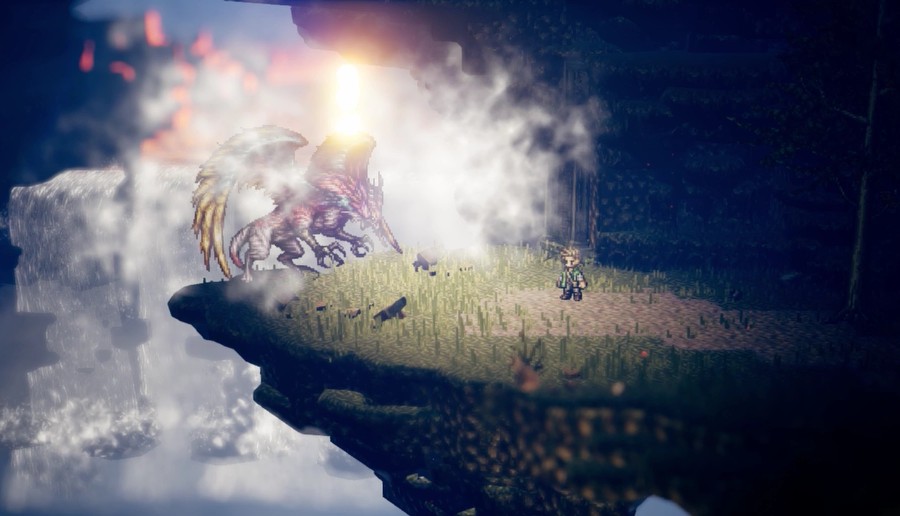
...to what's probably the most out-of-nowhere final boss of any of these final chapters. Though also sadly not the only one...
Music: For Succor 
It also has the shortest boss build-up of any chapter in the game. Just this one line, and then...
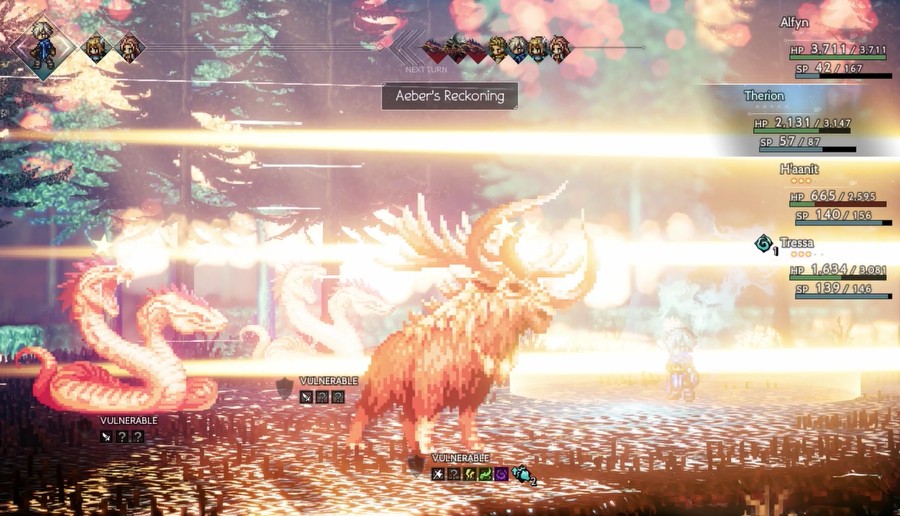
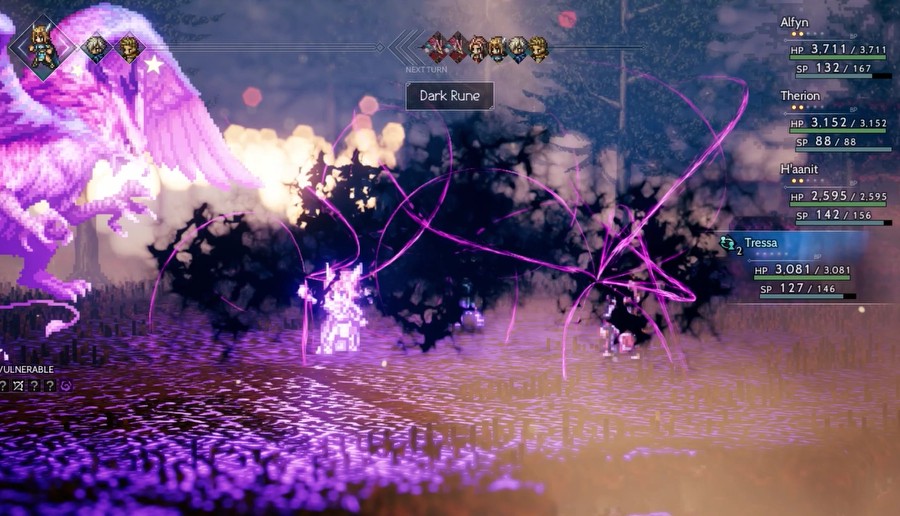
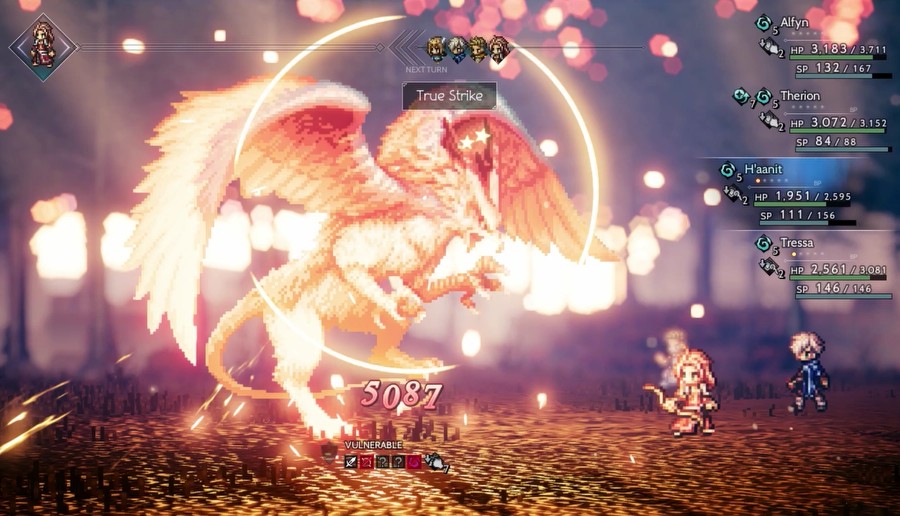
Video: Boss - Ogre Eagle Music: Battle at Journey’s End 
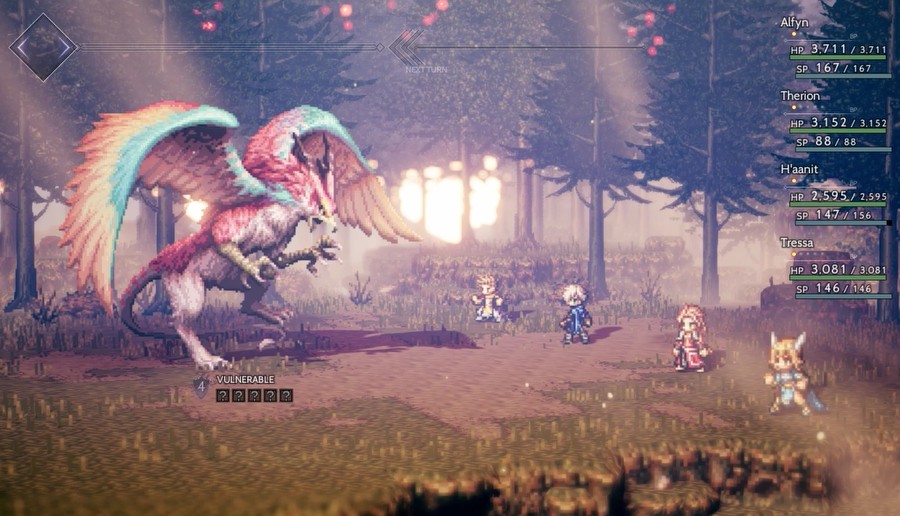
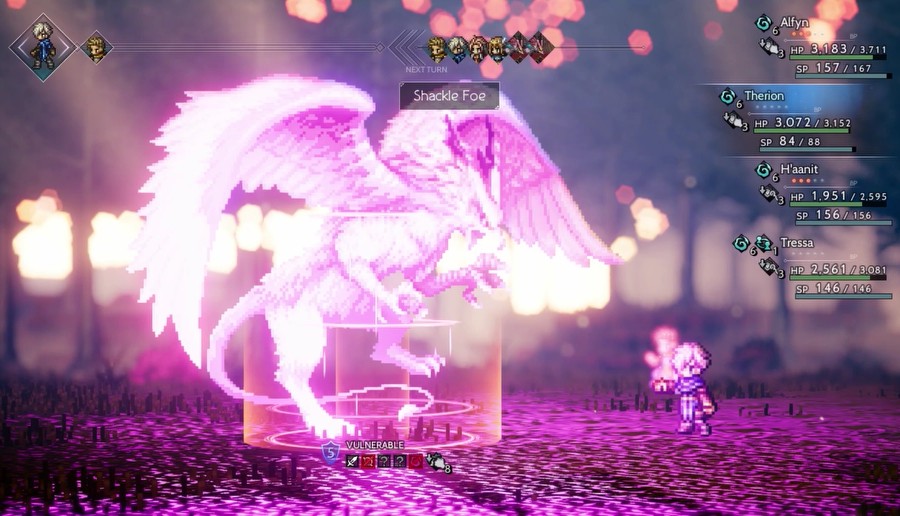
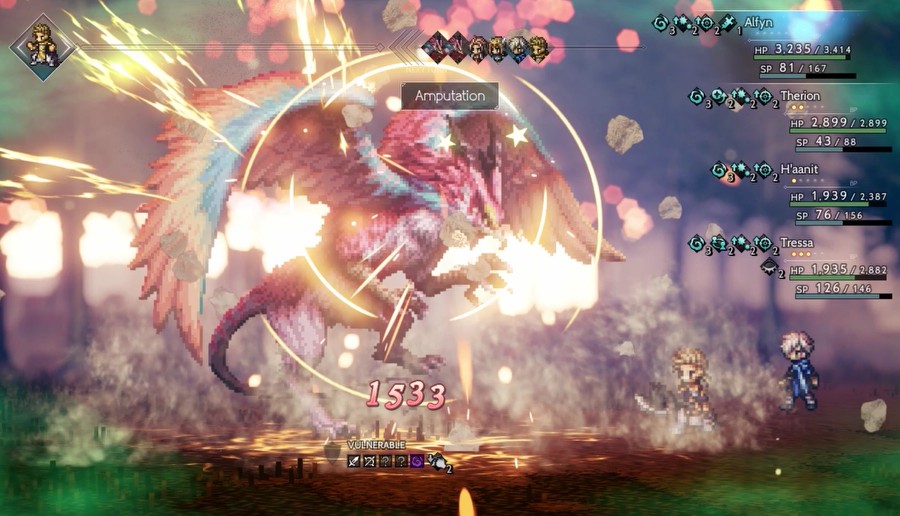
...we're at Alfyn's final boss, the Ogre Eagle. Of course, just because this is out of nowhere doesn't mean it's going to be easy.
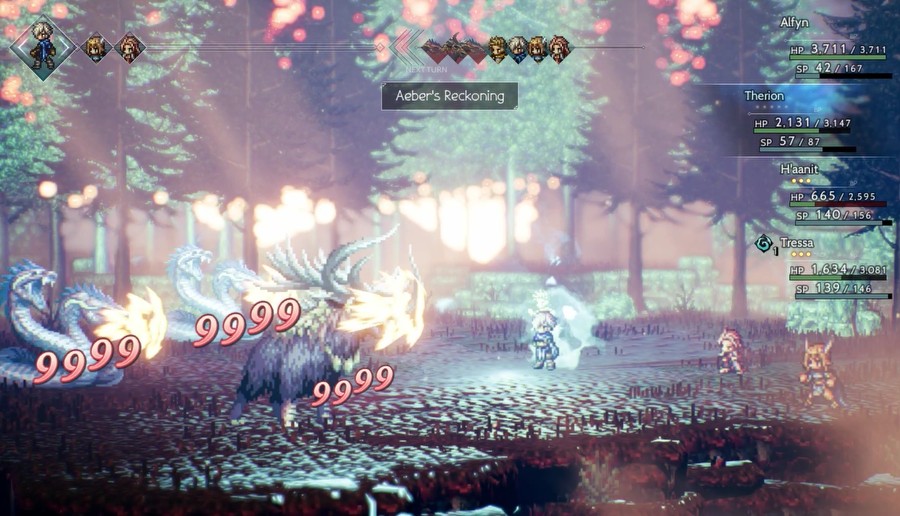
No, it's the fact it's not guaranteed a first turn to set up its "block all weaknesses but one" gimmick, and its weakness to bows that makes it easy to stop that before it begins. Otherwise, the set-up for this fight would be a lot more difficult since its sole vulnerability would be Ice, and we'd have to actually deal with its nasty attacks, as I'll go into after it actually gets a chance to attack.
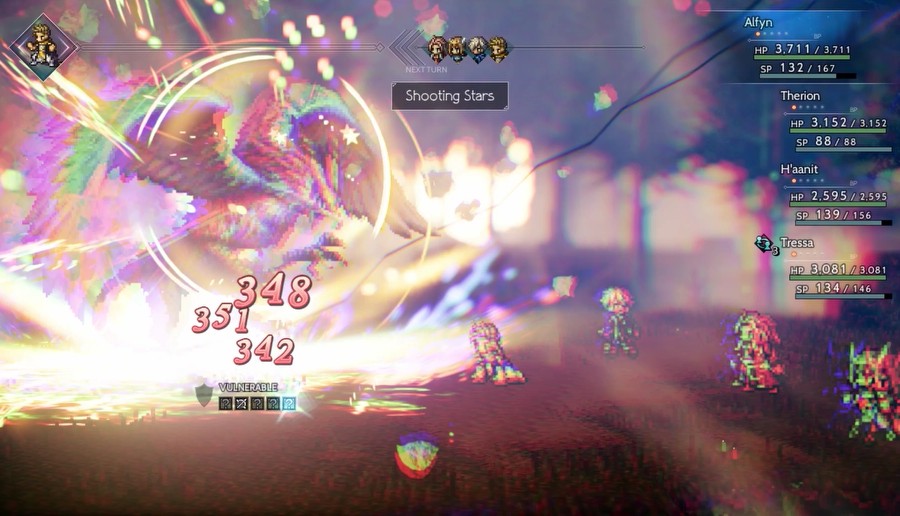
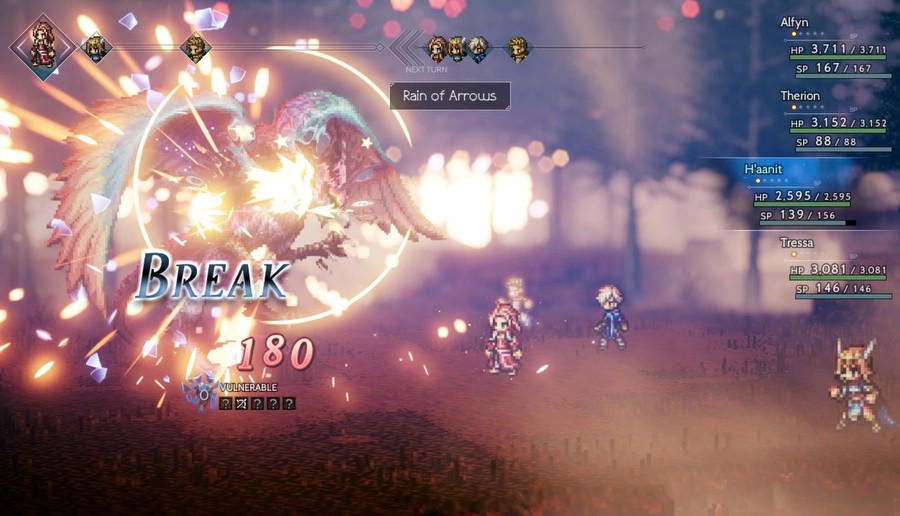
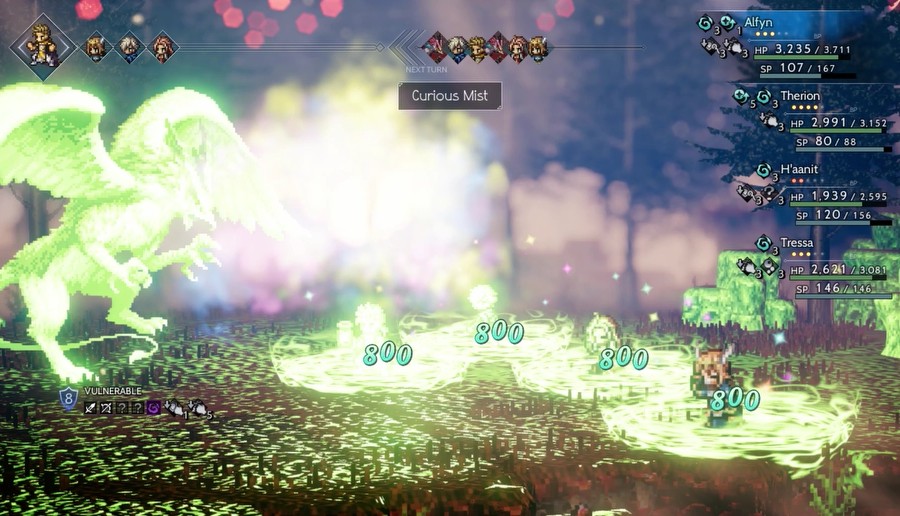
That said, even though I just broke Alfyn's final boss on the first freaking turn, I still need to find its other weaknesses. Shooting Stars is fantastic on that front, as it hits three different elements. By doing this, I uncover the Ogre Eagle's Dark weakness.
And of course, I can plan appropriately. Note that I don't check the boss strats until after I beat them to make the fights more interesting, so I never figured out it was weak to Ice.

I get my licks in nonetheless.
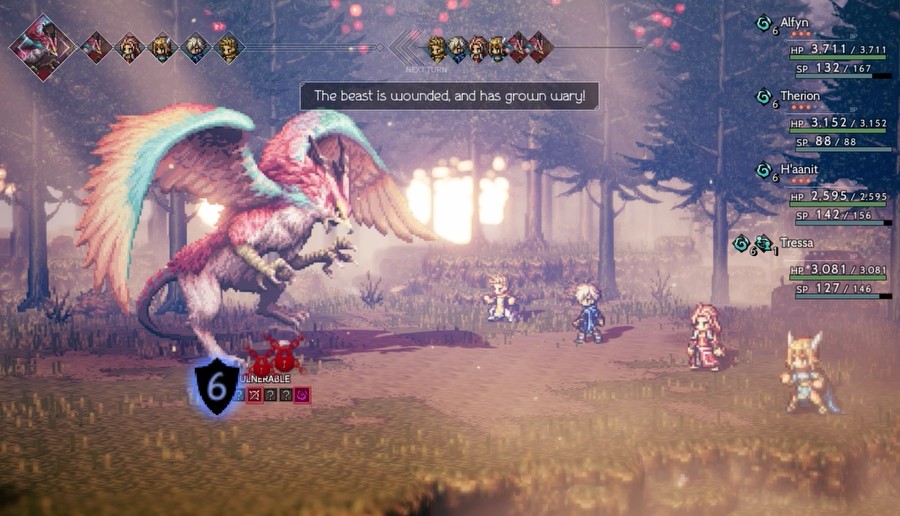
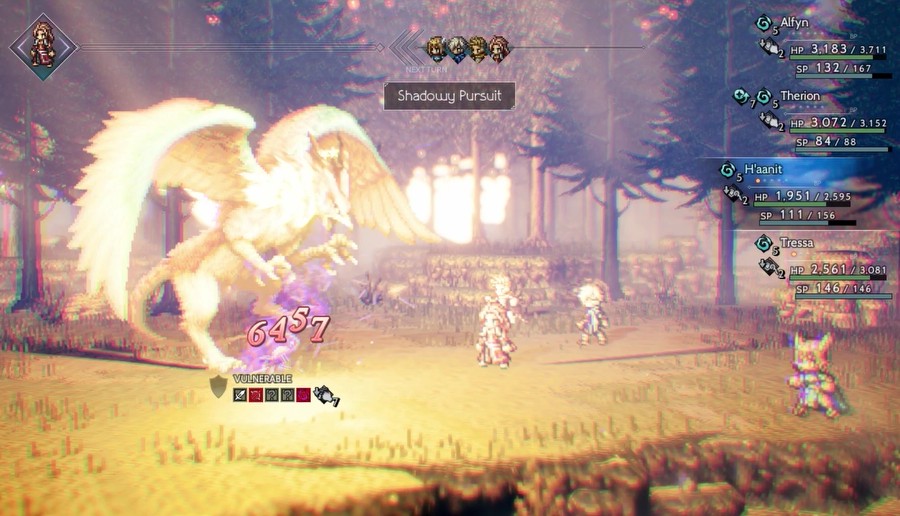
After its first break, the Ogre Eagle increases its shields, but also adds more vulnerabilities. At least, it would if it had the chance to block its weaknesses at first. Of course, it blocks the two weaknesses I have discovered.
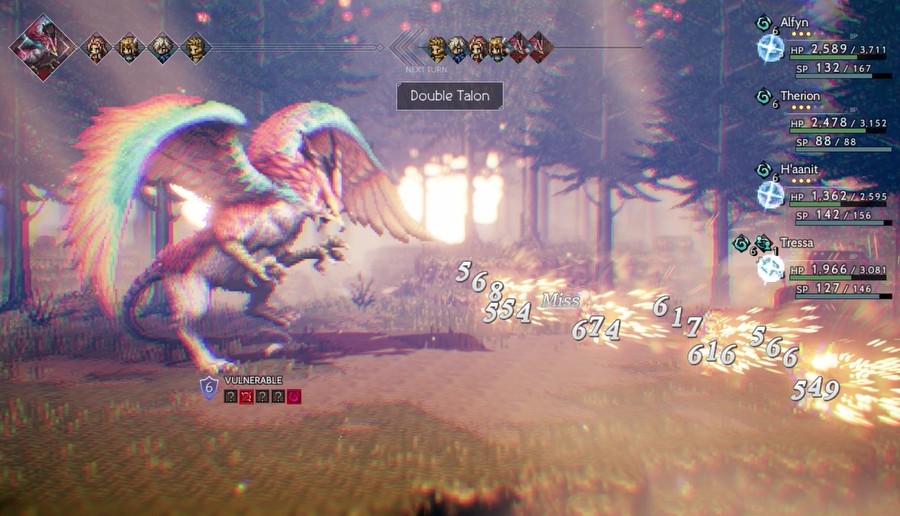
And now we come to what makes the Ogre Eagle so challenging. Its damage is actually not that bad for a two-hit physical attack. However, its physical attacks can also add a random assortment of debuffs and status effects, and that's the true threat of this foe.
On top of that, it has wind attacks and even an ability to remove an ally from combat for three turns.
I don't abuse Sidestep, but that doesn't mean I can't exploit Transfer Rune in other ways!
I do shut down its physical prowess, though.
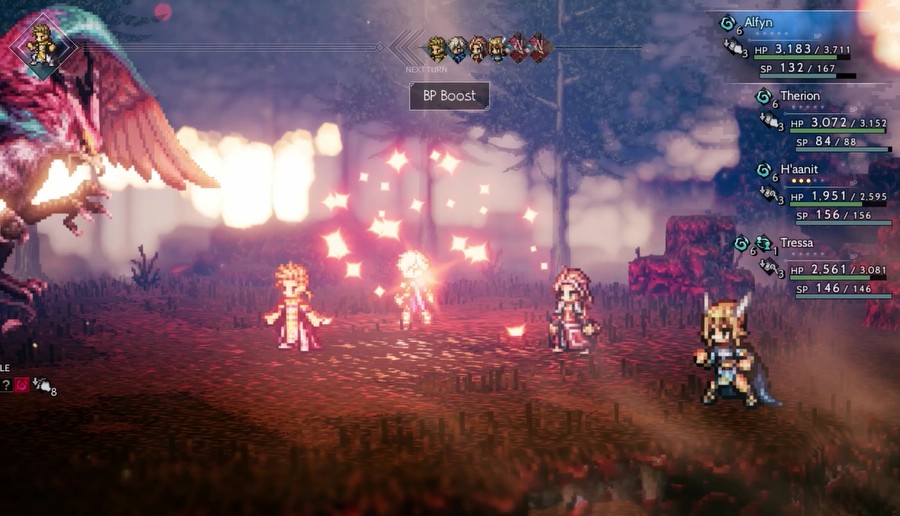
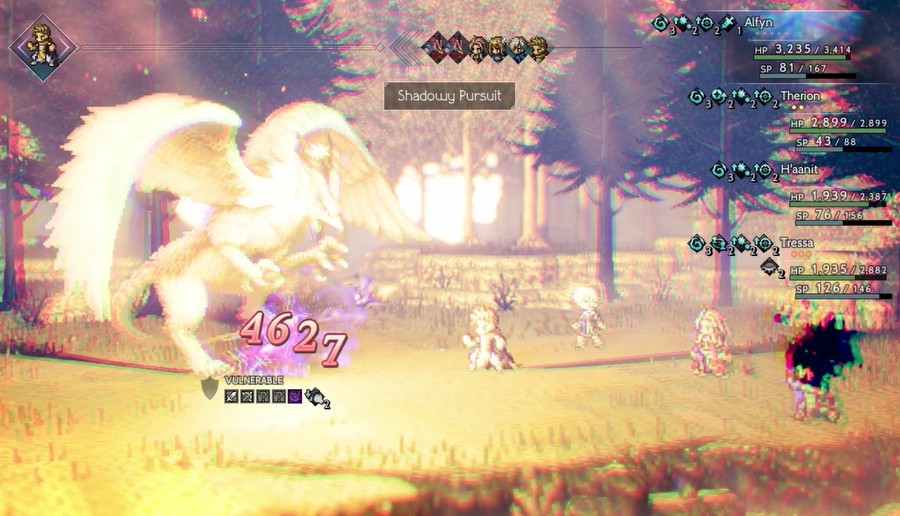
H'aanit is my break specialist (as it turns out the Ogre Eagle is also weak to swords), so Therion will be my damage specialist, which is why I give him eight stacks of BP Boost.
Pictured: H'aanit specializing in breaking.
This is just not fair.
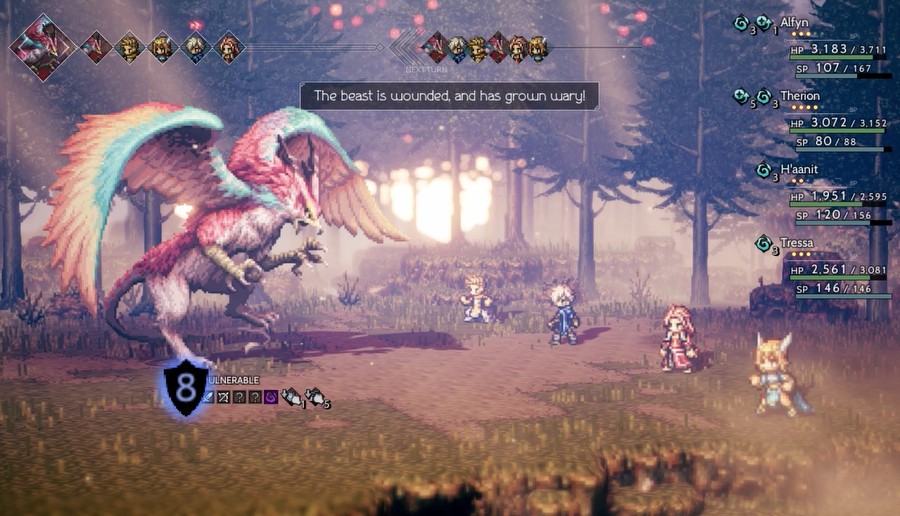
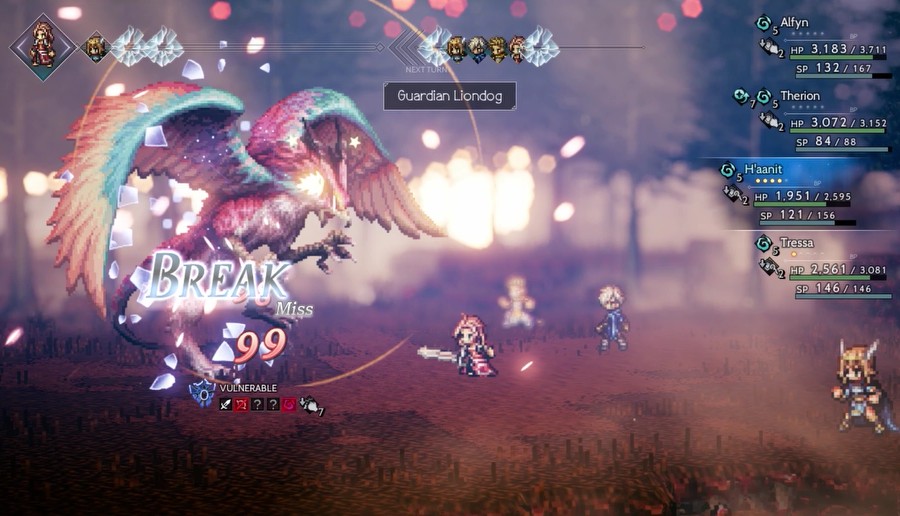
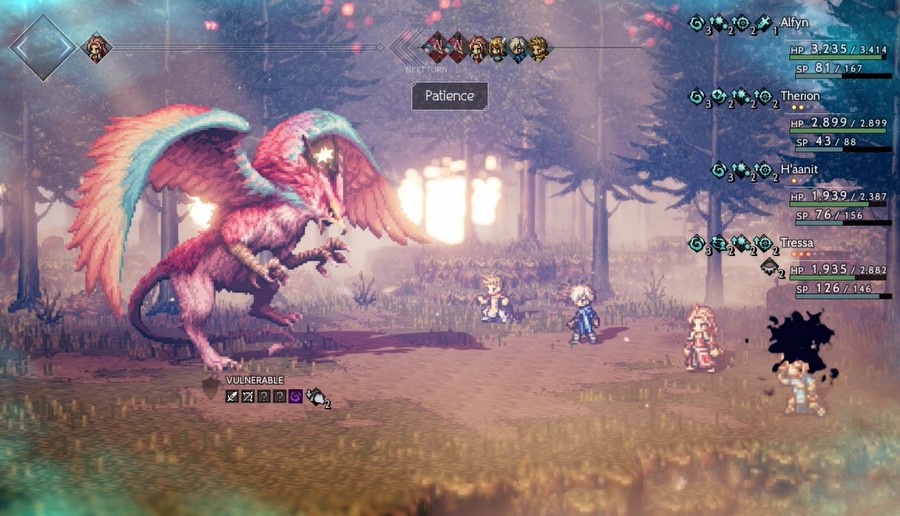
The Ogre Eagle now ups itself to a whopping eight shields. That said, all its vulnerabilities are now exposed.
Its post-break is also nasty, throwing Confusion and Poison and various debuffs on my party.
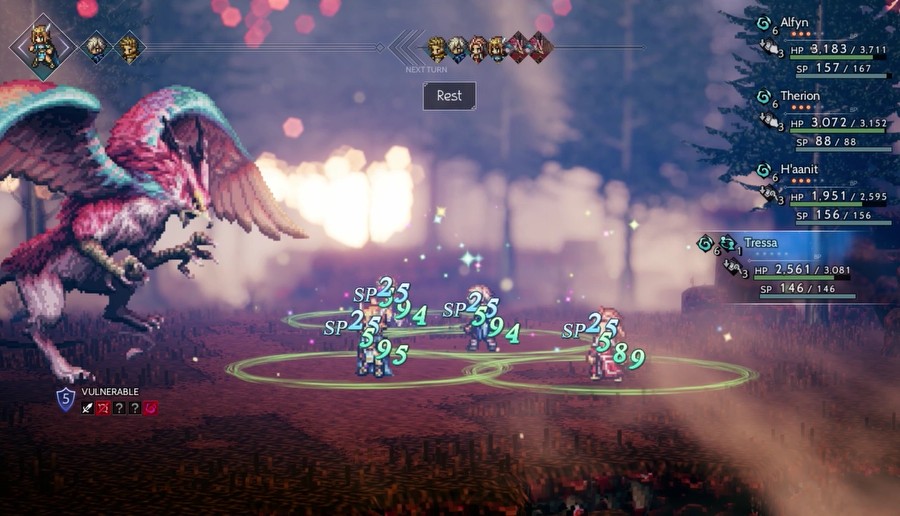
But remember, this is Alfyn's final boss, which means Alfyn will always be here to fix our troubles.

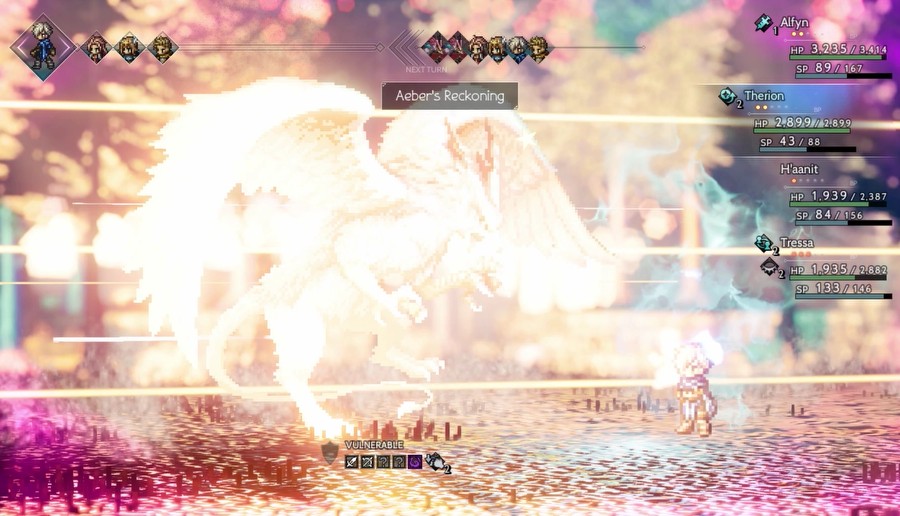
I decide to use Therion's Divine on an unbroken Ogre Eagle, which still deals respectible damage.
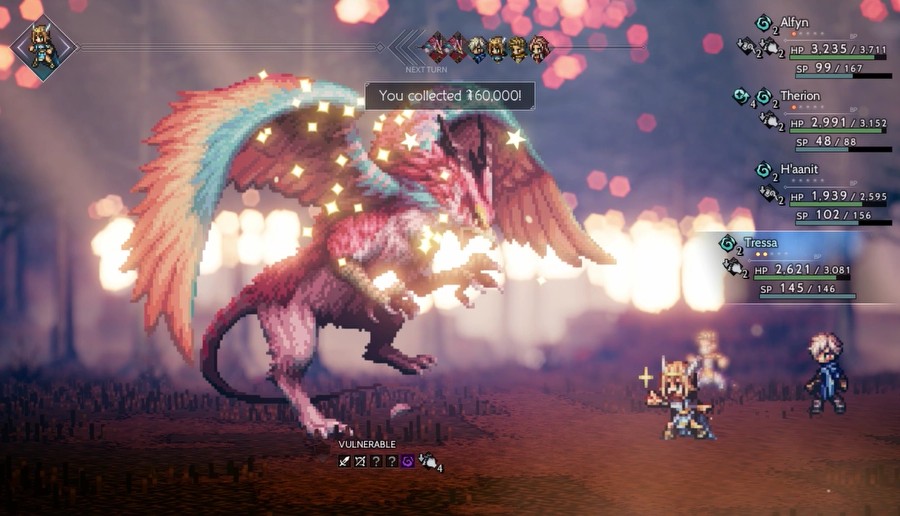
After the next break, I get paid.
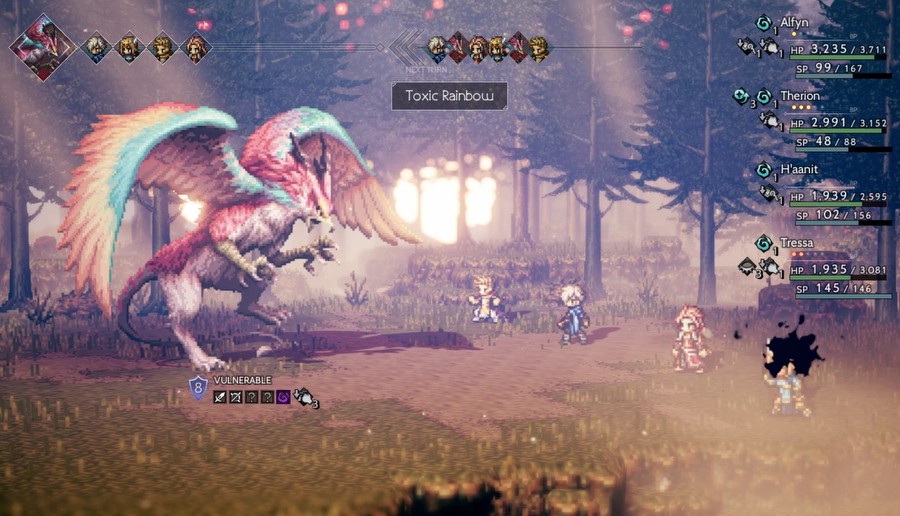
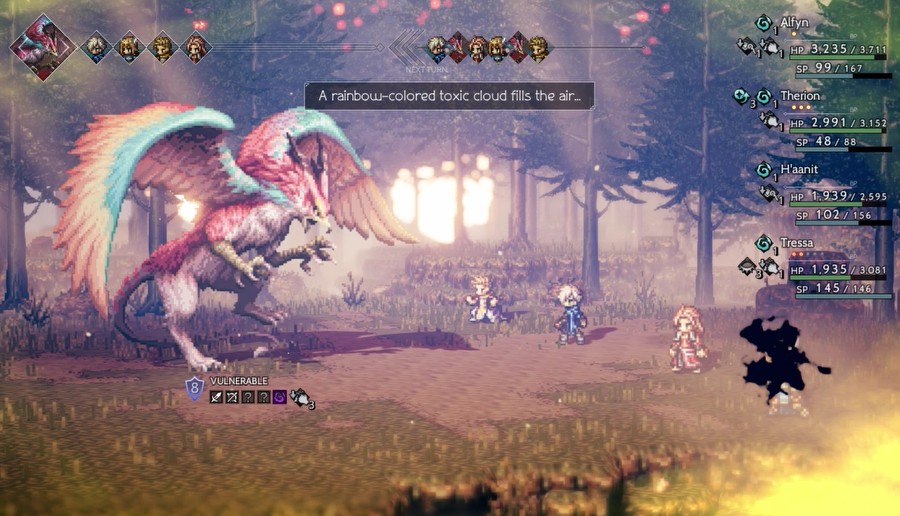
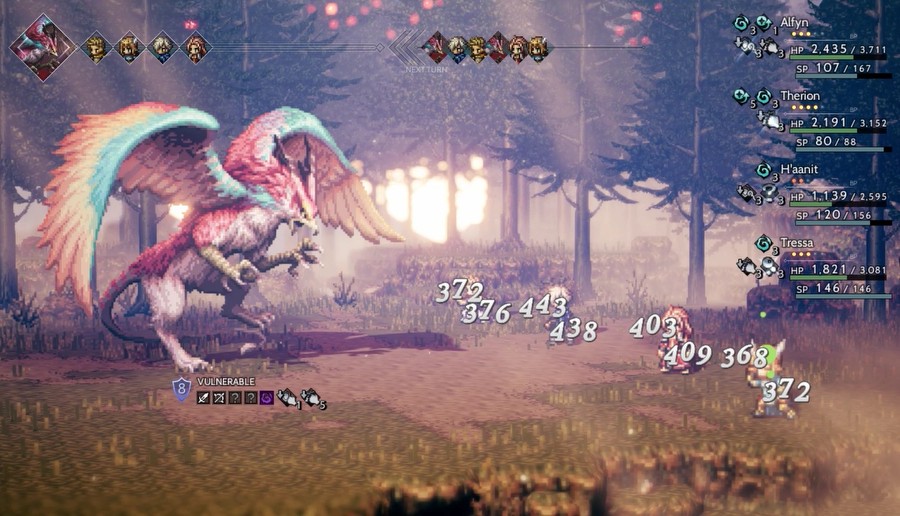
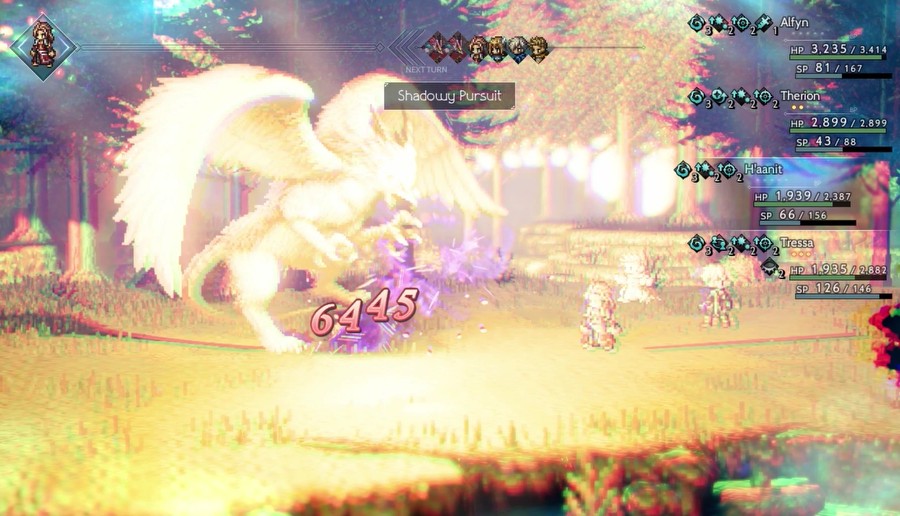
Beyond the status-inflicting physicals, this is the last of the Ogre Eagle's big gimmicks, and it's a doozy.
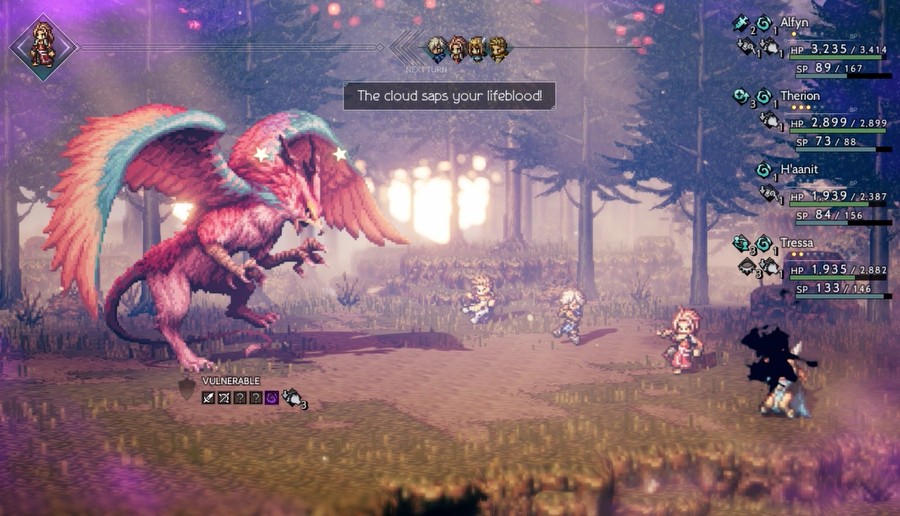
It reduces your max HP every round by a little under 10% until the end of battle. Which means the sooner you kill this jerk, the better.
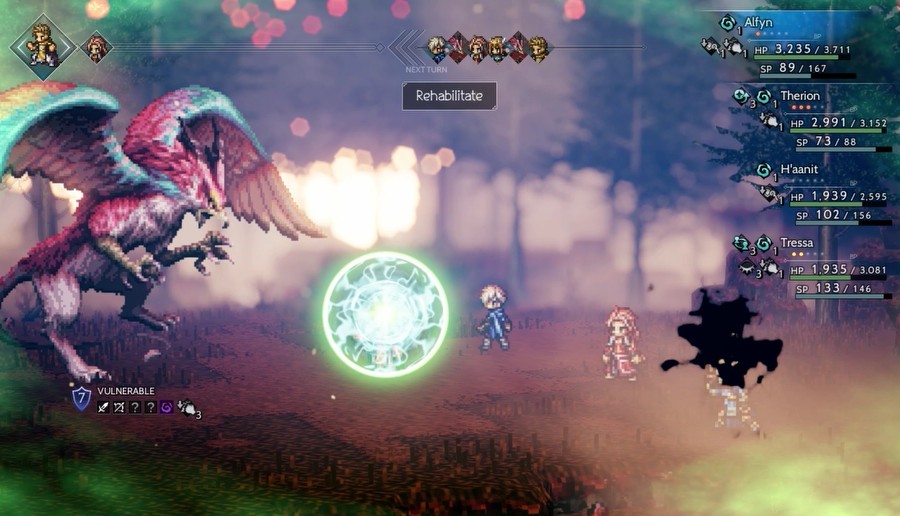
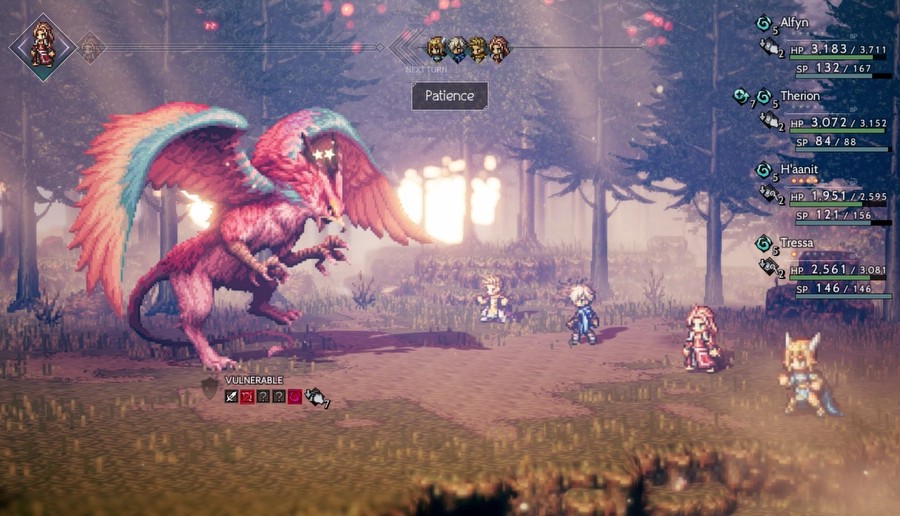
I set up Rehabilitate on Alfyn because he's important for healing status effects, so it's better if he suffers none himself!
Also I just break it again because it has some dumb freaking weaknesses and throw more powerful attacks on it.
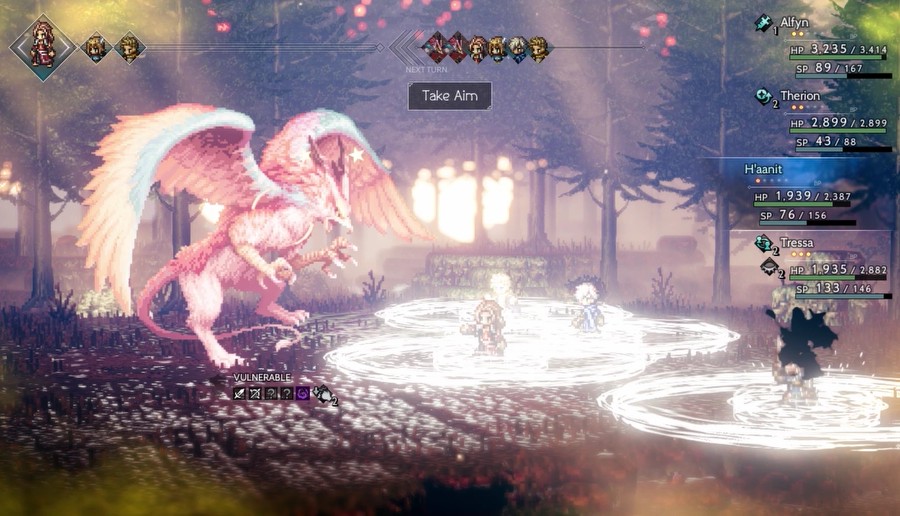
I try to set up Alfyn for the killing blow...
...but it doesn't take.
So H'aanit gets it instead due to a key Patience proc.
I'm fine with it, as H'aanit was the MVP for this fight anyway.
SILENCE 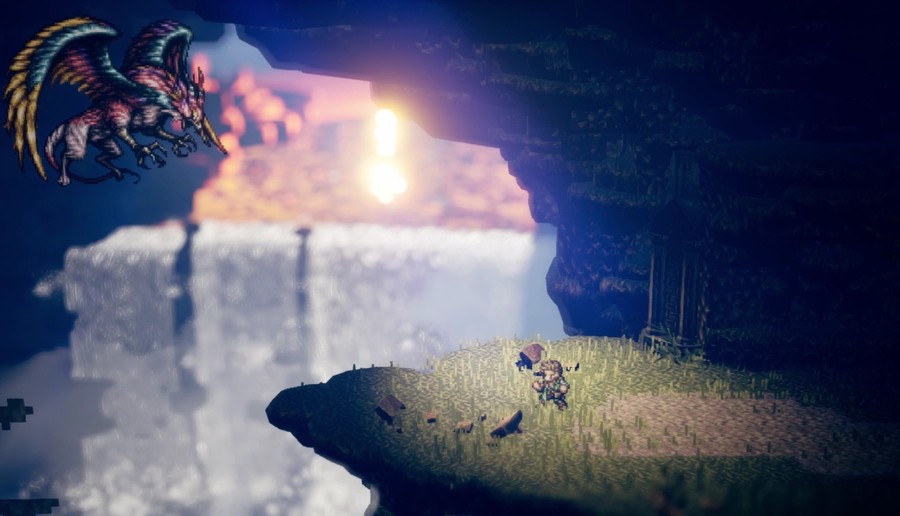
With that, we beat up the innocent Ogre Eagle and make it fly away backwards since the animators couldn't be assed to flip the sprite.
The background sure is pretty, though.
 But this pinion of yours is going to save a man's life.
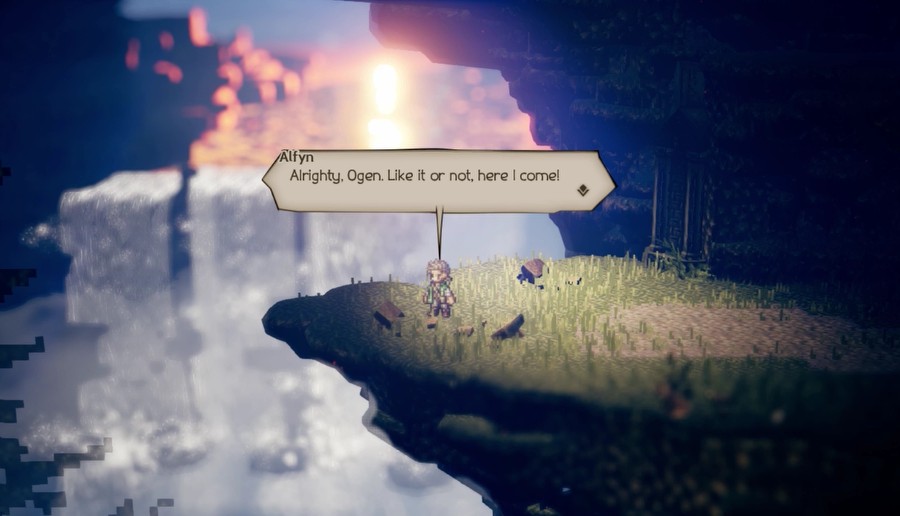
 Can you keep it down? My head is throbbing something terrible... Whoops, sorry about that. Anyway, time to get to work!
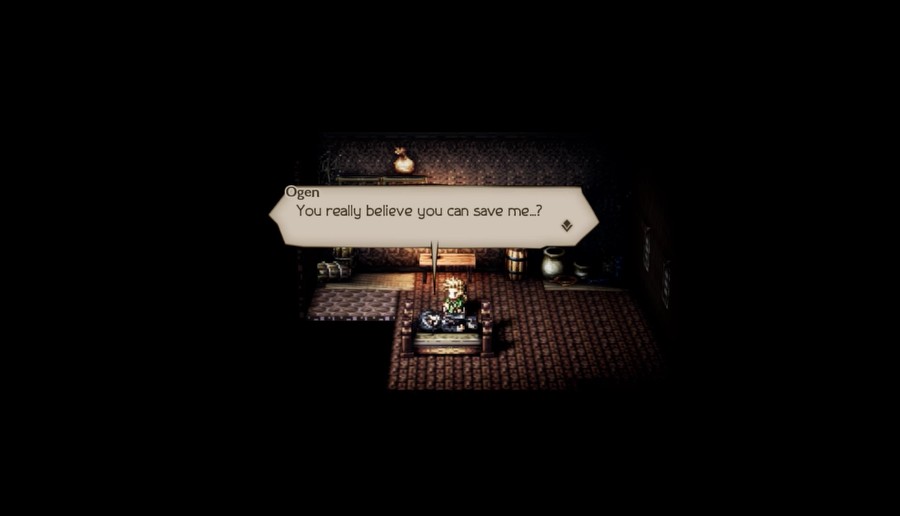 Ridiculous... How could you ever... A man saved my life years ago.
 ...? Video: Ogen's Memories
 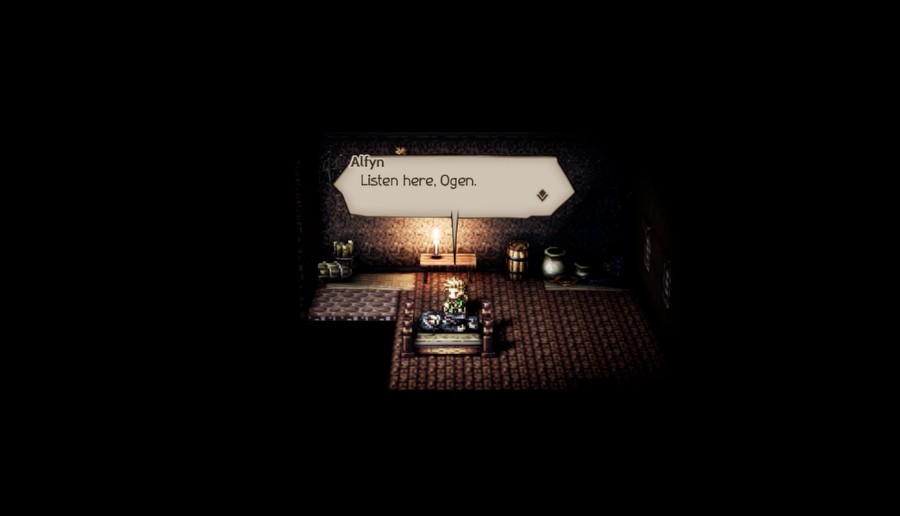 I may call you an old man, but it's too soon for you to go. .........
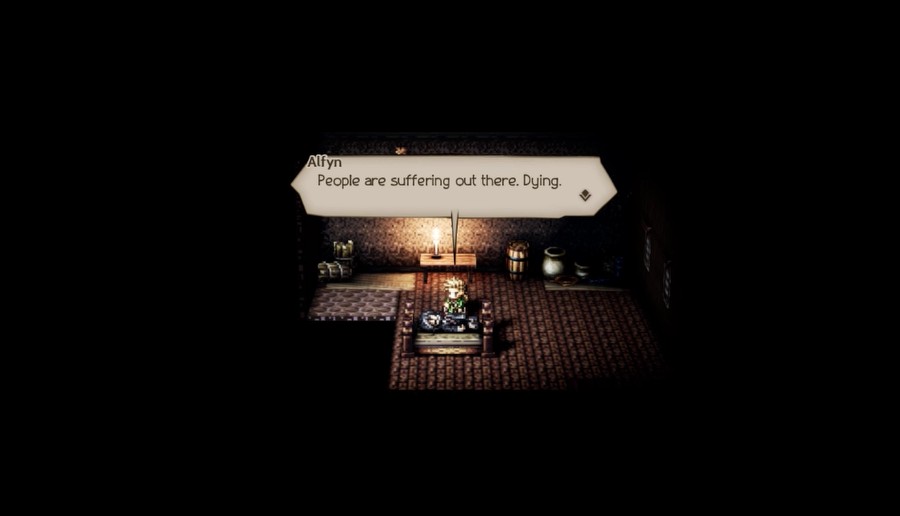 There are plenty of lives you can still save. .........
 I once met a man who said the kinds of things you say. ...Hm? Music: Melancholy
 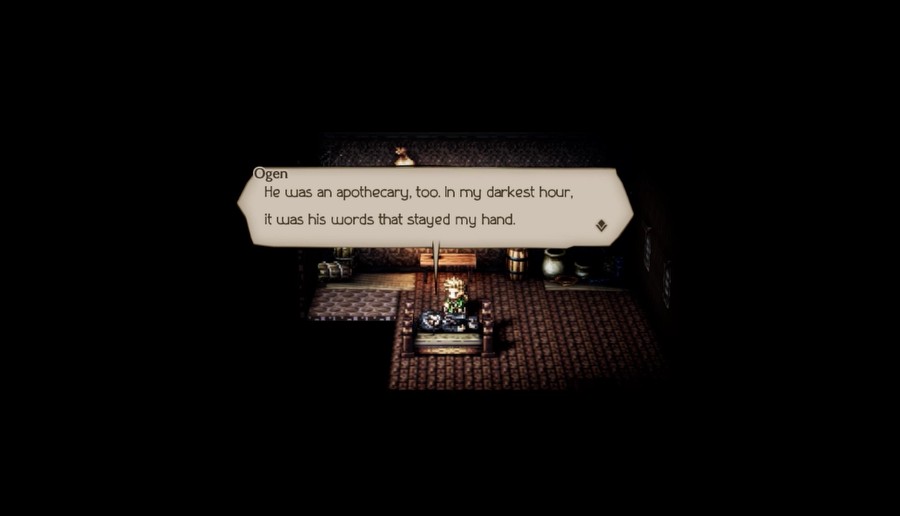 Despite having no hope, nothing to live for, he convinced me to press on. Who was he? What the heck could he have said to a mess like you? .........
 Just two, and yet they have the power to save innumerable lives. Live, Ogen. If not for yourself, for those who still need you.
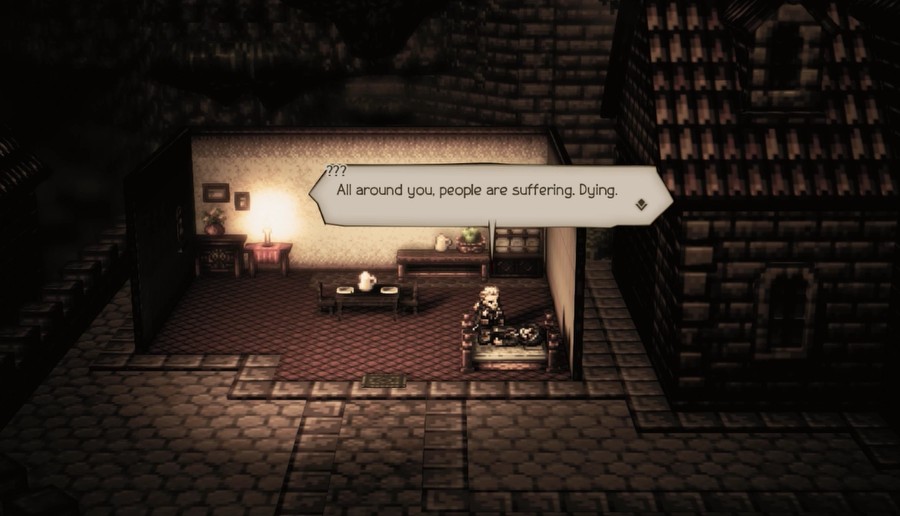 There are plenty of lives you might yet save--if you have it in you to save them. .........
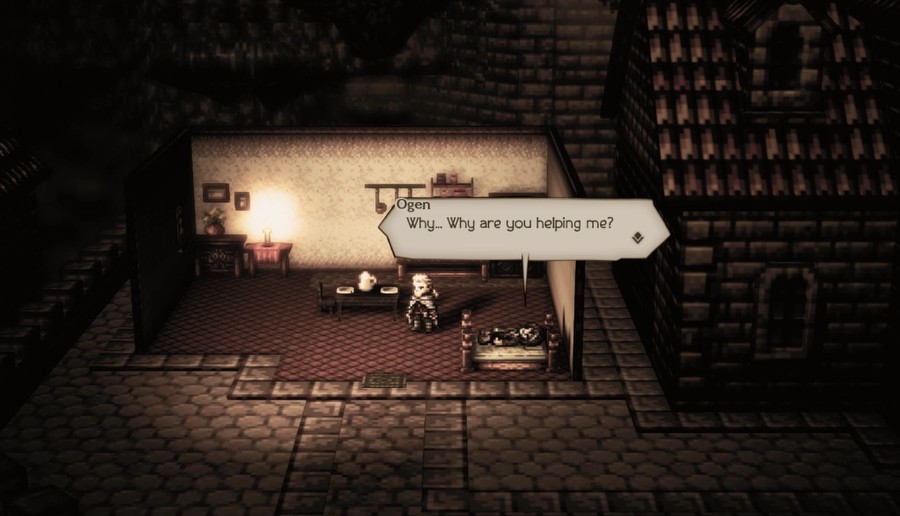 ...What's that?
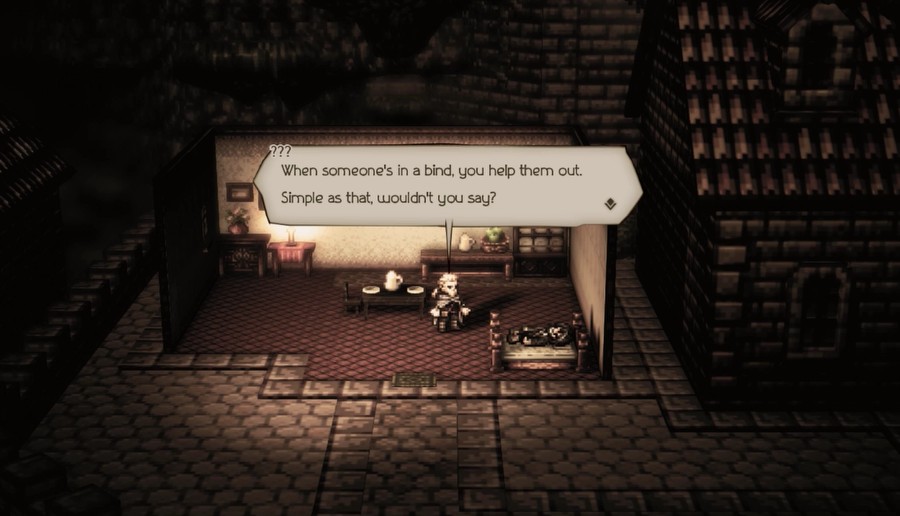
 Those were his words to me.
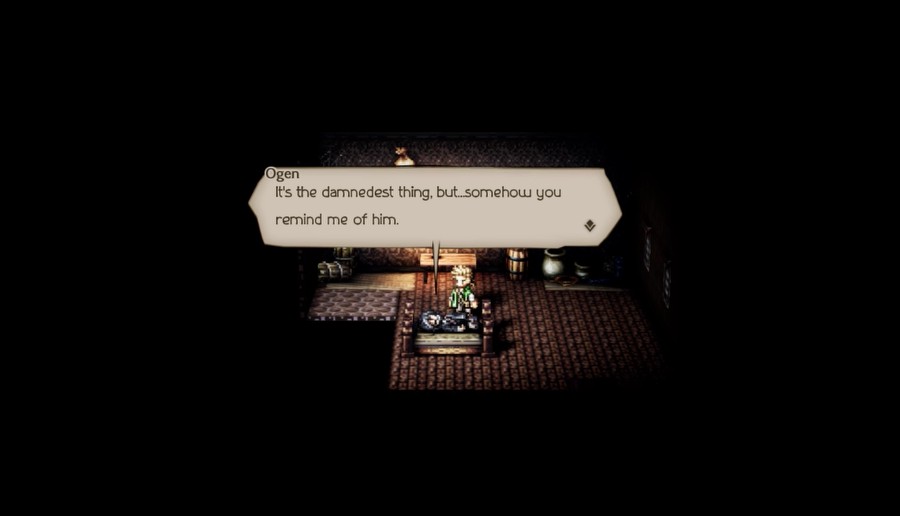 Gadzooks...! Those words...
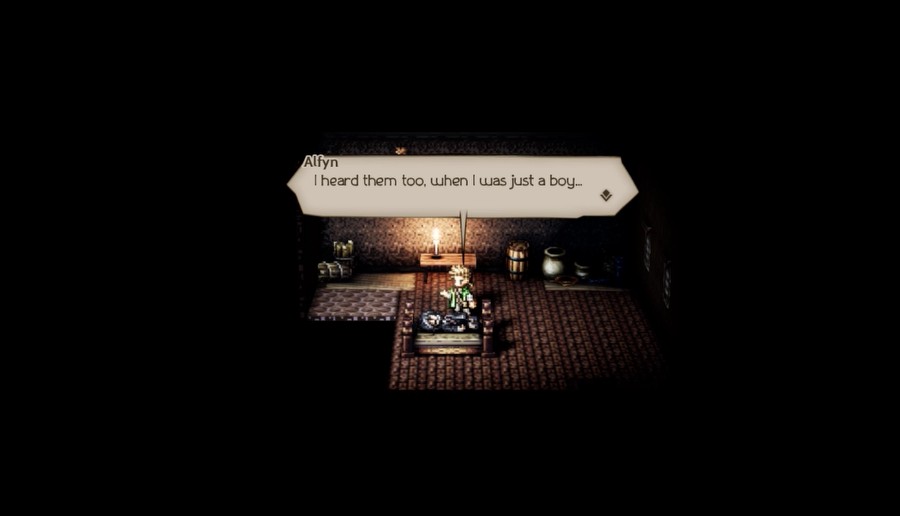 ...You what? There's no doubt about it...
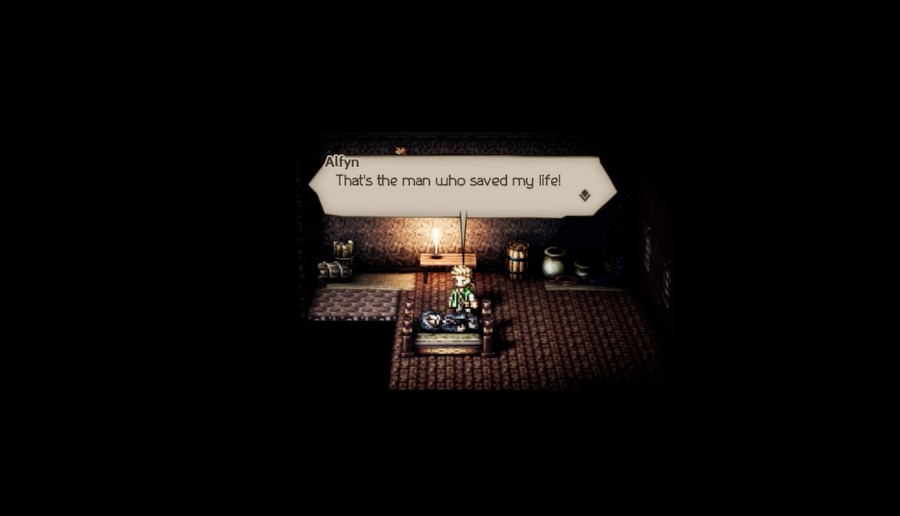
 But...why'd you save me? We ain't got no money, you know. Music: Bonds of Friendship
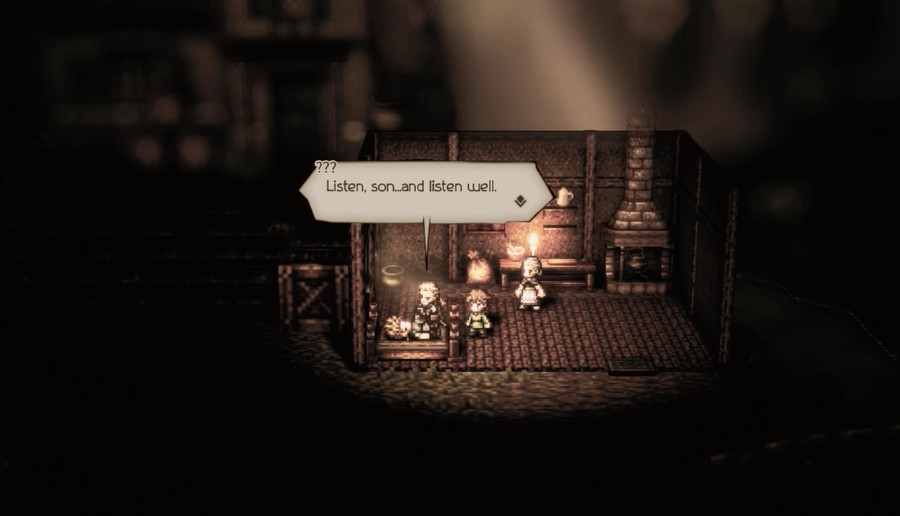
 ......
 I hope I can do that, too, someday.
 His words, the miraculous potions he made... He didn't just save my life. He gave me a whole new sense of purpose.
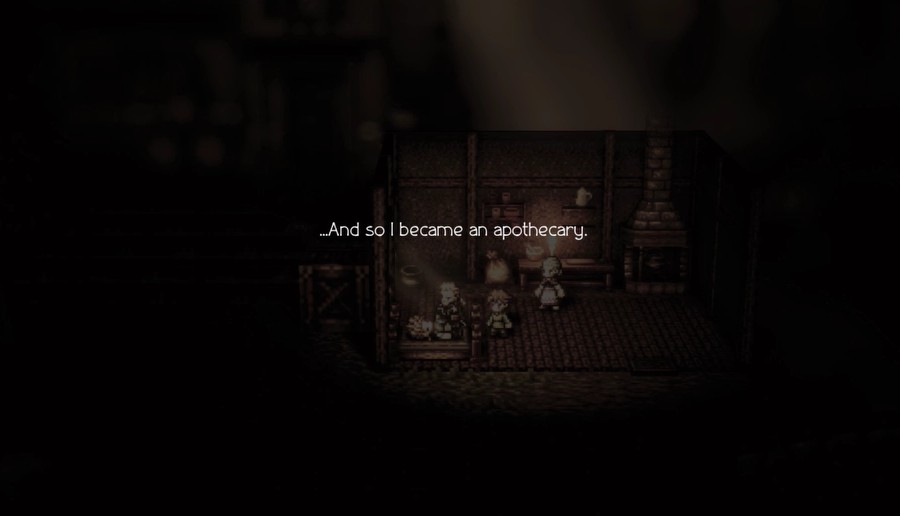
 Fate truly does work in mysterious ways...
The man who saved Alfyn's life and gave him a purpose turned out to have also done the same for Ogen, in a manner of speaking. The man truly was a miracle worker...
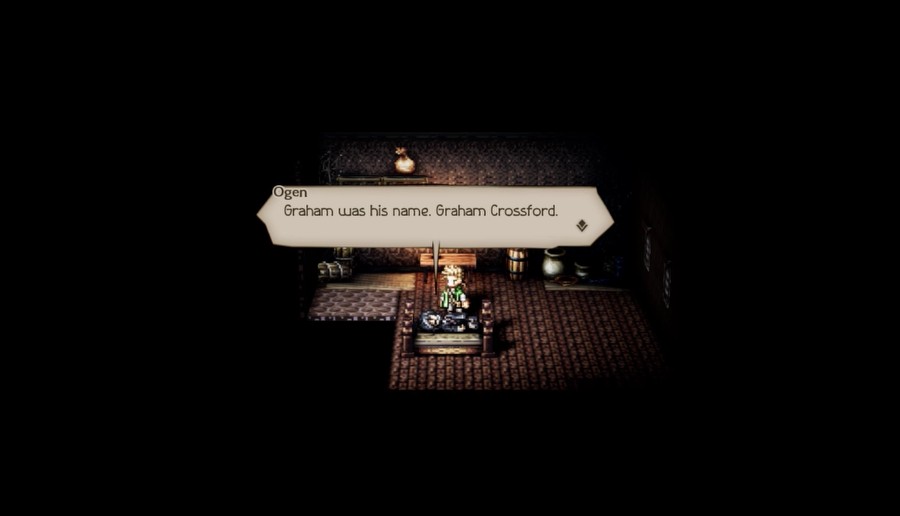 It was ten years ago that I met him. He was traveling the realm, as was I.
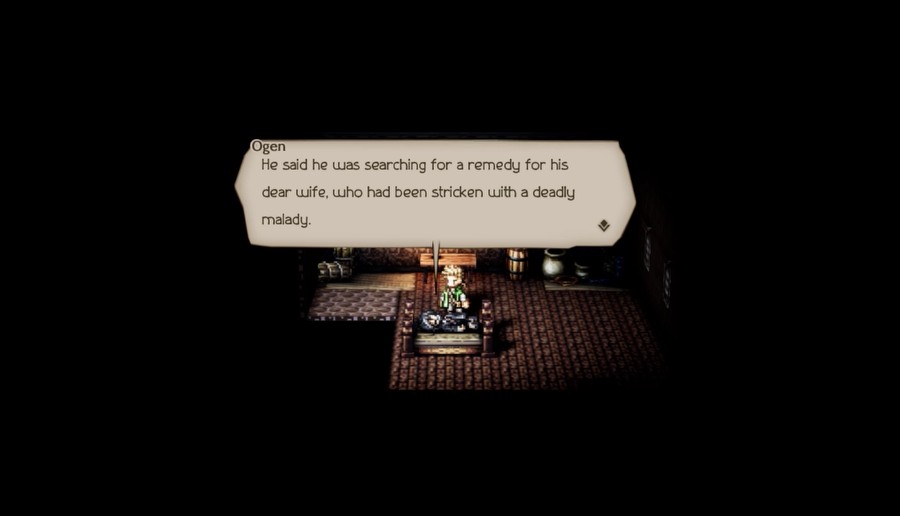 His skill at mixing salves and brewing elixirs was like nothing I had ever seen. He traveled from town to town, healing the sick and wounded at every turn--and still managed to fashion the elixir he sought in two short years.
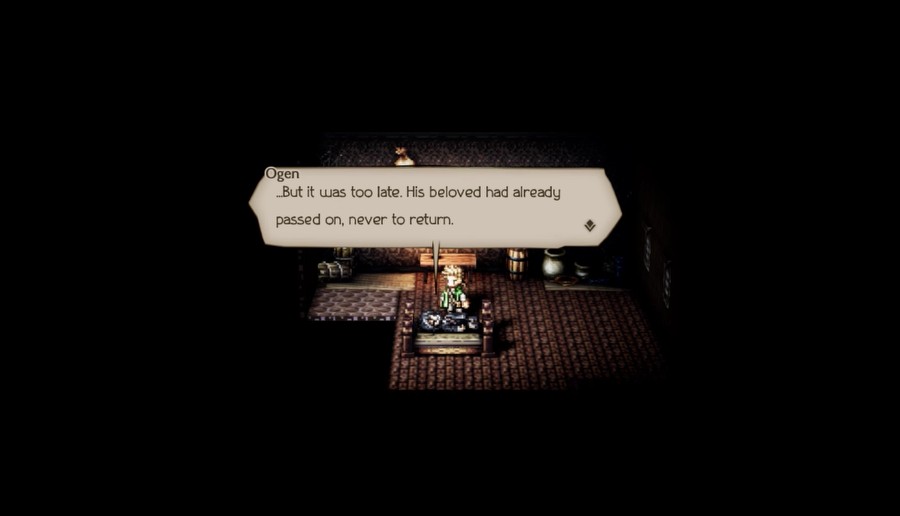 He told me the story of a bright young boy to whom he eventually gave the medicine.
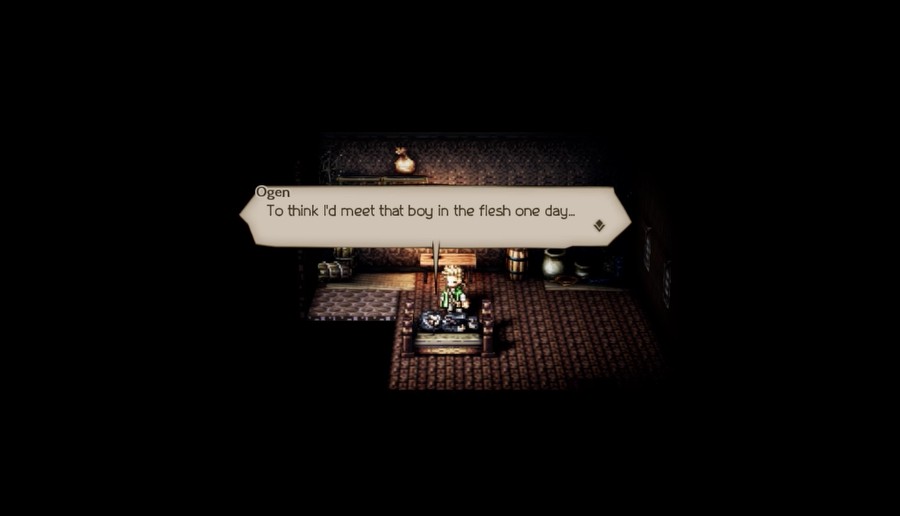
Graham fashioned an elixir to save his wife, but since she passed, he instead gave it to the first person he saw who needed it: Alfyn. Alfyn, of course, repaid this kindness by becoming an apothecary so he could save as many people as he could, inspired by the man who saved him. It's a wonder to think how many lives Graham may have saved by choosing to save that one young boy...
 After he saved my life, he wandered off again to who knows where.
 At any rate, it all makes sense now.
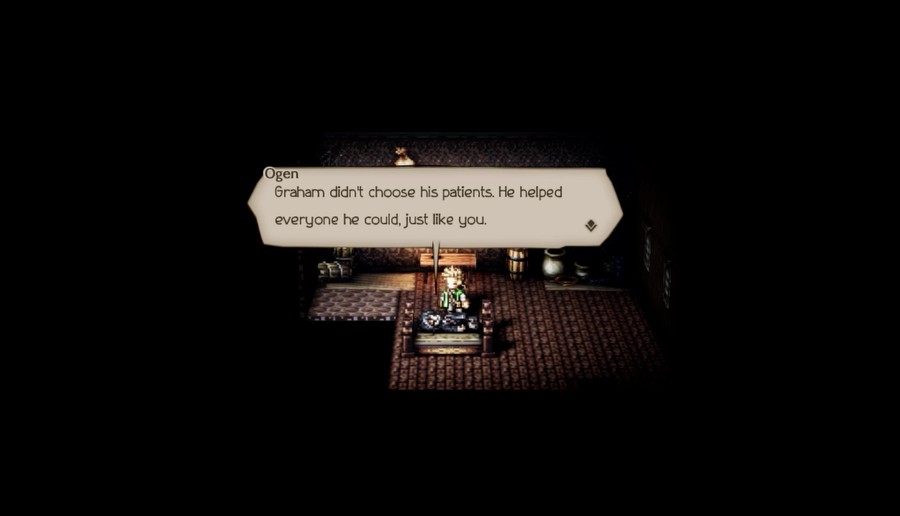 We didn't always see eye to eye, but I respected the man, and I'd like to think the feeling was mutual.
 Your innocence? Naivety? Whatever you want to call it, it's like a mirror image of the man. ......... You're carrying on his legacy as well as any man could.
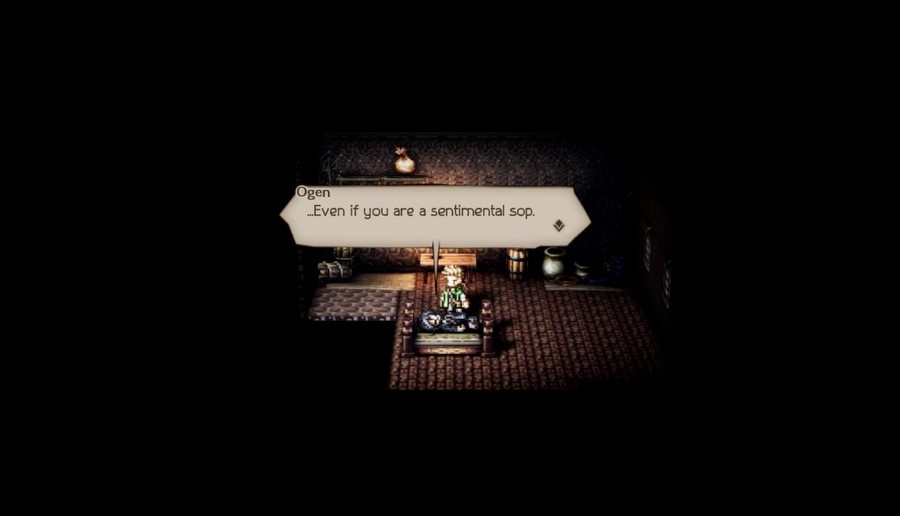
Alfyn's really taken after his mentor, even crafting the same rare elixir that saved his life so many years ago. More importantly, he has that same drive and compassion to save everyone he comes across, and if he hasn't reached the level of his "master" yet, he's certainly on his way there. Alfyn is truly a devoted apothecary in every sense of the word.
Video: The Two Apothecaries SILENCE 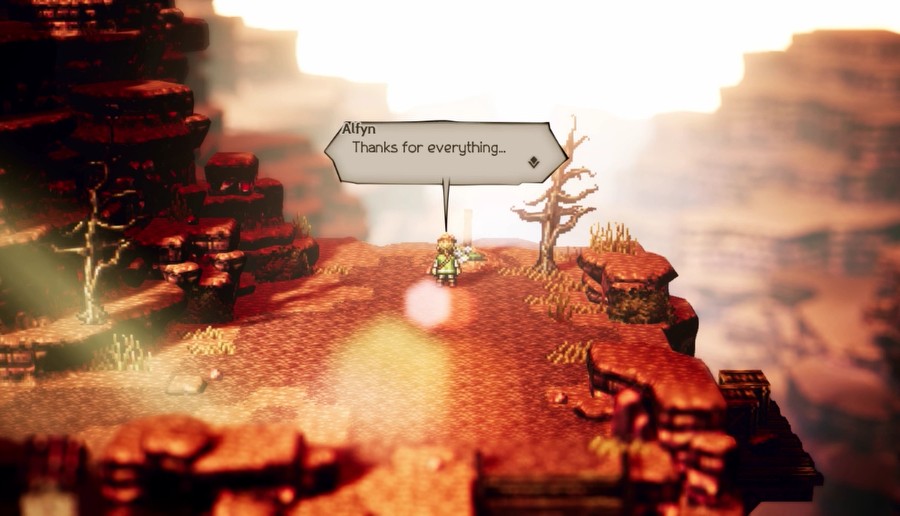
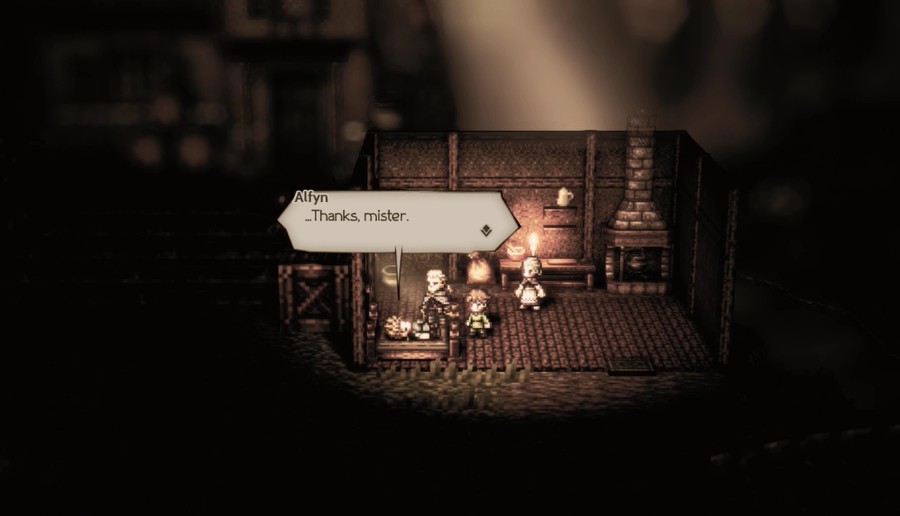
 ...Ogen, you sure you're okay?
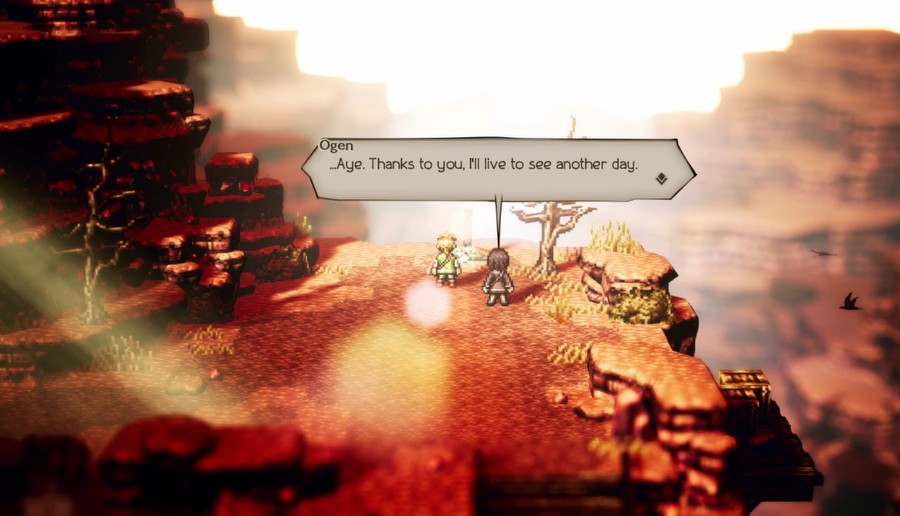 For a couple nights there, I didn't think I'd make it. But it seems your brew won out in the end.
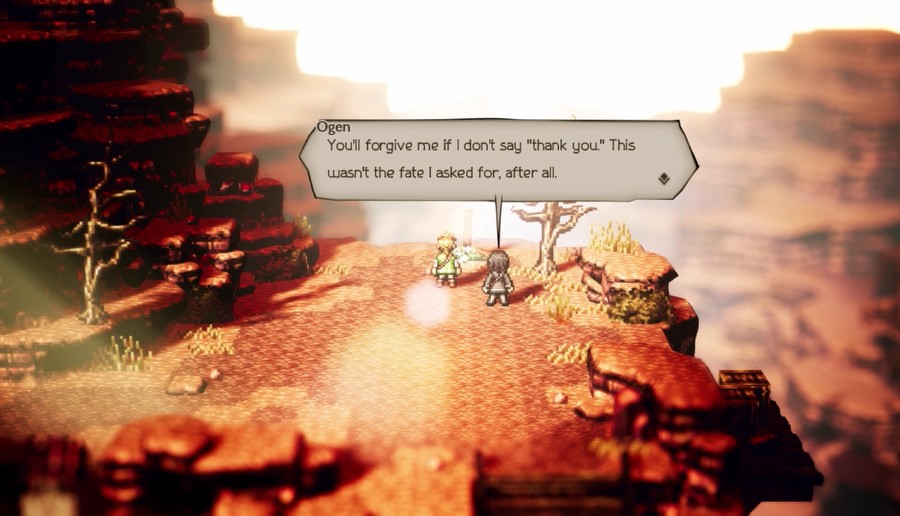 Don't mention it.
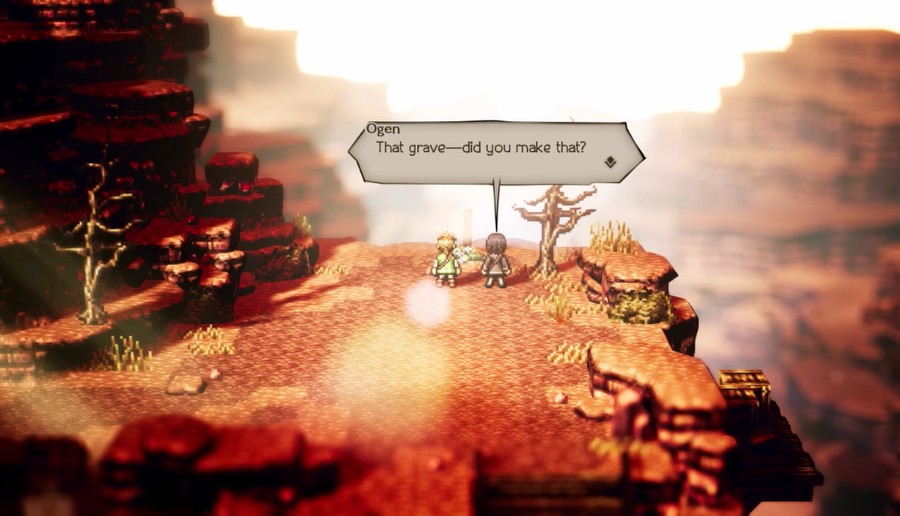 Just my way of paying tribute.
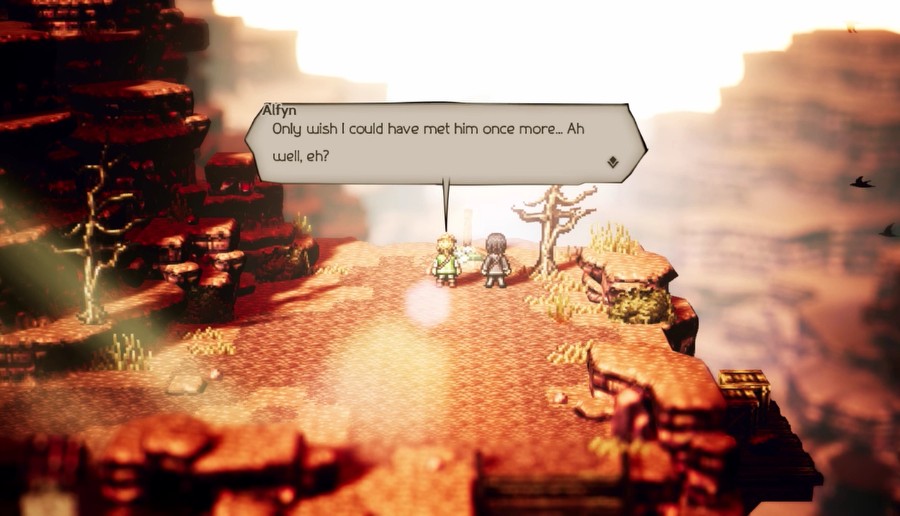 Knowing him, I think he would have felt the same about you.
 Music: Alfyn, the Apothecary
 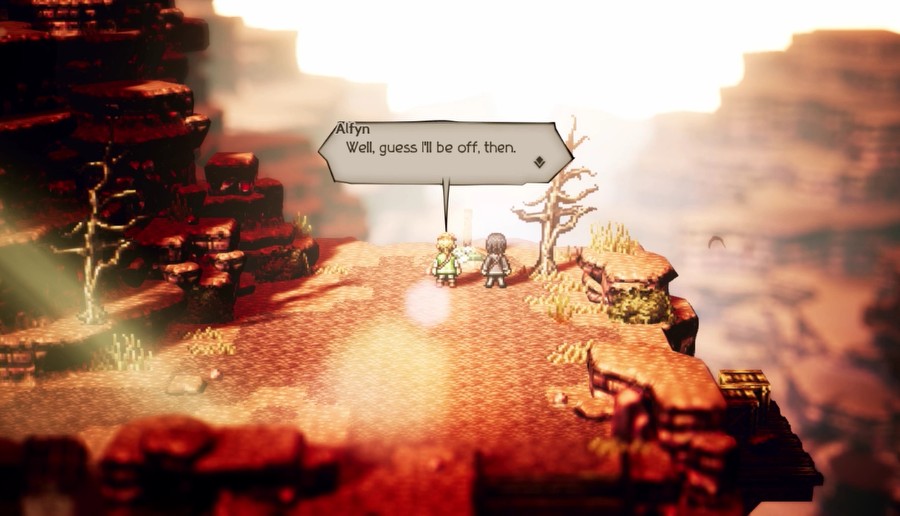 After all, there's still folks out there who need my help.
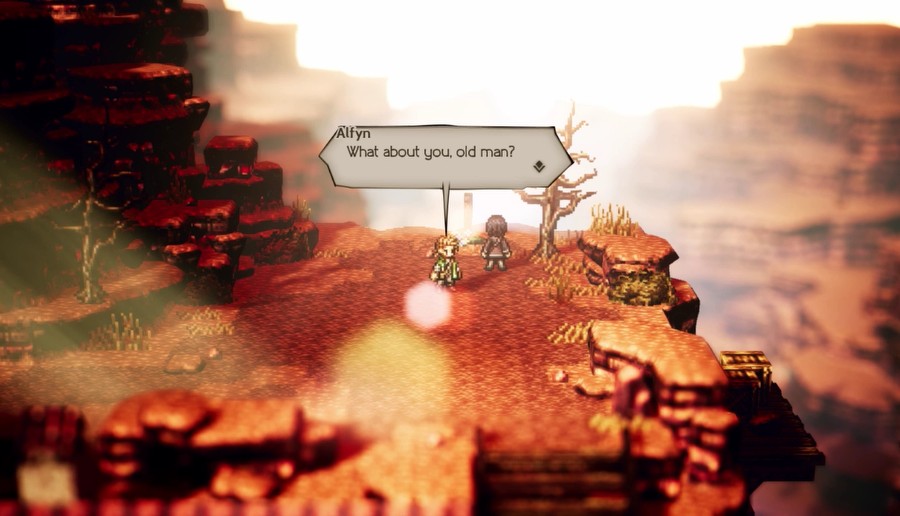 What about me, indeed...
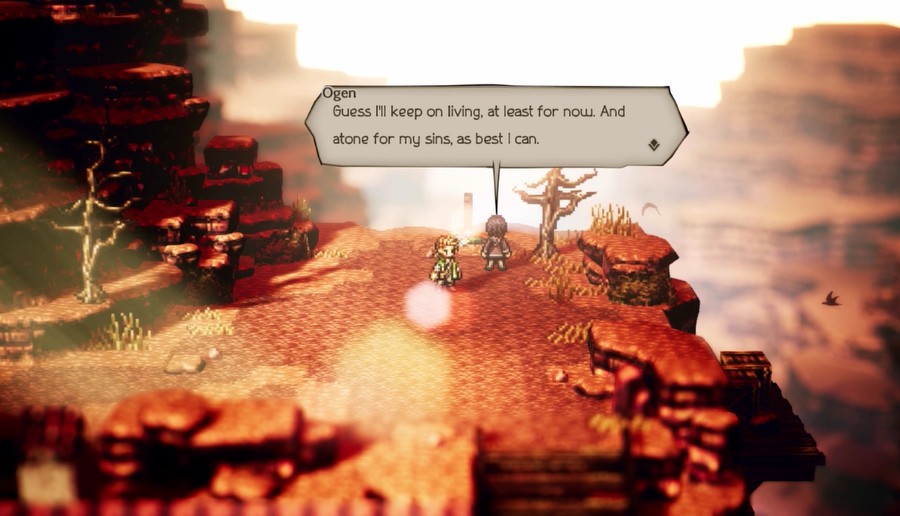 I imagine there are still people out there who need me, as well. First Graham...now you. You helped me remember...
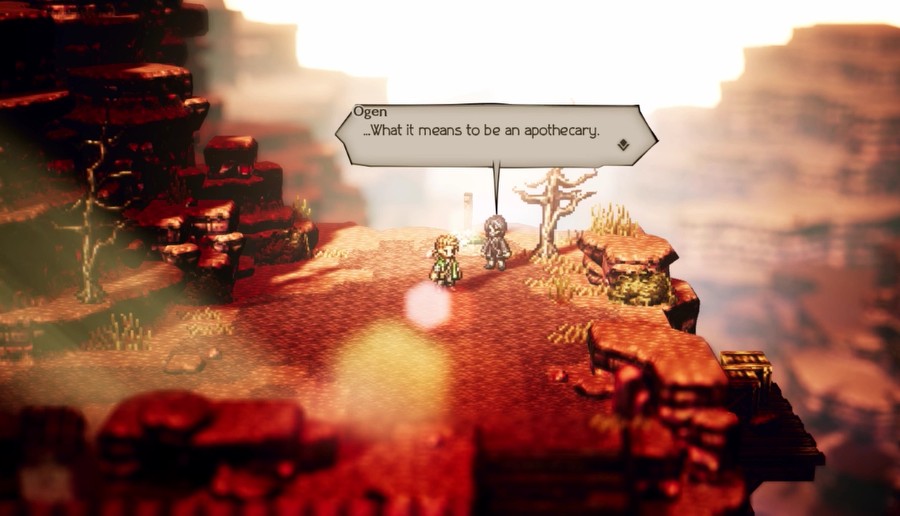
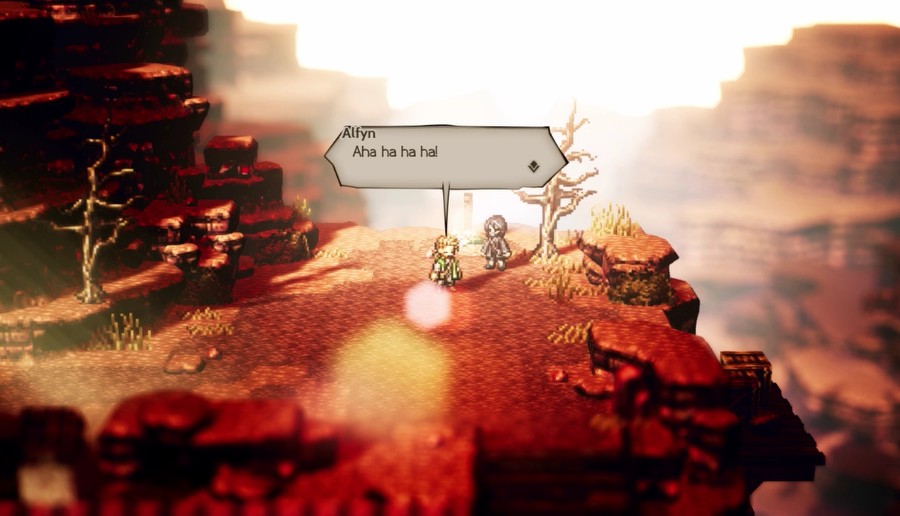 Aw, shucks. Guess that means I was right about somethin' after all. ......... Be safe, hear? I reckon you won't get lost in your travels after this.
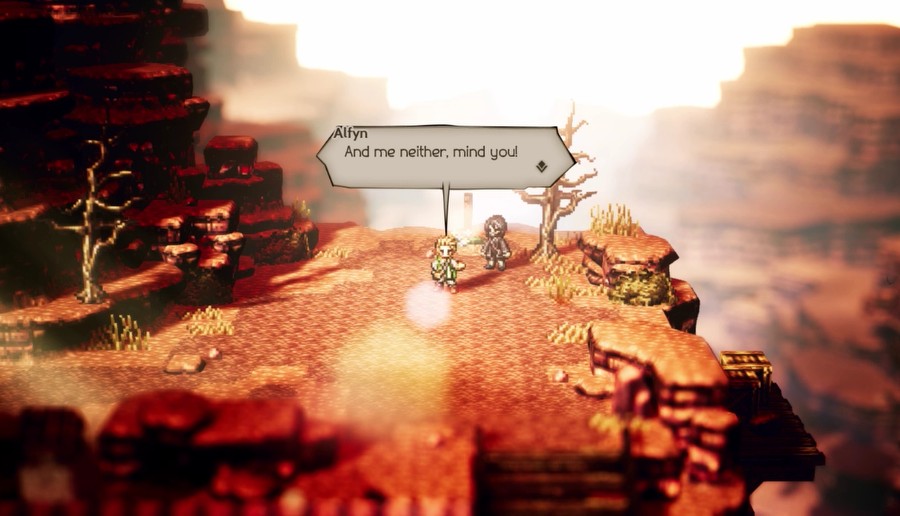
 Heh... If you say so.
And this concludes Alfyn's story.
Music: Alfyn Motif 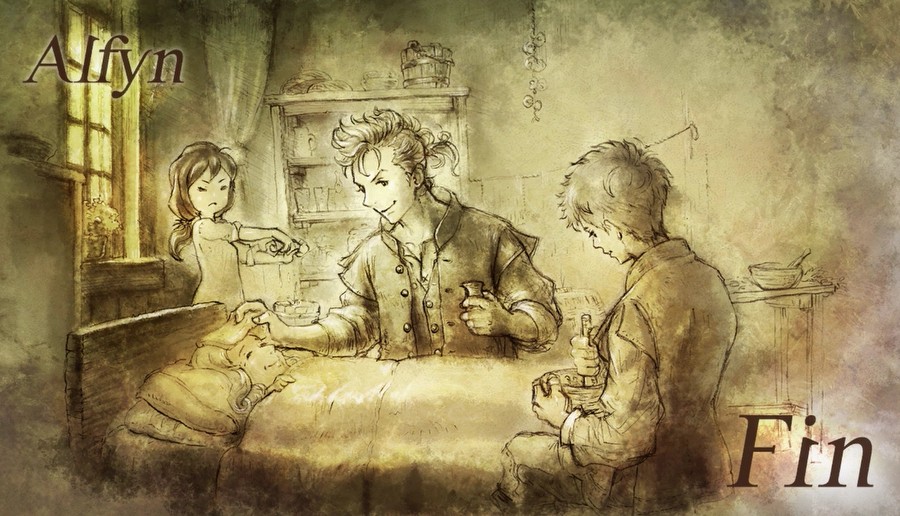
(>Click for larger version)
This means it's time for a vote, and one that should actually be interesting! Who should we tackle next?
Next time, we explore Orewell and of course tackle some side stories.